
Think Astraeus Station is a throwaway combat run? Think again.
The Almagest mission is short and mostly choice-free, but it unlocks the Mantis quest and useful early loot.
This guide gives a tight objective-by-objective route.
It shows the dialogue reality (spoiler: almost none) and points out hidden containers.
Plus quick decision rules — rush for speed, clear for credits, or bring a companion for safer fights.
I call out common mistakes and what loot matters, so you won’t waste time on junk.
Complete Objective-by-Objective Mission Walkthrough
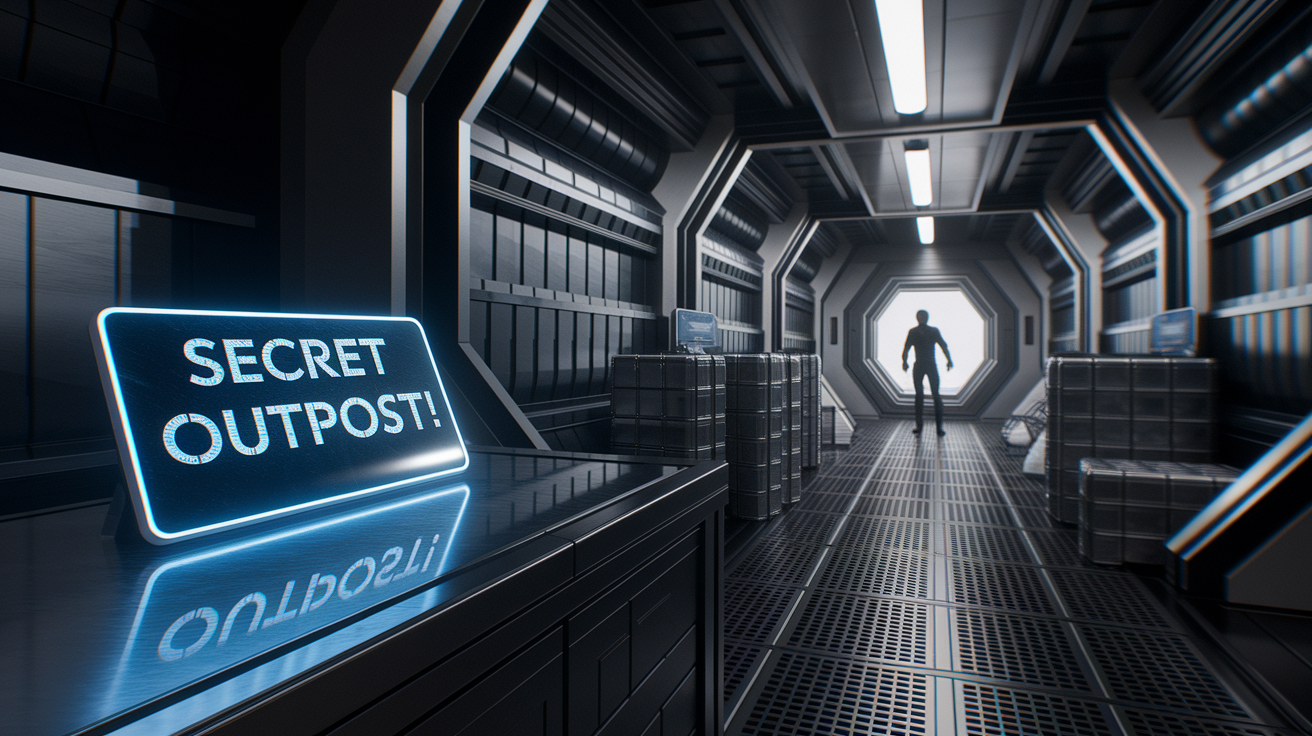
The Astraeus Station mission (called “The Almagest” in your quest log) kicks off when you grab the “Secret Outpost!” data slate. You’ll find it after docking with The Almagest station, orbiting Nesoi in the Olympus system. Board the station and you’re fighting Spacer enemies scattered through the main corridor and side rooms. First objective? Clear hostiles and find the slate that triggers the Mantis questline. Save before docking. The layout randomizes minor loot placements, but the slate location stays fixed.
The station follows a linear path with some locked side rooms. Clear the first wave of Spacers near the airlock, then move down the central corridor. Check every container. The “Secret Outpost!” slate sits on a desk or terminal in one of the crew quarters, roughly halfway through. Pick it up and the Mantis mission activates right away. You don’t need to kill every enemy for this step, but they drop decent ammo and credits if you’re thorough. Stick to cover and headshots to save resources, especially with a ballistic build.
- Dock with The Almagest station orbiting Nesoi in the Olympus system.
- Board through the main airlock and eliminate the first group of Spacers in the entry corridor.
- Move down the central hallway, checking unlocked rooms for ammo and med packs.
- Bypass or lockpick Novice storage rooms for extra loot.
- Find the “Secret Outpost!” data slate in the crew quarters midway through the station.
- Pick up the slate to trigger the Mantis mission and update your quest log.
- Clear remaining Spacers if you want the XP and salvage.
- Return to your ship via the same airlock and set course for Denebola I-b to continue the Mantis quest.
Once you’ve got the slate, you’re done with Astraeus. The mission transitions straight into the Mantis lair on Denebola I-b, where you’ll face tougher combat and puzzles to claim the legendary Mantis armor and the Razorleaf ship. The station itself is short. Maybe 10 to 15 minutes if you loot everything. Sprint and ignore side rooms? You can grab the slate in under five minutes and bounce.
Dialogue Choices and Consequences

Astraeus Station has almost no dialogue because it’s pure combat and exploration. The Spacers you run into are hostile on sight. No conversation options. The only dialogue trigger happens after you pick up the “Secret Outpost!” slate and return to your ship, when your companion might comment on the discovery. If you’ve got Andreja or another companion with you, they’ll mention the unusual encrypted message, but you can’t change anything by picking different responses.
The lack of persuasion or negotiation on Astraeus is by design. This mission funnels you straight into the Mantis quest without branching paths or faction reputation shifts. You won’t meet any named NPCs who offer choices, and the Spacers attack immediately. Save your persuasion prep for the follow-up missions where you’ll face security systems and rival treasure hunters at the Mantis lair.
When you activate the Mantis mission from your quest log, a brief automated message plays describing the coordinates and a warning about the lair’s defenses. You can’t interrupt or alter this recording. The mission design keeps you focused on combat and loot retrieval instead of roleplay decisions. If you’re hunting for dialogue missions, skip Astraeus and head to UC Vanguard or Ryujin Industries questlines instead, where you get multiple conversation trees and faction consequences.
Critical Dialogue Branch
Because Astraeus Station contains no branching dialogue, there’s no critical conversation that changes mission flow. The closest thing is the choice to bring or dismiss companions before boarding. If you dismiss your companion at the ship, you won’t hear their reaction to the slate, but it doesn’t block progress or alter rewards. Some players prefer solo boarding to avoid companions triggering unnecessary combat or blocking narrow corridors. You can always re-recruit them once you leave the station and prep for the Mantis lair, where their combat support becomes more useful against the higher-level enemies and turret traps waiting on Denebola I-b.
Loot, Gear, and Rewards Breakdown

| Item Name | Location | Type | Value |
|---|---|---|---|
| “Secret Outpost!” Data Slate | Crew quarters desk, mid-station | Quest item | 0 (mission critical) |
| 7.77mm Caseless Ammo | Weapon crates near airlock | Ammo | ~50 credits per stack |
| Med Pack | Medical lockers in side rooms | Aid | ~70 credits each |
| Novice-locked Storage Cache | Locked room off main corridor | Container | 200–600 credits in gear/components |
| Eon Pistol | Dropped by Spacer leader near slate room | Weapon | ~400 credits |
| Adhesive | Engineering storage bins | Crafting component | ~20 credits per unit |
| Mark I Spacesuit Parts | Crew lockers and benches | Armor | ~150 credits per piece |
| Credits (random) | Desks, terminals, enemy corpses | Currency | 500–1,200 total average |
The loot on Astraeus is standard low to mid tier gear. You won’t find unique legendary weapons or rare armor sets here. The real reward is unlocking the Mantis questline, which leads to the legendary armor and Razorleaf ship. Grab ammo and med packs to stock up for tougher fights ahead, and don’t carry heavy, low-value junk like damaged rifles or scrap metal. The Novice room usually holds crafting components (adhesive, sealant, fiber) and a small credit stash, so bring a few Digipicks if you want to max out your haul.
Most players treat Astraeus as a resupply stop rather than a major loot destination. The enemies drop basic ballistic weapons like the Eon pistol and occasional armor pieces, but nothing worth keeping long term unless you’re under-geared early game. Sell the excess weapons at the next vendor and use the credits to upgrade your ship or buy better gear before tackling the Mantis lair on Denebola I-b.
Branching Paths and Alternate Outcomes

Astraeus Station offers no branching mission paths because it’s a linear trigger for the Mantis quest. You dock, fight Spacers, grab the slate, and leave. There’s no way to ally with the Spacers, negotiate safe passage, or skip objectives. The mission design keeps you on rails to funnel you into the Mantis lair without detours or faction reputation changes. If you choose not to pick up the slate, the Mantis quest never activates and you simply leave with whatever loot you grabbed.
The only “alternate outcome” is skipping Astraeus entirely. If you never visit The Almagest station in the Olympus system, the Mantis questline stays locked permanently. You can complete the entire main story and faction quests without ever triggering this optional mission. But skipping it means you lose access to the legendary Mantis armor set and the Razorleaf ship, both of which are top tier rewards for early to mid game players. The armor comes with random enchantments that you can reroll by reloading a save before you pick it up, so most players prioritize this mission as soon as they hear about the slate.
Another minor variation involves how you clear the station. If you use stealth and avoid triggering every enemy group, you can reach the slate faster and reduce ammo consumption. Sprint past the first corridor, crouch to avoid detection in side rooms, and grab the slate without a full firefight. This works best if you have points in Stealth and a suppressed weapon, but it’s rarely necessary since the Spacer enemies are low level and easy to eliminate with basic gear. The outcome stays the same regardless. You leave with the slate and head to Denebola I-b.
- Full combat clear: Kill every Spacer for maximum XP and loot drops.
- Stealth rush: Avoid combat, grab the slate, and exit within five minutes.
- Partial clear: Fight only the enemies blocking the path to the crew quarters.
- Skip the mission: Never visit Astraeus, lose access to Mantis questline permanently.
- Solo vs companion: Board alone for tighter control or bring a companion for extra firepower.
Tips, Best Practices, and Combat Guidance
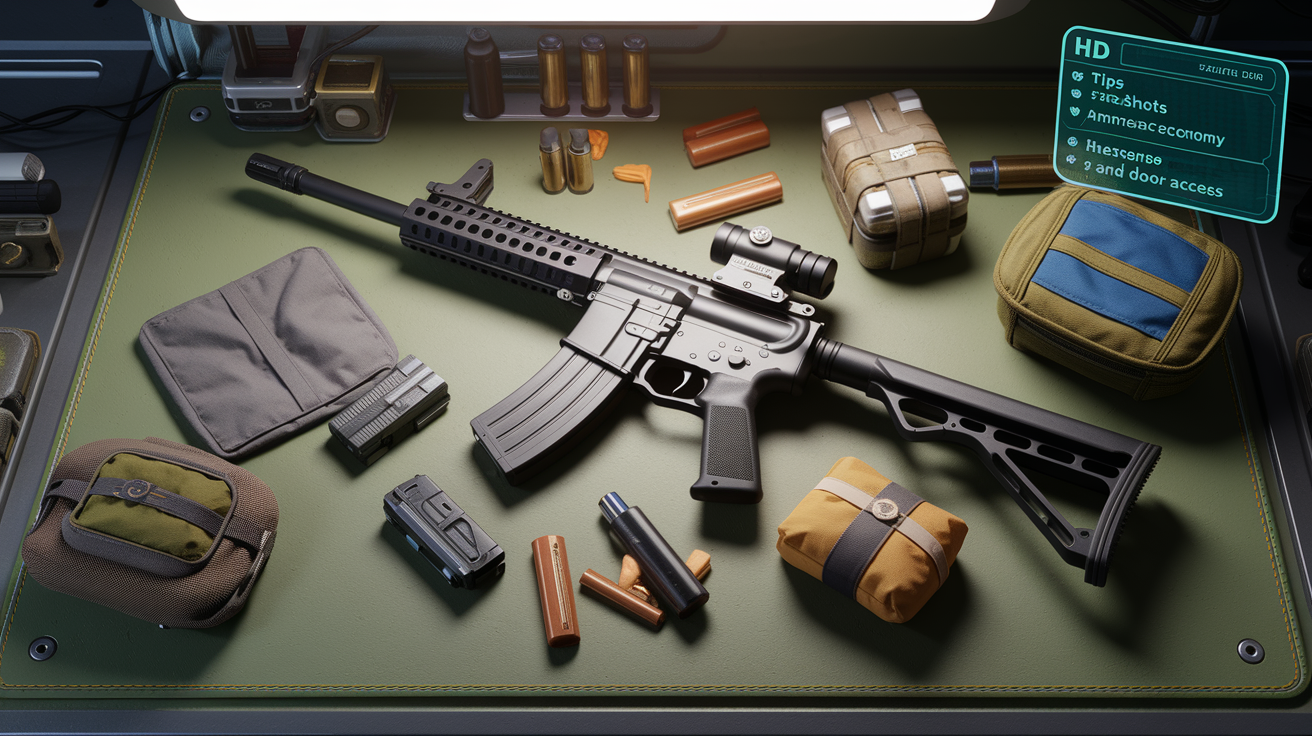
Bring a reliable ballistic rifle or pistol with at least 200 rounds of ammo before docking at Astraeus. The Spacers wear light armor and go down fast with headshots, so accuracy matters more than firepower. If you’re running low on ammo, loot every weapon crate in the first two rooms to restock before pushing deeper into the station. Save your grenades and heavy weapons for the Mantis lair, where you’ll face tougher robots and turret defenses. The station layout is narrow, so explosive weapons can damage you if you’re too close to the blast radius.
Watch for ambush points near doorways and corridor intersections. Spacers like to camp behind crates and benches, so scan each room with your weapon raised before walking in. Use cover to minimize damage and let your shields recharge between firefights. If you brought a companion, position them at choke points to block enemy advances while you flank from the sides. Med packs are plentiful in the station’s medical lockers, so heal freely and grab extras on your way out. The entire mission takes 10 to 20 minutes, so you won’t need a full inventory of aid items unless you’re playing on Very Hard difficulty.
- Check every unlocked container before engaging enemies to grab ammo and med packs early.
- Aim for headshots to conserve ammo against the lightly armored Spacers.
- Bring 2 to 3 Digipicks to unlock Novice storage rooms for bonus crafting components.
- Use your companion as a distraction while you flank or heal behind cover.
- Quicksave before entering each new room in case you walk into a group ambush.
- Ignore heavy, low-value loot like scrap metal and damaged weapons to save carry weight for the Mantis lair ahead.
Final Words
Land at Astraeus Station and run the objectives in order: secure entry, restore power, clear hostiles, then extract with the key NPC. The guide walks every objective, lays out dialogue branches and the critical choice that can change the run, catalogs loot locations, and covers branching outcomes plus combat tips.
Pick dialogue paths that fit your build—persuade for rewards, threaten for speed, stealth to avoid fights. Keep this Starfield Astraeus Station mission walkthrough dialogue choices and loot guide handy, and you’ll finish geared and ready for the next run.
FAQ
Q: How to get all that money can buy Starfield?
A: The way to get everything money can buy in Starfield is to prioritize high-pay missions, farm rare crafting materials, flip high-value loot, run trade routes, and boost speech/Charisma for better merchant prices.
Q: How do you deal with musgrove in Starfield?
A: To deal with Musgrove in Starfield, target him from cover, use high-penetration weapons and EMP or stun grenades, strip shields first, and use dialogue or intimidation if available to avoid a tougher fight.
Q: What is everything money can buy Starfield?
A: Everything money can buy in Starfield includes ships, weapon and armor upgrades, landable outposts, rare crafting components, and crew services; prioritize purchases that boost earning or survivability first.
Q: What remains in Starfield?
A: What remains in Starfield are leftover mission objectives, unclaimed loot, and surviving NPCs; check the mission journal, re-scan rooms, reopen locked containers, and revisit NPCs to trigger follow-up content.