
Think meta snipers own every game? They don’t — you can shut them down in under 15 seconds.
Here’s the quick plan: force close fights, blind their sightlines, and trade before they can rechamber.
Run high-mobility SMGs and shotguns for rushes, fast-ADS ARs for mid-range pressure, and smoke+stun combos for blind pushes.
This piece gives exact loadouts, utility timing, routes, and simple swaps when a build fails.
No fluff — tested builds and rules you can use right now.
Immediate Anti‑Sniper Counter Loadouts and Builds
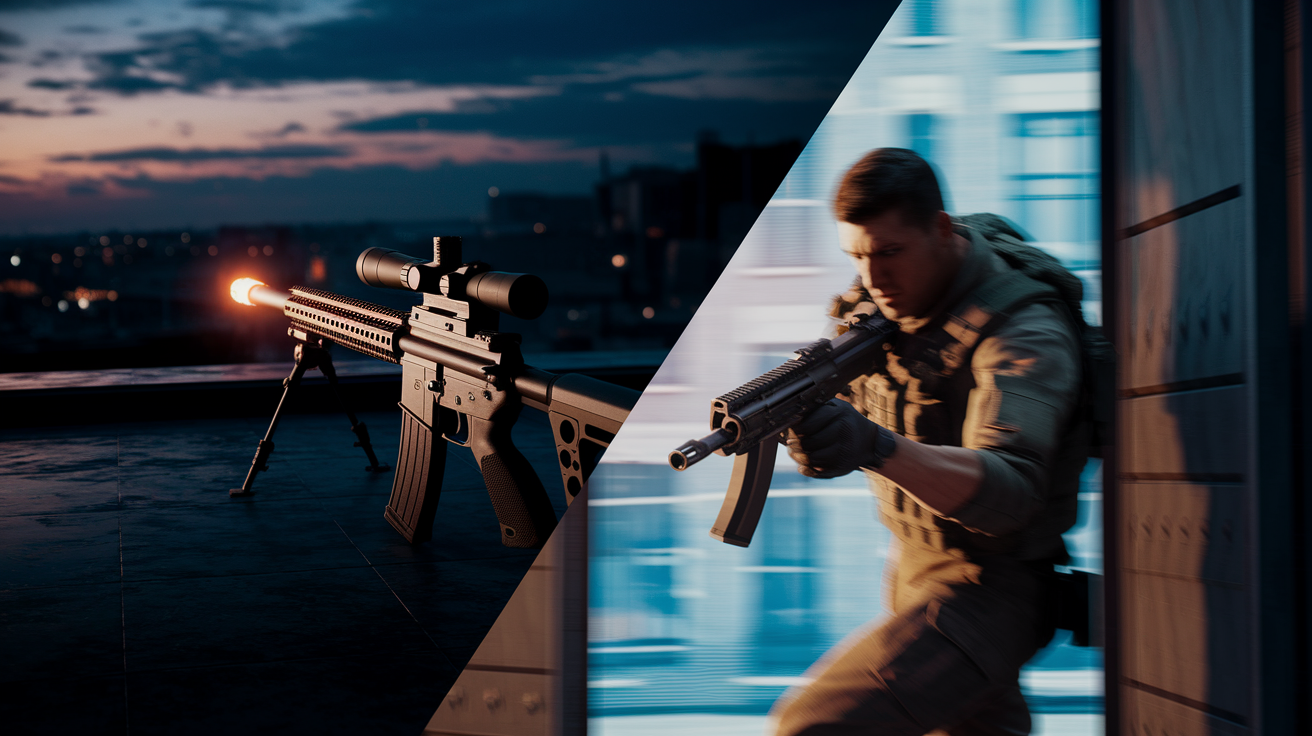
The sniper meta lives and dies on range. HDR, Victus XMR, and KATT AMR all land infinite-range one-shots. Kar98k brings the fastest ADS in its class and reliable two-tap kills to the upper body. Every single one runs suppressors, long barrels, and high-velocity ammo. That setup makes them brutal past 100 meters but weak inside 30. Your counter? Simple. Drag the fight into close quarters with weapons that reset faster than they can work the bolt. SMGs and shotguns kill before the second round cycles. Fast-ADS ARs win mid-range trades when snipers miss or land a body shot. You’re exploiting slow follow-up fire, predictable angles, and tunnel vision.
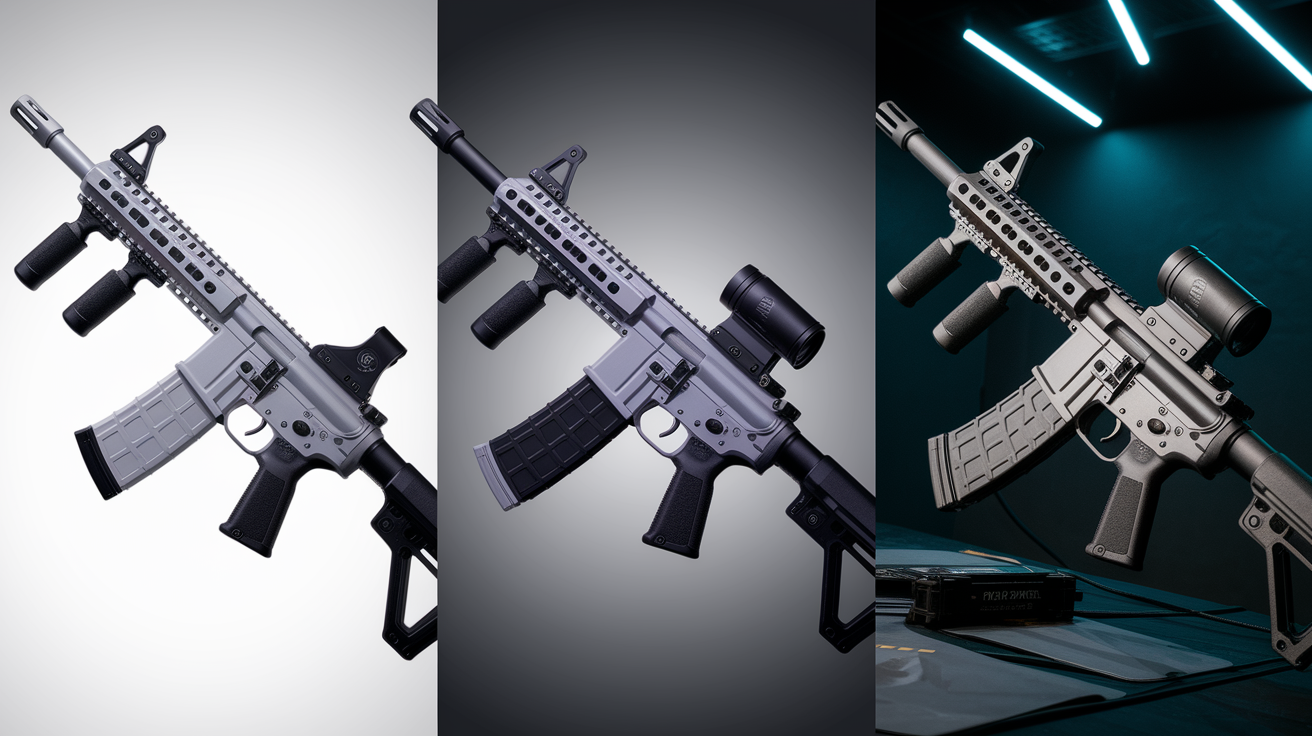
Best Sniper Warzone Loadouts confirms what you’re up against. HDR holds infinite range with high bullet velocity. Victus matches it with one-shot potential at all distances. KATT AMR shares that profile but handles like a truck. Kar98k trades damage for speed, landing consistent two-taps with chest hits. Against this lineup, mobility wins. Best loadouts & Warzone Meta puts Razor 9mm and Strider 300 in S-tier for fast movement and aggressive repositioning. Both fit anti-sniper work perfectly because they close distance faster than heavy rifles can track.
Six counter builds cover every scenario:
SMG Rush (Razor 9mm): Monolithic suppressor, shortest barrel for ADS boost, tac laser for sprint-to-fire, extended mag, stock with mobility buff. Pair with smoke and stun grenades.
Shotgun Door Clear: Haymaker or lockwood variant with choke, fast ADS stock, lightweight bolt, and hipfire laser. Use when breaching sniper nests in buildings.
Fast AR Mid-Range (Peacekeeper Mk1): Suppressor, medium barrel for recoil control, quickdraw grip, optic with 2–3× zoom, extended mag. Pressure snipers at 40–70 meters.
Mobility Pistol Swap (any high-damage secondary): Lightweight trigger, extended mag, tac sprint stock. Emergency tool when your primary runs dry mid-push.
Hybrid Marksman (VS Recon or Carbon 57): Fast ADS optic, short barrel, rear grip for stability, suppressor. Counter-peek Kar98k users with body-shot trades.
Stealth Flank (Dravec 45 or similar SMG): Subsonic ammo, suppressor, stock for movement speed, no laser. Ghost loadout for silent rotations around rooftop campers.
Sniper weaknesses are mechanical. Bolt rifles need 800–1200 milliseconds to rechamber. Semi-autos kick hard enough that follow-up shots miss under pressure. Predictable lanes mean you always know where to smoke or flank.
Mobility-Centered Anti‑Sniper Weapon Choices
Snipers suffer from tunnel vision. While scoped, peripheral awareness drops to zero. A player hardscoped on a tower won’t see the SMG sprinting up the stairwell until it’s too late. Mobility counters that by forcing constant repositioning. When you strafe at full sprint speed, sniper tracking can’t keep up. HDR and Victus need stable aim. If you’re sliding, jumping, or cutting perpendicular to their scope, the shot misses. Then you close another 15 meters before they rechamber.
S-tier mobility picks dominate because they deliver the fastest gun-ready times and movement penalties close to zero. Razor 9mm and Strider 300 both hit max sprint speed with the right attachments. Mid-range, ARs like Peacekeeper Mk1, XM4, and GPR-91 apply constant pressure between sniper shots. Season 1 claims suggest the Buffer Weight Stock removes most recoil from XM4, XMG, and DM-10. If that holds, you can beam snipers at 60 meters with zero compensating input, forcing them off the angle or into cover.
Attachment priorities for mobility loadouts:
Stock: Prioritize anything labeled “mobility,” “lightweight,” or “tactical.” Avoid heavy or precision stocks.
Barrel: Short or no add-on barrel to keep ADS and sprint-to-fire instant. Long barrels slow you down.
Underbarrel: Skip bipods. Use a lightweight grip or nothing.
Rear Grip: Quickdraw or stippled for faster ADS. Never use rubberized or heavy grips.
Ammo: Standard or subsonic if silenced. High-velocity isn’t needed for anti-sniper work under 50 meters.
Recoil matters when you’re closing gaps at mid-range. If your AR kicks too hard, the sniper ducks behind cover and relocates. Low-recoil builds like the Peacekeeper or XM4 with compensator and foregrip let you land consecutive shots while sprinting between cover points. That forces the sniper into a lose-lose. Stay scoped and die to your follow-up damage, or unscope and lose the angle. Fast-swap pistols save you when the main mag runs dry during a final 10-meter sprint. Equip lightweight trigger and tac sprint, then finish with hipfire as you slide through the door.
Tactical Equipment and Utility That Breaks Sniper Control

Open-sightline duels are traps. If you peek a sniper from 80 meters with an AR, you’re betting on your recoil control versus their one-shot potential. You’ll lose that trade more often than you win it. The correct play is utility. Smoke breaks the sightline entirely. Flash or stun forces the sniper to unscope and reposition. Once they’re blind or off-angle, you sprint the distance with an SMG and win the 1v1 before they recover.
Five utility plays that shut down sniper setups:
Smoke Placement for Blind Pushes: Throw smoke halfway between you and the sniper, not at your feet. The cloud blocks their view while you sprint through it. Pop a second smoke at their base if pushing a tower.
Stun Grenade Timing: Throw stun right before you exit cover. Snipers can’t track while stunned. You get 2–3 seconds of free movement.
Flashbang Door Entry: If breaching a building nest, flash the doorway then wide-peek with a shotgun. They won’t see you until after the blast fades.
Cluster or Frag Denial: Toss explosives at common hold spots (corners, behind crates, rooftop edges). Forces reposition and reveals exact location by movement.
Heartbeat Sensor or UAV Intel: Read static positions before committing. If the sniper is hardscoped one direction, flank from the opposite angle.
Smoke-stun combos are the most consistent method. Smoke hides your approach. Stun removes their ability to quickscope your entry. UAV or heartbeat gives you the timing window to execute safely. When you combine all three, the sniper has zero counterplay. Link utility directly to your close-range loadout. If you’re running Razor 9mm or a shotgun, you need smoke and stun in your tactical slots every game.
Movement Patterns and Positioning Tricks That Counter Long-Range Control

Sniper players develop habits. They watch the same three sightlines every match. Doorways, open streets, gaps between buildings. Once scoped, they rarely check flanks until after the shot. That tunnel vision is your window. The goal isn’t to out-aim them. It’s to appear where they aren’t looking and force a close-range reset they can’t win.
Bolt-action timing gives you reusable gaps. HDR, Victus, and KATT AMR all need roughly one second between shots. Kar98k is faster but still requires 600–700 milliseconds. Use that delay. Peek, bait the shot, then immediately re-peek from a different angle while they rechamber. If they miss, you have a full second to laser them with an AR or close another 20 meters.
Five movement techniques that exploit slow scopes:
Zig-Zag Sprints Across Open Ground: Never run straight. Cut left, right, left in 2-second intervals. Tracking a zig-zag at 100 meters is nearly impossible with heavy scopes.
Slide-Cancel into Wide Peeks: Slide past a corner, cancel into ADS, then shoot. You break their pre-aim and force a flick they probably miss.
Vertical Repositioning Between Shots: If shot at from a rooftop, drop to lower ground or climb to their level via a side route. They expect you to stay on the same plane.
Bait Shot with Shoulder Peek, Then Full Commit: Show your shoulder for a split second, pull back, wait for the shot, then wide-peek while they bolt. Free kill.
Unpredictable Crouch and Jump Timing: Randomly crouch mid-sprint or jump over low obstacles. Messes with their lead and crosshair placement.
Re-peeking advantage is huge. After a sniper fires, you know their exact position and that they can’t fire again for at least 800 milliseconds. That’s your window to push 15–25 meters closer or beam them with an AR while they’re defenseless. Kar98k users adapt faster, so apply more pressure. Double-peek, throw stun, or smoke immediately and don’t give them the second shot.
Map-Route Templates and Approach Angles to Beat Sniper Sightlines

Sniper positions fall into four types. Each has a reliable counter-route that bypasses their sightline and puts you in close-quarters range before they notice.
| Sniper Position Type | Approach Route | Counter Utility |
|---|---|---|
| Rooftop / High Building | Interior stairwell from adjacent building, or underground tunnel to base then ladder flank | Stun grenade at top of stairs, heartbeat to confirm exact floor |
| Tower / Elevated Platform | Circle wide to side entrance, use vehicle for initial cover, dismount behind structure | Smoke at base, flash before final climb |
| Long Street / Corridor | Parallel side street or alley, cross perpendicular at the midpoint under smoke | Double smoke to obscure both your start and end points |
| Open Field / Hill Crest | Use terrain dips and natural cover, never skyline yourself, approach from an angle they aren’t watching | UAV to confirm they’re static, then commit to zig-zag sprint |
Apply these templates by identifying the sniper’s sightline, then picking the route that avoids it entirely. Rooftop snipers expect you to cross the street below. Go through the building next door and climb from inside. Tower snipers watch the main road. Take the alley 50 meters left and flank from their blind side. Street snipers hardscope one end. Smoke the middle, sprint across, then push from behind.
Vehicles work when the map is open and cover is sparse. Drive to a position that blocks the sniper’s angle, dismount behind the vehicle, then continue on foot with smoke. On Urzikstan, Vondel, and Ashika Island, most long lanes have at least one parallel or underground route. Use it. The extra 20 seconds of rotation beats dying in the open.
Exploiting Meta Sniper Weaknesses
Every sniper build sacrifices something for one-shot range. Heavy barrels add bullet velocity but kill ADS speed and mobility. High-velocity ammo increases drop-off range but doesn’t help within 50 meters. Suppressors hide the shooter but add weight. The result is a class that dominates at distance and collapses up close.
Bolt-action rechamber time is the biggest weakness. After HDR, Victus, or KATT AMR fires, the player is locked into an animation for roughly one full second. They can’t shoot, can’t sprint, and can’t reload. If you’re within 40 meters when that window opens, you win the 1v1 with any automatic weapon. Semi-auto snipers like the XRK Stalker or Signal 50 avoid the bolt delay but suffer from heavy recoil. Follow-up shots miss unless the player is perfectly stable, and pressure destroys stability.
Four specific punish points:
Miss Punishment: If a sniper misses their first shot, sprint directly at them. They won’t rechamber before you’re in SMG range.
Reload Punishment: Sniper mags hold 5–7 rounds. After the third or fourth shot, they reload. That’s a 2–3 second window with zero threat.
Predictable Re-Peek Punishment: Most snipers return to the same peek after repositioning. Pre-aim that spot with an AR and beam them the moment they appear.
Mobility Punishment: Chase a retreating sniper. They move slower than SMG or AR players. You’ll catch them before they find new cover.
Kar98k is the exception. Fastest ADS and rechamber in the sniper class. Counter it with unpredictable peeks and faster ARs. If you peek the same angle twice, Kar98k wins. If you vary timing and position, their speed advantage disappears. Match their loadout weaknesses to your counter-loadout strengths. Bolt-action? Rush with SMG. Semi-auto? Beam with low-recoil AR. Predictable sightline? Smoke and flank. Static position? Stun and execute.
Anti‑Sniper Loadouts by Player Skill Level
Beginner Anti‑Sniper Loadouts
Start with high-forgiveness weapons. Pick an SMG with strong hipfire and fast handling, like the Razor 9mm or PP-919. Attachments should maximize mobility and ADS speed. Avoid optics. Use iron sights or a simple reflex. Pair the SMG with smoke grenades and stuns. Your entire strategy is: throw smoke at the sniper, sprint through it, throw stun when close, then hipfire or ADS and hold the trigger. Don’t try to out-peek a sniper from range. Don’t challenge sightlines. If you see a glint, smoke it and push. Shotguns work the same way but require even closer range. Use them only when clearing buildings or breaching a known sniper nest. Practice the timing. Smoke, count two seconds, sprint, stun at 15 meters, shoot at 10. Repeat until it’s automatic.
Intermediate Anti‑Sniper Loadouts
Upgrade to hybrid AR-SMG builds that give you flexibility. Peacekeeper Mk1 or XM4 with fast ADS attachments, a low-zoom optic, and a suppressor. These let you pressure snipers at 50–70 meters while still winning close-range if they push back. Learn to bait shots. Peek, pull back, count the rechamber, then re-peek and beam. Use heartbeat or UAV to locate static snipers before committing. Rotate through two or three approach angles instead of one. If the direct route is watched, take the side route. If both are covered, smoke the direct and sprint the side simultaneously. Your loadout should include one stun, one smoke, and either frags or a claymore to deny sniper retreat paths. Test different stocks and grips in private matches to find the ADS speed that feels instant without sacrificing recoil control.
Advanced Anti‑Sniper Loadouts
Exploit meta attachment tuning. If Season 1 claims about Buffer Weight Stock on XM4, XMG, or DM-10 hold true, build around zero-recoil beaming at 60–80 meters. Pair it with a sniper-support SMG for final approach work. Your strategy shifts to map control. Identify sniper likely-hold positions before the match starts, then deny them with early rotations and aggressive UAVs. Force snipers to relocate every 30 seconds by applying constant mid-range pressure. Use advanced movement, slide-cancels into pre-aims, crouch-shot timing, and audio cues to catch repositioning snipers between setups. Run overkill if the lobby is sniper-heavy, carrying both a beaming AR and a rush SMG. Otherwise, run ghost to stay off their heartbeat and UAV, then flank from angles they never check. Record your deaths to snipers and review the routes. Most advanced players die to the same sniper 2–3 times from the same angle before adapting. Don’t repeat that mistake.
Loadout Testing and Patch‑Cycle Updates for Anti‑Sniper Builds
Season 1 Reloaded and integration patches shift weapon dominance every few weeks. ARs get recoil nerfs. SMGs receive range buffs. Sniper handling speeds change. A counter loadout that worked in November might fail in January because the XM4 took a stability nerf or the Razor 9mm lost 2 meters of effective range. You need a testing routine that adapts your builds to each patch.
Testing steps to validate anti-sniper loadouts every cycle:
Read Patch Notes First: Look for sniper handling changes, AR recoil adjustments, SMG damage or range tweaks, and attachment rebalances. If your main counter weapon got nerfed, rebuild immediately.
Private Match Baseline: Test ADS speed, sprint-to-fire, and recoil pattern against bots at 30, 50, and 70 meters. Record times and compare to last patch.
Live Lobby Validation: Run the loadout in 3–5 real matches. Track how many sniper 1v1s you win versus lose. If win rate drops below 60%, the build needs tuning.
Pro and Creator Loadout Analysis: Check high-level streams and meta sites for updated anti-sniper picks. If multiple pros switch from Razor 9mm to a different SMG, investigate why.
The sniper roster includes 13 models. NX Ravager, LW3A1 Frostline, LR 7.62, Essex Model 07, AMR Mod 4, XRK Stalker, Signal 50, SP-X 80, SP-R 208, SA-B 50, LA-B 330, KV Inhibitor, and Carrack .300. Each gets buffed or nerfed independently. When a new sniper enters S-tier, rebuild your counters around its specific weaknesses. If the patch adds a faster-handling sniper, prioritize even faster SMG setups. If it adds a semi-auto with lower recoil, shift to longer-range AR pressure. Testing matters because the meta never sits still. Your counter loadout is only as good as the last patch it survived.
Final Words
In the action you now have clear anti-sniper tools.
Fast SMG and shotgun dives, mobility ARs, smoke and stun combos, plus map flank templates.
Priorities are simple. Close fast with sprint-to-fire tools or force mid-range trades with low-recoil ARs. Use utility to blind and bait. Test the templates by skill tier and patch.
Practice these counter loadouts to beat meta snipers, adapt each season, and you’ll get more clean wins. Keep pushing – small tweaks win matches.
FAQ
Q: How to neutralize snipers?
A: To neutralize snipers, close distance with SMGs or shotguns, use smoke and stuns to blind and flank, sprint-to-fire, and gather intel (UAV/heartbeat) to force repositioning and win close trades.
Q: What hero counters sniper?
A: A hero that counters sniper is one with high mobility, fast close-range burst, or crowd-control—dive characters, stunners/blinders, or shielded frontliners who force short-range fights and ruin scope advantage.
Q: What snipers are in 1 shot in Warzone?
A: Snipers that can one-shot in Warzone include HDR, Victus XMR, and KATT AMR; one-shot potential still depends on distance, hit location (head/upper chest), armor plates, and the current patch.
Q: Who are the 10 deadliest snipers?
A: The 10 deadliest snipers are HDR, Victus XMR, KATT AMR, NX Ravager, LW3A1 Frostline, LR 7.62, AMR Mod 4, SP-R 208, Signal 50, and Carrack .300 — rankings shift with range, builds, and patches.