
Think raw aim wins solo ranked matches?
It doesn’t.
Smart loadouts and movement usually decide who survives.
This guide zeroes in on weapon setups and movement tech that let you win 1v1s, rotate safely, and close games without a squad.
You’ll get exact loadouts like the AS Val and Kar98k, movement tricks like slide cancels and bunny hops, and simple decision rules for when to adapt mid game.
Read on to stop guessing, cut downtime, and turn each engagement into a win or a safe reset.
Meta Loadouts for Dominating Solo Ranked
Solo ranked lobbies punish slow weapon swaps, large magazine dependencies, and inflexible loadouts. You need guns that kill fast, move fast, and adapt to unpredictable 1v1 angles without requiring perfect team coordination or spare ammunition from teammates.
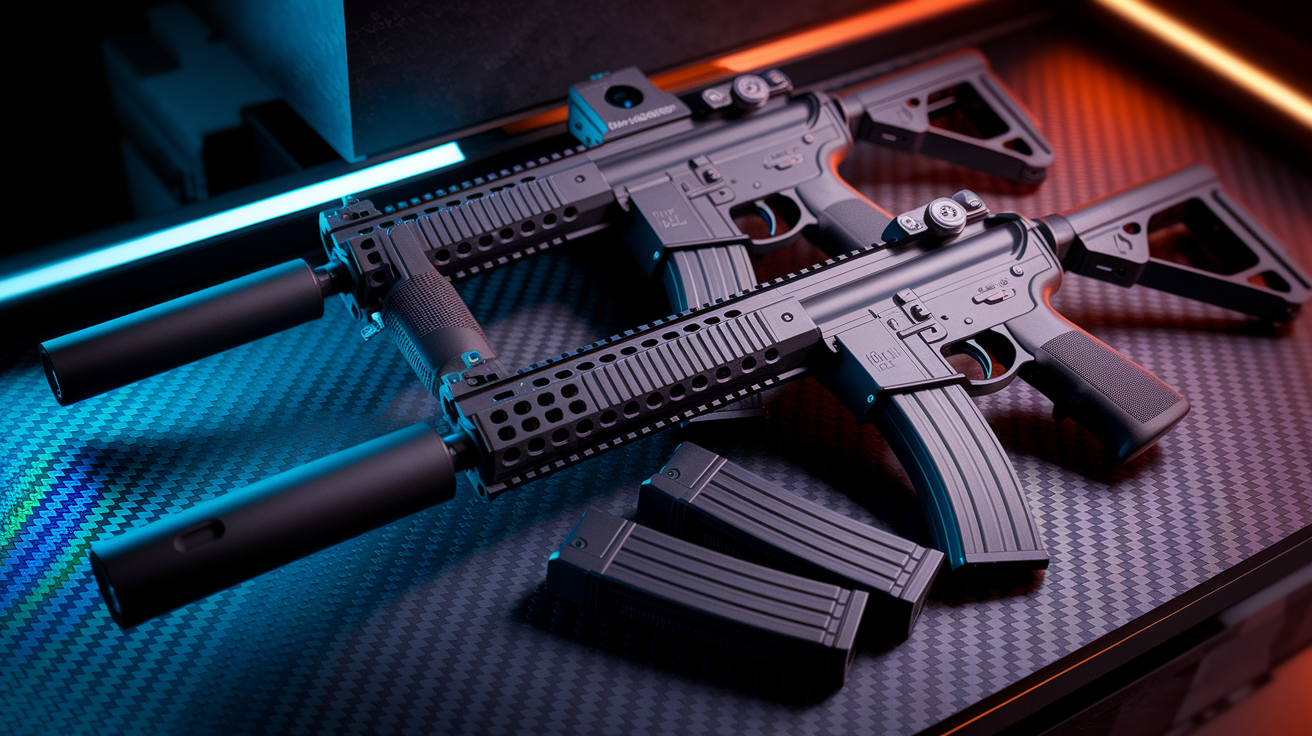
The AS Val remains one of the strongest primaries for aggressive solo players because it delivers a 407 ms time to kill up to 32 meters, roughly 60 ms faster than competing full auto weapons in the same range bracket. That speed advantage turns close to mid engagements into wins before opponents can finish their third burst. The weapon’s built in integral suppressor and clean iron sights free up two attachment slots for recoil control and handling. The 30 round magazine cap forces discipline. You can’t spray and pray through multiple targets, but in solos you rarely face more than one enemy at a time. Pair it with Sleight of Hand to cut reload downtime between isolated fights, or run Tac Laser if you prefer snappier aim down sight speed for sudden encounters.
AS Val Attachments for Solo Ranked: VLK Strelok barrel (recoil stability and range extension), Sleight of Hand (reload speed), Operator Foregrip (vertical recoil control), Stippled Grip Tape (ADS speed), 30 Round Mags (default, no alternative without major downsides)
The Kar98k fills the long range slot with the fastest aim down sight time among viable one shot headshot snipers. All three common choices (Kar98k, HDR, and SP-R 208) deal 250 damage on headshots, but the Kar98k’s default optic sits around 7x magnification and the weapon handles medium range picks better than slower alternatives. Bullet velocity lags roughly 14 percent behind the HDR and SP-R 208 with Norma rounds, but within 300 meters the difference is academic unless you’re threading moving targets across open fields. For solo ranked, you want speed over marginal ballistic perfection because repositioning and quick scoping matter more than holding static long lanes.
Kar98k Attachments for Solo Ranked: Monolithic Suppressor (sound suppression and minor velocity boost), Singuard Custom 27.6″ barrel (bullet velocity and range), Tac Laser (ADS speed), FTAC Sport Comb stock (ADS speed), Stippled Grip Tape (sprint to fire and ADS speed)
An alternative hybrid loadout swaps the sniper for a fast handling SMG like the Lachmann Sub or Fennec, optimized for 0 to 20 meter dominance. Run a suppressor, short barrel for ADS speed, 50 to 60 round drum, laser for hip fire and aim stability, and a rear grip or stock tuned for sprint to fire speed. This setup pairs with an AR primary tuned for 20 to 60 meter effectiveness, using Monolithic Suppressor, long barrel, precision optic or underbarrel foregrip, 60 round magazine, and a stock or grip that balances recoil with mobility. Use Overkill on your first loadout to carry both weapons, then grab a second loadout to swap Overkill for Ghost and avoid heartbeat sensors and UAVs in late circles.
For perks, run EOD in slot one to survive explosive spam, Overkill or Ghost in slot two depending on loadout timing, and Amped in slot three to enable instant weapon swaps between your primary and secondary. Equipment should default to Semtex for the lethal slot due to its short fuse and one shot stick potential, and Heartbeat Sensor for the tactical slot to scout non Ghost runners before committing to pushes.
Movement Techniques for High Skill Solo Engagements

Advanced movement separates players who win fair fights from players who never take fair fights. Slide canceling resets your tactical sprint and shaves critical milliseconds off your aim down sight window, letting you maintain momentum while staying ready to snap onto targets. The mechanic works by chaining sprint into slide, then immediately canceling the slide animation with a jump or duplicate movement input within a 100 to 300 millisecond window. Practice the timing in a private match until the cancel feels automatic. Your goal is to cover ground faster than opponents expect while keeping your weapon nearly pre aimed.
Bunny hopping breaks predictable strafing patterns in close range duels. String together 3 to 8 jumps while mixing left right inputs and occasional crouches to make your head position unpredictable. This works best under 20 meters where aim tracking matters more than pre aimed angles. Beyond that range, excessive hopping slows you down and makes you an easier target. Use jump shots sparingly and only when you’re already pre aimed at upper torso or head height. Experienced opponents will punish the brief loss of strafe control if you telegraph the move.
Slide cancel reset loop: Sprint for 1 to 2 seconds, tap slide, immediately input jump or sprint again within 200 ms, repeat every 2 to 3 seconds during rotations to maintain peak speed and low ADS penalty.
Lateral juke with crouch mix: While strafing left or right, insert a crouch slide input every 1 to 2 direction changes to drop your hitbox and disrupt tracking without fully committing to a slide.
Jump peek contested corners: Approach a corner at sprint speed, jump while turning the camera toward the expected enemy position, pre aim before landing, fire immediately if the angle is occupied.
Dive repositioning under fire: If caught in the open, input a dive forward or to the side, rotate camera 90 degrees mid dive to change your landing direction, then slide cancel immediately on landing to regain momentum.
Fast shoulder peek for intel: Expose only your shoulder for 100 to 200 ms by strafing into cover, then snap back. If the enemy fires you now know their position and can pre aim the angle for a punish.
Camera exploitation matters as much as input speed. Your perspective updates slightly ahead of what opponents see on their screens, so peeking aggressively around corners gives you a 50 to 150 millisecond advantage in spotting and firing first. Abuse this by taking tight angles close to cover and swinging wide only after confirming the space is clear or the enemy is distracted.
Positioning and Rotations for Solo Survival
Solo ranked punishes poor rotations harder than team modes because you have no backup to cover mistakes. Rotate along the circle’s tangent instead of cutting straight through the center. Running edge to edge keeps you out of crossfire and limits the number of angles enemies can shoot from. When the next circle appears, immediately evaluate your current position relative to the new safe zone and pick a route that uses natural cover, ridgelines, or buildings with controlled sightlines. Avoid open fields longer than 20 to 30 meters unless you can throw smoke or confirm the area is clear via UAV or Heartbeat Sensor.
Early game (the first 6 to 8 minutes or first two to three circles) prioritize low traffic looting and complete one to two small contracts like Scavenger, Bounty, or Recon to build cash for loadouts. Skip hot drops unless you’re confident you can secure an early kill and escape before third parties collapse. Mid game (circles three through six) focus on acquiring your loadout one or two times and holding mid elevation positions like two story buildings or compound edges with multiple entry denial points. High ground with natural cover (rooftop edges, ridgelines, window sightlines) gives you better angles and forces enemies to expose themselves during their rotations.
Late game (final 10 to 40 players) positioning beats kills. Hold a compound with a single controllable choke point, place claymores on doorways, and keep a Trophy System active outside to block incoming equipment. Use smoke grenades to create 3 to 6 second safe corridors when forced to rotate across exposed ground. If you’re stuck in a bad position as the circle collapses, wait for another fight to start nearby and use the distraction to reposition while enemies are focused elsewhere. Never rotate into the center of the circle early. Latecomers will spot you first and you’ll have no cover to fall back on.
Winning 1v1s in Ranked Solo Lobbies

Most 1v1s are decided in the first half second by whoever lands the first accurate shots. Pre aim common angles as you move through buildings and around cover, keeping your crosshair at head or upper chest height so you only need to make small adjustments when an enemy appears. If you’re using an SMG within 20 meters, aim to land 6 to 12 bullets depending on your weapon’s time to kill. Controlled bursts beat full auto sprays because recoil climbs fast and missed shots give opponents time to react.
Stuns and flashes create free kills in close quarters. A well placed stun before pushing a room increases your win rate by roughly 30 percent because the enemy can’t track or snap onto you. Throw the stun, count one second for detonation, then push immediately while they’re disoriented. If you don’t have tactical equipment ready, use sound cues to bait shots. Fire a few rounds into a wall or door to make the opponent think you’re pushing, then hold the angle and punish when they over peek.
Gather intel first: Use a Heartbeat Sensor, listen for footsteps, or watch for muzzle flash to confirm the enemy’s rough position before committing to the fight.
Plate up and prep utility: Ensure you have full armor (three plates active) and a stun or Dead Silence ready before taking the engagement unless you’re forced into a reactionary fight.
Take the first clean shot: Pre aim the expected angle, fire as soon as the enemy’s head or upper torso is visible, commit to 2 to 4 controlled bursts with an AR or 6 to 12 bullets with an SMG, then reassess.
Reposition after the knock: Immediately move 3 to 5 meters to a new angle or behind fresh cover, confirm no second enemy is nearby for 2 to 5 seconds, then loot only if you’re behind hard cover.
Spacing determines which weapon wins. If you’re holding an SMG, force the fight under 20 meters by pushing through doorways or using Dead Silence to close distance unseen. If you have an AR, hold 20 to 60 meter angles and disengage if the enemy rushes closer than your optimal range. Against snipers, stay mobile and avoid predictable long sightlines. Force them to miss their first shot and punish while they rechamber or reposition.
Adapting Playstyles: Aggressive, Balanced, and Stealth Approaches
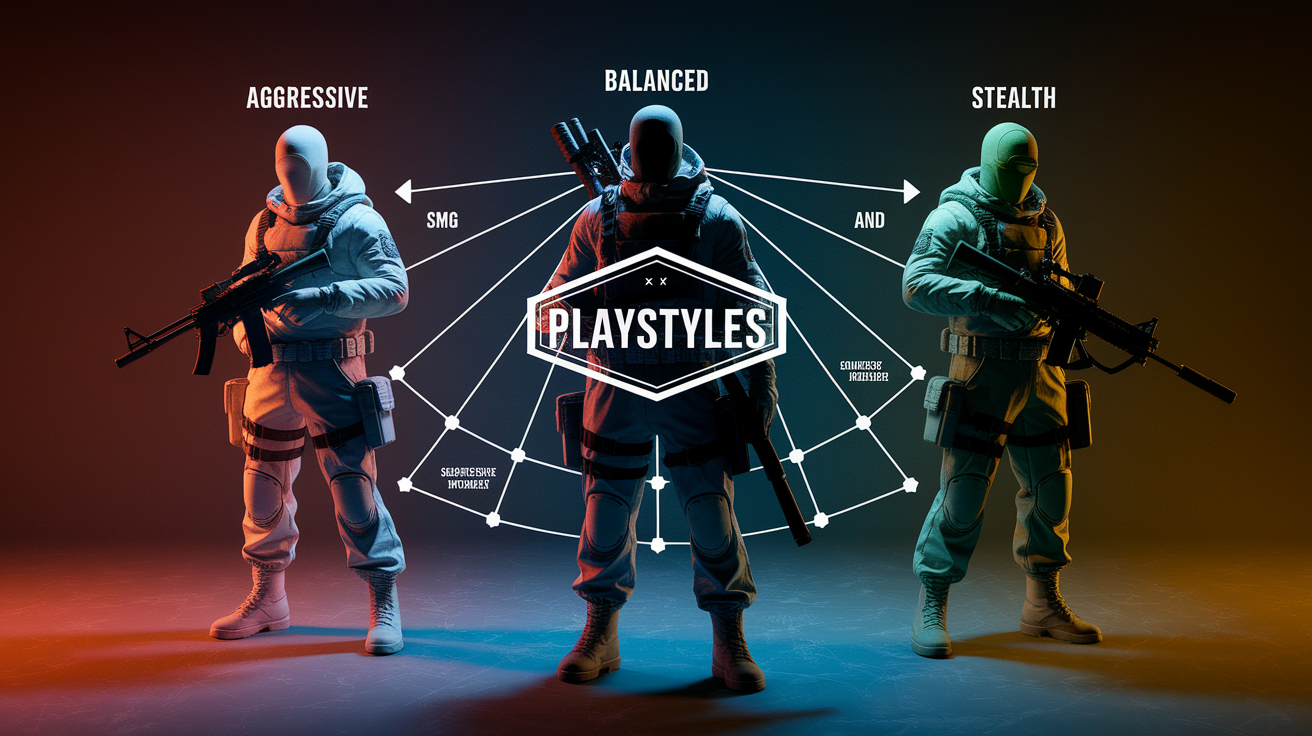
Aggressive solo players run SMG primaries or fast handling ARs, Dead Silence as their field upgrade, and perks like Double Time and Amped to maximize sprint duration and weapon swap speed. The goal is to third party active fights, secure quick kills, and rotate before additional enemies arrive. This playstyle works best in early to mid game when players are spread out and fights are isolated. Carry 50 to 60 round magazines to sustain momentum through back to back engagements, and use slide canceling and bunny hopping to close gaps faster than opponents expect. The risk is running into defensive setups with claymores and Trophy Systems, or getting caught during a reload with no escape route.
Balanced play mixes ARs tuned for 20 to 60 meter effectiveness with a sniper or marksman rifle secondary, using Overkill early and swapping to Ghost after the first loadout. You take fights when you have positional advantage (high ground, cover, pre aimed angles) and avoid unnecessary risks when the circle is still large. This approach prioritizes survival and consistent top 10 placements over high kill counts. Perks favor EOD to survive explosive spam, Ghost to stay off radar, and Battle Hardened to resist stuns during rotations. Use Heartbeat Sensor and UAVs to gather intel before committing to pushes, and rotate along circle edges to minimize exposure.
Stealth focused solos hold angles with long range weapons (LMGs, snipers, or semi auto marksman rifles) and avoid direct fights unless forced. Place claymores on entry points, run a Trophy System to block grenades, and use smoke grenades to rotate unseen across open ground. Perks include Cold Blooded to counter thermal scopes, Ghost to stay invisible to heartbeats and UAVs, and Tracker as an optional third slot to follow enemy footprints for 4 seconds after they pass. This playstyle excels in late game circles where positioning and patience matter more than mechanical skill. The downside is slower looting and lower kill counts, which can hurt ranked progression if the mode rewards eliminations heavily. Switch to this style when you’re low on plates or ammunition and need to survive until the next safe rotate or loadout drop.
Final Words
in the action: you learned the top meta loadouts with full attachments, movement tech that wins fights, smart rotations to survive the late game, crisp 1v1 steps, and when to play aggressive, balanced, or stealth. Pick one loadout and one movement habit to focus on each session.
Treat this as your quick checklist – Warzone optimal weapon loadouts and movement strategies for solo ranked – tweak them by patch and lobby. Small, steady improvements beat risky plays. Keep practicing; you’ll start closing more lobbies.
FAQ
Q: What is the best loadout for ranked Warzone?
A: The best loadout for ranked Warzone is a two-weapon combo: a recoil-stable assault rifle for mid-long range and a high-mobility SMG for close quarters. Prioritize recoil control, sprint-to-fire, and reliable optics.
Q: How do pros move so fast in Warzone?
A: Pros move fast by chaining slide-cancels, bunny hops, sprint-to-fire, lateral strafes and jump-peeks, plus tight sensitivity and timing that preserve aim while breaking enemy tracking.
Q: Is it hard to win Warzone solo?
A: Winning Warzone solo is harder than squads, but achievable with disciplined rotations, strong movement, slot-effective loadouts, and smart third-party avoidance; play for survival early, hunt late.
Q: What is the most OP gun in Warzone?
A: The most OP gun in Warzone changes each season; usually a weapon with top TTK, low recoil, and strong mobility is tagged OP—check the current patch to pick the season’s dominant AR or SMG.