
Expanding your raft first is the fastest way to ruin your early game.
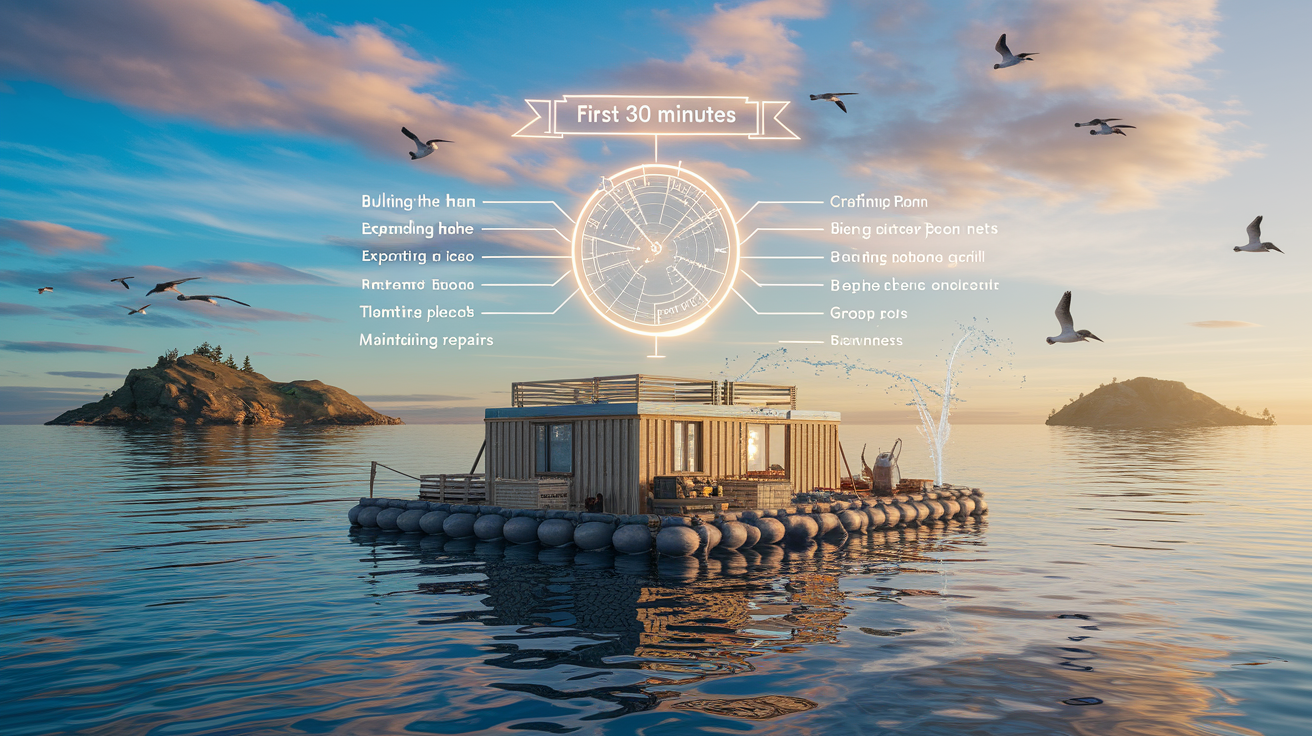
In the first 30 minutes you need a simple priority list: hammer, nets, research table, purifier and grill, then the throwable anchor, so you get passive income, food, and access to islands instead of endlessly collecting the same floating junk.
This guide gives a clear order and hoard targets so new players stop wasting stones, ropes, and planks on decoration and start unlocking the systems that actually move you forward.
Core Early Priorities for [game] Crafting and Materials Management
The first 30 minutes decide whether you’re going to cruise through early progression or spend the next two hours scrambling for materials you already burned through. Early crafting unlocks the systems that pull in passive resources, keep your raft from falling apart, and crack open higher-tier recipes. Without a plan, you’ll waste your starter materials on walls or a nice-looking deck and then realize you can’t build the stuff that actually matters.
Crafting in Raft doesn’t follow a straight line. You need the building hammer to expand. Expansion gives you room for safer collection. Collection lets you set up passive farming. Farming gives you time to build the anchor. The anchor gets you to islands. Each step feeds into the next, but mess up the order and you’re stuck gathering the same planks twice when you should be unlocking new systems.
The worst thing you can do is expand too fast or build decorative garbage before locking down food, water, and passive collection. You need the research table before most recipes even show up, and you need nets before you can keep crafting without constantly stopping to grab debris. Here’s the exact order that keeps you moving forward without backtracking.
-
Craft the building hammer immediately. First thing you do. You can’t expand or build anything without it.
-
Expand your raft by at least 2 squares in each direction. Bigger platform means easier debris collection and room for the core structures you’re about to spam.
-
Craft a wooden spear and keep your plastic hook ready. Spear handles the shark. Hook pulls in floating junk. You need both.
-
Build the research table as soon as you have materials. Most blueprints stay locked until you unlock them here. Priority unlocks are purifier, grill, nets, and anchor.
-
Set up a simple purifier and simple grill. These handle food and water. Without them, you’re drinking seawater and eating raw fish like some kind of survival show contestant.
-
Build 4 to 6 collection nets and place them around raft edges. Nets grab materials while you do literally anything else. Protect them from the shark and repair them the second they break.
-
Craft a throwable anchor using 2 planks, 4 stones, and 4 ropes. Lets you stop at islands to grab materials that don’t float past your raft.
-
Place crop plots under your research table. This blocks seagulls from eating your crops and uses rain to water them, saving your purified water for drinking.
-
Keep your raft repaired constantly. The shark chews edges. Lose a raft section and you lose anything stored on it, including rare materials you can’t replace.
-
Save stones, planks, and ropes for these vital builds. Don’t waste them on extra expansions, decorations, or experimental nonsense until you have steady passive income from nets.
Tiered Breakdown of [game] Crafting Materials for Beginners
Not all materials matter equally, and your starting inventory space is pathetic. Knowing what to hoard, what to use immediately, and what to ignore keeps you from drowning in clutter while still having what you need. Rarity doesn’t always match usefulness. Some common materials unlock more recipes than rare drops.
Use these targets to guide your collection and storage calls. If you’re over the recommended amount, craft something or drop low-priority junk. If you’re under, prioritize gathering before moving to the next step.
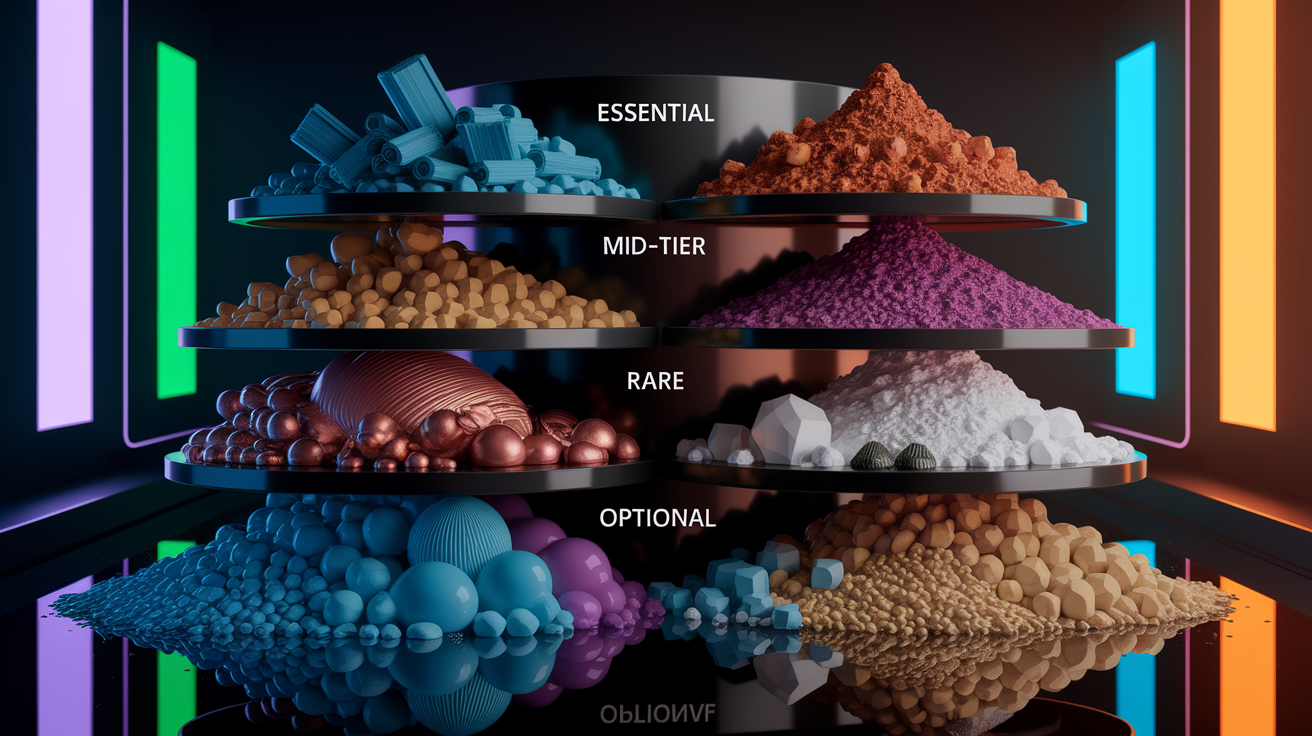
Essential materials (collect and hoard constantly). Planks, plastic, palm leaves, thatch, ropes, stones, scrap metal, and barrels. Aim for 50 to 200 total common materials spread across these types. You’ll burn through them in the first hour.
Mid-tier materials (use selectively, hoard moderately). Copper, vine goo, sand, clay, seaweed, and specific food crops. Keep 20 to 50 of each high-use mid-tier material. These show up in research unlocks and utility upgrades but aren’t required for survival basics.
Rare materials (save unless you have a specific need). Titanium, explosive powder, feathers, circuit boards, and advanced metal ingots. Hoard 1 to 10 of each depending on how hard they are to farm. Don’t convert these into early-game builds or consumables.
Optional cosmetic materials (gather only if inventory allows). Dyes, flowers, decorative blocks, and single-use vanity items. Sell or drop these if you need space. They add zero functional value during the first 30 minutes.
| Material Tier | Priority Level | Recommended Hoard Amount |
|---|---|---|
| Essential (planks, plastic, rope, stone) | Immediate collection required | 50–200 total commons |
| Mid-tier (copper, vine goo, clay) | Use selectively for unlocks | 20–50 per material type |
| Rare (titanium, explosive powder, circuit boards) | Save for mid/late game builds | 1–10 per rare material |
| Optional cosmetic (dyes, flowers) | Low priority, gather if space permits | 0–10, drop if inventory full |
Early [game] Crafting Recipes: Costs, Requirements, and Functional Value

Your first recipes determine how fast you unlock higher-tier systems. Each item below solves a specific problem and opens new gameplay options. Craft them in the order outlined in the Core Early Priorities section to avoid getting stuck.
Hammer
The building hammer costs 3 planks and 3 scrap. It’s the only tool that lets you place, rotate, and expand raft foundations. Without it, you’re stuck on your starting 2×2 raft with no room for structures.
Spear
A wooden spear requires 8 planks, 2 ropes, and 3 scrap. It’s your only early defense against the shark and doubles as a melee tool for clearing seagulls. Keep one equipped.
Research Table
The research table costs 14 planks and 3 scrap. It unlocks nearly every blueprint in the game by letting you research items you’ve collected. Build this before purifiers, grills, or nets, since those recipes won’t appear until you unlock them here.
Purifier & Grill
A simple purifier uses 4 planks, 6 palm leaves, and 4 plastic. A simple grill needs 6 planks and 3 scrap. Together they solve food and water. Purifiers convert saltwater into drinkable cups. Grills cook raw fish and potatoes. Both require fuel (planks or thatch) to operate.
Collection Nets
Each net costs 6 planks, 8 rope, and 2 palm leaves. Nets passively collect debris floating near your raft. Aim for 4 to 6 nets placed along raft edges. The shark will bite them occasionally, so keep repair materials ready.
Throwable Anchor
The throwable anchor recipe is 2 planks, 4 stones, and 4 ropes. It stops your raft next to islands so you can scavenge materials that don’t spawn in floating debris. You need this before visiting your first island, usually around the 20-minute mark.
Gathering Routes and Resource Collection Methods in [game]

Floating debris is your primary source for the first 10 to 15 minutes. Planks, plastic, palm leaves, barrels, and occasional ropes drift past constantly. Use your plastic hook to pull items toward the raft without jumping in the water. The shark patrols below, and swimming wastes time you could spend crafting.
Once you’ve built 4 to 6 collection nets, passive gathering takes over. Nets pull in nearby debris automatically, freeing you to focus on crafting, repairing, and research. Place nets around your raft’s outer edges where debris flows past. The shark will attack nets periodically, so check them every few minutes and repair damage immediately.
Floating debris. Continuous spawns of planks, plastic, barrels, and palm leaves. Collect with the plastic hook while moving.
Collection nets. Passive income once placed. Requires initial material investment but pays back within 10 minutes if protected from shark damage.
Islands (via throwable anchor). Access to sand, clay, flowers, metal ores, food crops, and animals. Use the anchor to stop your raft offshore, then swim or paddle to the island. For more on setting up efficient island gathering cycles, see how to prioritize crafting items in the first 30 minutes?.
Underwater reefs and crates. Copper, scrap, and rare materials spawn below the surface near reefs. Dive only when you have breathing room on food and water, and watch for the shark.
Crop plots under the research table. Plant beets, potatoes, or watermelons in plots placed directly beneath your research table. This position blocks seagulls from eating seeds and uses rainwater automatically, saving purified water for drinking.
Resource Management and Avoiding Common Beginner Mistakes in [game]
Expanding your raft too early spreads out your structures and makes shark defense harder. A compact 6×6 or 8×8 layout is easier to protect and repair than a sprawling 12×12 build. Wait until you have steady passive collection from nets before adding extra space.
Storing rare materials at raft edges is asking for trouble. The shark targets edges first, and losing a corner section can destroy chests, storage, or placed items. Keep titanium, circuit boards, and other irreplaceable materials in central storage where shark damage won’t reach.
Avoid wasting stones and ropes on nonfunctional builds early. You need 4 stones and 4 ropes just for the anchor. Save these materials until core systems are in place.
Repair nets and raft sections immediately when damaged. Delaying repairs compounds damage. A destroyed net stops passive income. A destroyed raft section can delete stored items.
Don’t craft expensive or bind-on-pickup items before checking recipe requirements. Some advanced tools require rare materials. Burning a rare material on a low-impact upgrade locks you out of better recipes later.
Check for multi-use materials and prioritize those in your hoard. Planks appear in almost every recipe. Plastic, rope, and scrap are close behind. Stockpile these over single-use or niche materials.
Protect and maintain collection nets constantly. Losing a net reduces passive income by 15 to 20 percent. Four working nets beat six broken ones.
Conserve rare materials like vine goo, titanium, explosive powder, and feathers for later tiers. These unlock mid-game and endgame builds. Using them early provides minimal benefit and creates regret when you need them for progression.
Progression Roadmap for [game] Crafting (First 0–30 Minutes)
Your first half hour sets up every system you’ll use for the next several hours. Follow this timeline to avoid missing critical steps or wasting materials on low-priority builds.
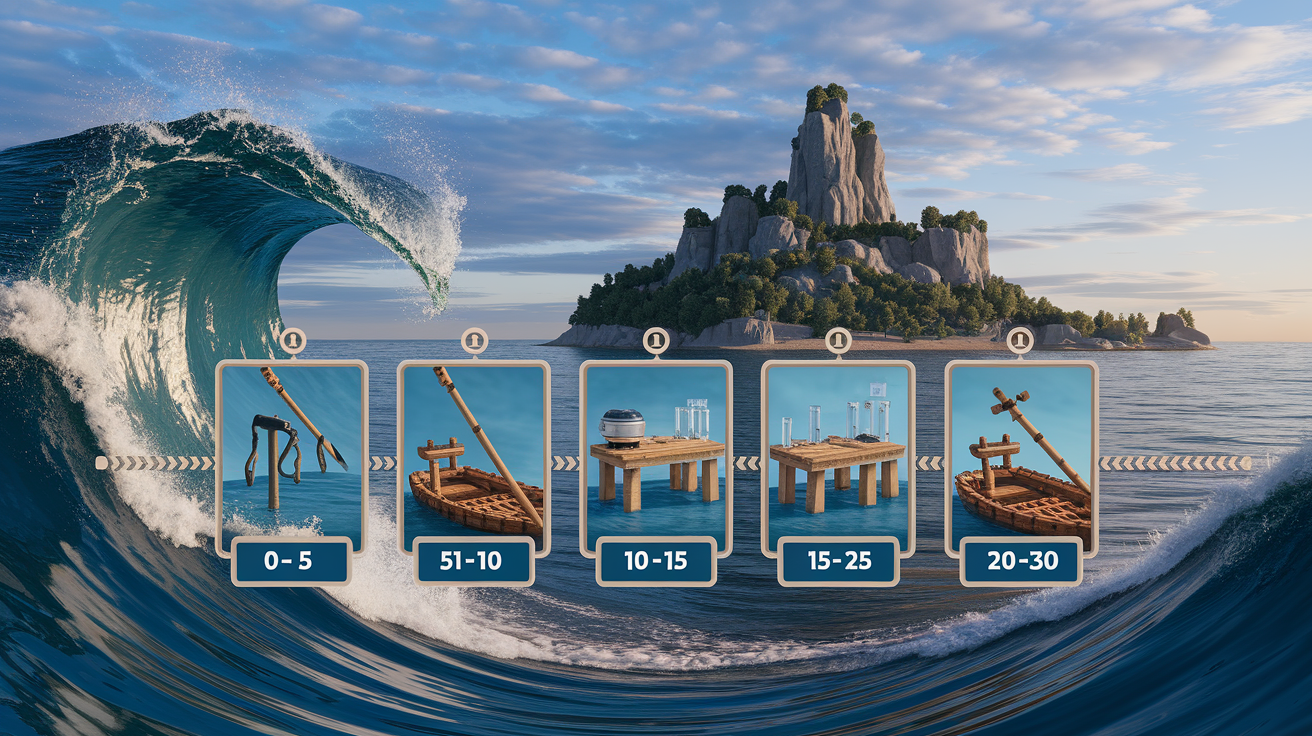
0 to 5 minutes. Craft the building hammer immediately with your starting materials. Expand your raft by 2 squares in each direction to create a stable 6×6 platform. Collect floating debris nonstop using your plastic hook.
5 to 10 minutes. Build a wooden spear for shark defense. Keep your plastic hook equipped and ready to switch. Continue debris collection and start stockpiling planks, plastic, and rope.
10 to 15 minutes. Build the research table as soon as you have 14 planks and 3 scrap. Unlock purifier, grill, and net blueprints by researching items you’ve collected. This is your most important milestone.
15 to 25 minutes. Craft and place your simple purifier and simple grill. Build 4 to 6 collection nets and position them around raft edges. Start passive material collection. Begin gathering stones for the throwable anchor.
20 to 30 minutes. Craft the throwable anchor using 2 planks, 4 stones, and 4 ropes. Make your first island visit to scavenge sand, flowers, and food crops. Place crop plots under your research table and plant your first seeds. Continue repairing nets and raft sections as needed.
Storage, Inventory, and Material Hoarding Strategy for [game] Crafters

Keep rare and irreplaceable materials in storage near the center of your raft, away from edges where shark attacks happen. Centralized storage also reduces walking time when you need to grab materials mid-craft. Expand your storage slowly and only when passive income from nets is steady.
Maintain at least 20 to 40 free inventory slots so you can pick up debris, loot barrels, and collect island materials without constant trips back to storage. A full inventory forces you to drop items or stop gathering, which wastes time and kills your momentum.
Use organized storage tabs or chests. Dedicate one chest to common materials (planks, plastic, rope), one to mid-tier (copper, clay, vine goo), and one to rare materials (titanium, circuit boards). Label or position them logically so you don’t waste time searching.
Consolidate partial stacks weekly. Combine scattered stacks of the same material into full stacks. This frees inventory slots and makes it easier to see what you’re low on.
Crop plots under the research table reduce inventory clutter. Planted crops don’t take inventory space and grow passively. Use this trick to convert seeds into food without managing extra storage.
Protect important storage from edge damage. Place chests holding titanium, rare blueprints, or high-tier materials at least 2 squares inward from any raft edge. The shark will never reach them there.
Final Words
In the first 30 minutes, push the must-dos. Build the hammer, expand your platform, craft a spear and hook, set up the research table, purifier and grill, deploy 4-6 nets, and make the throwable anchor. That kit secures food, materials and island access.
The guide maps material tiers, lists starter recipes, shows gathering routes, flags common mistakes, gives a minute-by-minute progression, and adds storage tips so you stop wasting resources.
Use this [game] crafting beginner guide materials prioritization as your quick checklist: save stones, planks and rope, repair often, and adapt when you miss a timing. Follow it and you’ll stabilize faster and enjoy smoother runs.
FAQ
Q: What are the 5 methods of crafting?
A: The five methods of crafting are handcrafting (one-offs), pattern-based techniques (sewing/knitting), batch production (making multiples), upcycling/recycling, and digital fabrication (3D printing/CNC); pick by scale and skill.
Q: What homemade craft sells the most?
A: The homemade craft that sells most often are small, high-margin items like handmade jewelry, candles, soap, and personalized prints, since low shipping and repeat buyers boost profit—test one product and validate demand.
Q: How to keep track of craft inventory?
A: You keep track of craft inventory with a simple spreadsheet or inventory app that logs item, quantity, materials, location, and reorder point; update in real time, label storage, and run weekly audits.
Q: How long does it take to get 99 crafting osrs?
A: Getting 99 Crafting in OSRS typically takes about 40–120 hours depending on the method and AFK level; efficient routes include dragonhide crafting, glassblowing, or gem cutting—choose by cost and XP rate.