
Think the MWII campaign is just set pieces and cutscenes?
Play it wrong and you’ll waste time, miss objectives, and die at scripted moments, and this guide stops that.
I give clear mission objectives, mission-specific loadouts, and quick recovery lines so you can finish scenes without replaying checkpoints.
From missile runs in Strike to rooftop fights in Borderline, follow these loadouts and simple steps to shave minutes off playthroughs now.
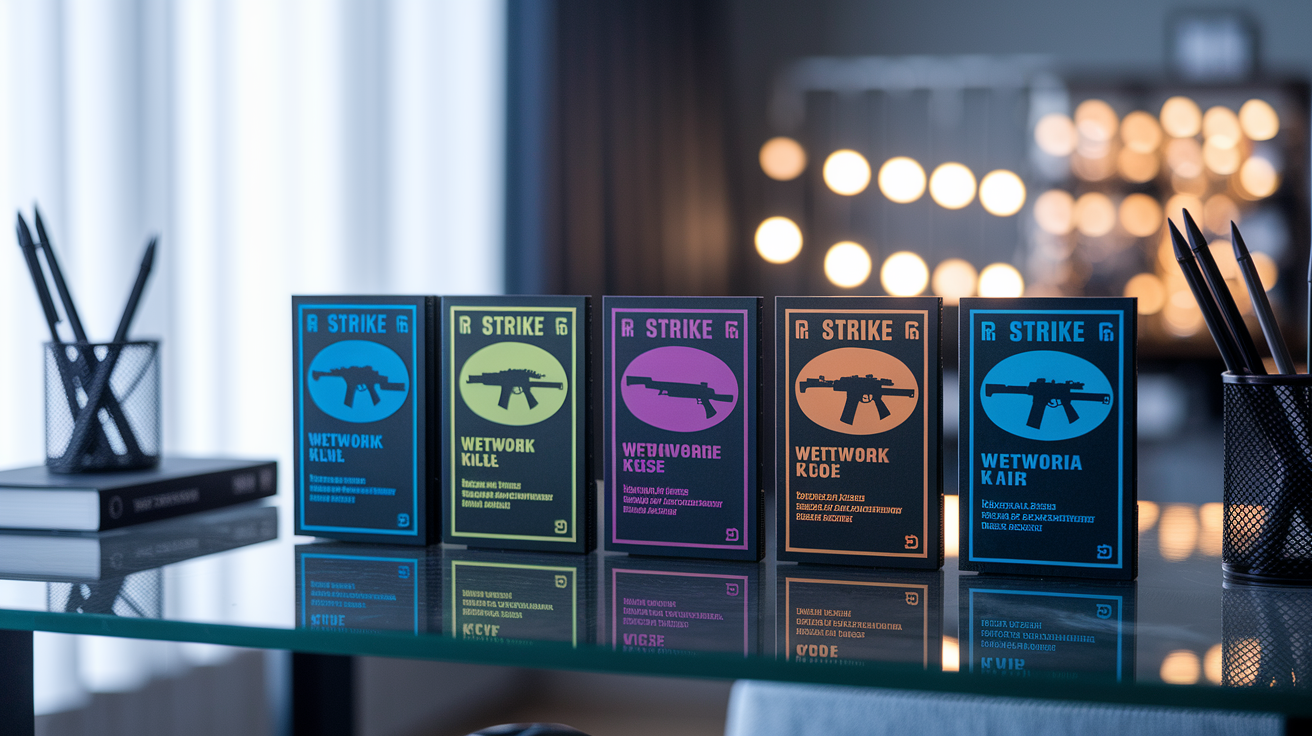
Mission 1 Walkthrough: Strike (Opening Operation)
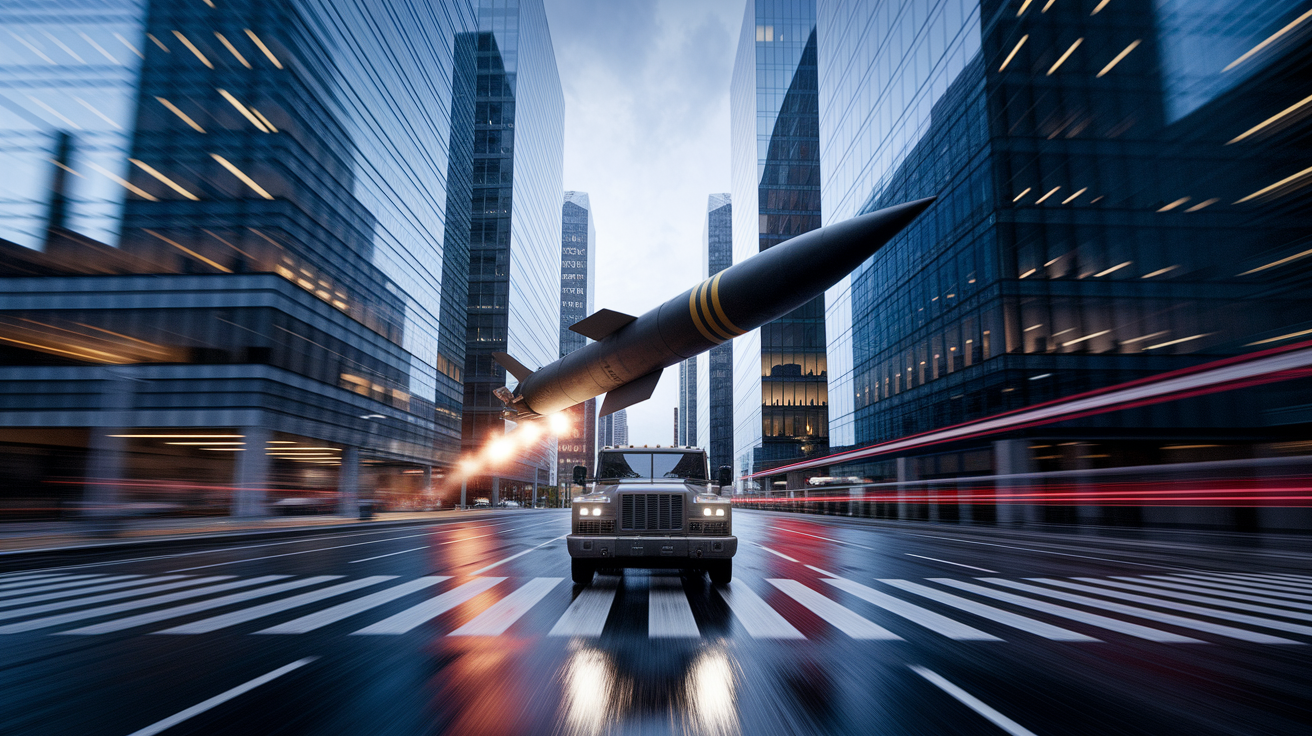
Strike’s your tutorial, basically. You’re watching a convoy roll through the city, then you guide a missile straight into it. The game flips you between ground view and missile cam, and you’ve got to thread this thing through buildings while the targets keep moving.
Your job is simple: blow up three marked vehicles before they leave the zone. You’re steering the missile most of the time, little adjustments here and there. Jerk it around too hard and you’ll slam into a wall or detonate early. You get unlimited tries, but nailing it fast gets you better ratings. After your first hit, secondary targets pop up, armored trucks and fuel depots.
There’s not much shooting back at you since you’re attacking from way up high. The real problem is losing sight of the convoy behind buildings or crashing your missile into stuff. When the targeting reticle goes red, you’re locked. Good to go. If the convoy splits up, go for the lead vehicle first. That triggers what happens next.
How to finish Strike without wasting time:
- Let the convoy clear that first intersection before you launch. Cleaner shot, less junk in the way.
- Steer gently. Keep the missile on the road and you won’t eat a building.
- After the first explosion, the convoy scatters. Immediately go after whoever’s heading north to the bridge.
- For number three, wait until it clears the market. Too many walls and poles otherwise.
- Check your altitude on the HUD. Below 50 meters in the city and you’re probably about to hit something, so pull up a bit.
- Miss a shot? Next missile’s ready in three seconds. Use that time to find the target again on your minimap.
- There’s a fuel depot on the east side you can blow up for bonus intel. Shows up after you drop two convoy vehicles.
- Once everything’s dead, keep your crosshair on the last explosion until the mission complete screen shows up.
Mission 2 Walkthrough: Kill or Capture

Now you’re on the ground in a cramped neighborhood. You breach a safehouse, clear three floors of guys shooting at you, then chase someone who bolts out the back. This one teaches you door breaching, clearing rooms fast, and deciding whether to kill or grab the target at the end.
Enemy spots are scripted. Ground floor’s got two near the door, one in the kitchen. Second floor has four, two in the hall and two dug in at the bedroom. Rooftop’s the target plus two guards. When you breach, time slows down for three seconds. Use it. Mark your threats and drop them before they wake up. Wait too long and they reposition, then you’re walking into an ambush from the side.
After you clear the building, your target runs across the rooftops. It’s timed. Fall 15 seconds behind and you’re back at the checkpoint. Grab the shotgun on floor two before you go after him. You’ll need it in the alleys. Eventually he corners himself in a dead end market, and you pick: kill him or take him alive. Either way, story moves forward the same.
How to handle the indoor fights:
- Breach from the side of the door, not head on. Grenades come through doorways.
- Clear ground floor completely before going up. Skip a room and someone’s gonna shoot you in the back.
- Flashbang the bedroom on floor two. Both guys have shotguns and they’ll drop you in one shot on harder modes.
- Pick up the M4 from the first body. Red dot sight, way better range than your starter pistol.
- During the roof chase, slide under the clotheslines instead of jumping over. Faster, and your gun stays up.
Mission 3 Walkthrough: Wetwork (Stealth Mission)

Wetwork’s your first real stealth run. You’re sneaking into a shipping yard at night through water channels, taking out guards quietly, and pulling intel from an office. One alarm and it’s over. Back to checkpoint. Everything has to be silent, suppressed weapons or your hands.
The map splits into three parts: outer docks, warehouse, admin building. Each section’s got four to six guards walking routes that overlap. They loop every 20 to 30 seconds. Learn the pattern before you move. Best path? Use the east water channel to skip the docks entirely. Surface only to drop the two guards blocking the warehouse door.
Inside the warehouse, stick to shadows between containers. Guards have flashlights that add about 10 meters to their vision. Spot a body and they radio for help, five seconds later the alarm goes off. Hide bodies in containers or dump them in water. Final stretch is the admin building. You hack a terminal while two guards patrol outside. Throw a bottle to distract one, kill the other, finish the hack before the first guy comes back.
Stealth paths that actually work:
- East water gate entrance skips two guard encounters and cuts 90 seconds off your time.
- Inside the warehouse, wait for the foreman to look away before you cross the middle. He stops at the loading door for eight seconds.
- Silenced pistol’s for distance headshots only. Up close, melee’s safer because it never makes noise.
- In the admin building, crouch on carpet. Audio detection drops like 50 percent on soft floors.
Mission 4 Walkthrough: Close Air

Close Air sticks you in an AC-130 gunship gunner seat. You’re supporting a ground team hitting a compound. You’ve got three guns: 25mm gatling, 40mm cannon, 105mm howitzer. Different fire rates, different damage, different cooldowns. The whole thing runs about six minutes and if you miss key targets, your guys on the ground are gonna die.
First wave’s machine gun nests on the outer wall. Use the 40mm, splash damage handles sandbags without needing perfect aim. Second wave brings armored vehicles. Switch to the 105mm and lead your shots a bit, there’s travel time on the round. Last wave’s a building clear. Your team goes in and you kill hostiles in windows and doors without hitting friendlies.
Target priority matters. Shoot whoever’s firing at your team first, you’ll see red muzzle flashes on thermal. Vehicles and heavy guns second. Random guys not shooting can wait. Hit a friendly and you don’t fail, but your rating tanks. Mission’s over when your team grabs intel from inside.
How the AC-130 guns work:
- 25mm gatling: sprays fast, low damage per round. Good for groups behind light cover. No cooldown, unlimited.
- 40mm cannon: medium fire rate, medium splash. Best for emplacements, vehicles, clusters of three to five enemies. Two second reload between bursts.
- 105mm howitzer: one big shot, massive splash, eight second cooldown. Armored targets, bunkers, big groups only. You adjust range manually on far targets.
Mission 5 Walkthrough: Borderline
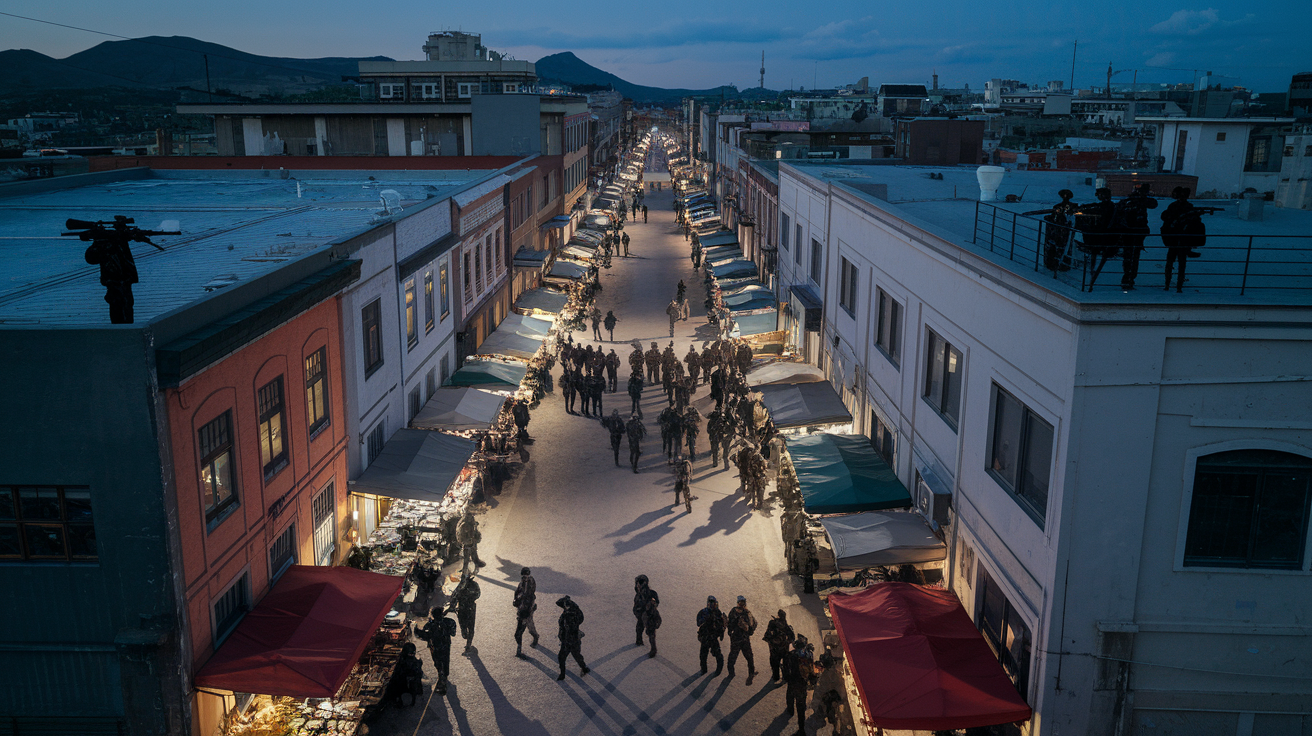
Borderline drops you in a border town with tall buildings, tight streets, and snipers everywhere. You push three city blocks while reinforcements keep showing up from alleys and roofs. You can go ground level through shops, second floor apartments, or across rooftops. Different routes, different enemy counts, different ranges.
Ground’s fastest but you eat fire from windows above. Apartments give you cover but cram you into rooms with two to four guys waiting. Rooftops give you range and a scoped rifle pickup, but enemy snipers on taller buildings will wreck you. Most people mix it up, use ground to move fast, then go high when sniper fire gets heavy.
Snipers are the big problem. Fixed spawns, you’ll see scope glint. Kill them before you cross streets. Halfway through there’s a defense bit, you hold a market square for 90 seconds waiting for extract. Enemies push from three sides: north alley, east roofs, south street. Post up behind the overturned truck and rotate between lanes as they come.
Clearing buildings without dying:
- Grenade every room before you go in. Enemy spots randomize inside rooms but they’re always there.
- Clear ground floor completely before you take the stairs. They hear you walking above and they’ll pre-aim the exit.
- Watch for scope glint before you cross streets. Wait three seconds after a sniper shot, then move.
- Grab the scoped M16 on the second floor of the blue apartment. One shot kills on unarmored guys, better range than your starting gun.
- Market defense, hit the north alley first. Most enemies, closest to you.
- Only use the mounted gun on the truck if you’re getting swarmed. You’re stuck in place and snipers will target you in 10 seconds.
Recommended Loadouts by Mission
| Mission | Recommended Loadout | Purpose |
|---|---|---|
| Strike | Default (missile control) | No weapon choice, mission uses guided ordnance only |
| Kill or Capture | Shotgun + flashbangs | Close quarters breaching, high burst damage for indoor rooms |
| Wetwork | Silenced pistol + throwing knife | Stealth kills, zero noise, body concealment in water zones |
| Close Air | AC-130 weapon suite | Air support role, no ground loadout |
| Borderline | Scoped rifle + frag grenades | Counter sniper engagements, clear rooftop positions, grenade spam in market defense |
After Mission 2 you can carry two primaries and grab weapons off the ground. Stealth stuff like Wetwork locks you into suppressed guns, but you can swap between silenced pistol and silenced SMG depending on distance. Vehicle missions and mounted gun parts ignore your loadout completely, you use what they give you.
Urban firefights like Borderline, go for extended mags and controllable recoil. M4 carbine and SCAR-H show up as pickups in most combat missions, they handle 10 to 50 meter fights well. Skip shotguns unless you’re clearing rooms. Past eight meters they’re useless and rifle guys in streets or hallways will trade you out.
Collectibles, Intel, and Hidden Items

Campaign’s got optional intel scattered around, usually in side rooms, behind breakable walls, or upstairs away from objectives. Grab everything and you unlock bonus story bits plus an achievement. Most missions have one to three, stealth and exploration ones like Wetwork go up to five.
Intel looks like glowing documents, laptops, audio logs. They don’t affect anything but they’re easy to miss during fights. Best way to collect: clear all enemies in an area, then backtrack through side paths before you move to the next objective. Some are locked behind doors that only open after you finish certain objectives, so recheck old rooms after big mission moments.
Where to find collectibles in early missions:
- Mission 2 (Kill or Capture): Kitchen counter (ground floor), bedroom closet (second floor), rooftop near the water tank.
- Mission 3 (Wetwork): Laptop in warehouse manager’s office, needs lockpick or you find the key on a guard. Second one’s underwater near the east water gate.
- Mission 5 (Borderline): Audio log in blue apartment bathroom (second floor), weapon blueprint in market armory room (locked door, key’s on a dead soldier by the overturned truck).
- Bonus weapons: Mission 3 has a suppressed sniper in a shipping container on the north dock. Only accessible if you skip the water shortcut and take the long way.
Difficulty and Strategy Adjustments

Crank the difficulty and enemies hit harder, aim better, spam grenades more. Your health regen slows down. Recruit and Regular let you tank four to six rifle hits. Hardened drops that to two or three. Veteran? Snipers and shotguns one shot you, so every fight’s lethal and cover beats speed every time.
Enemy AI gets mean on higher settings. They flank, flush you out with grenades, call backup faster. Borderline on Veteran spawns extra snipers and shrinks the window for crossing streets. Stealth missions like Wetwork cut detection grace time. Recruit gives you two seconds after entering line of sight before alarm, Veteran gives you under one.
Ammo matters on Veteran. Can’t spray and pray, mag counts are limited and you need headshots to drop people efficiently. Pick up enemy guns, especially rifles with optics. Save grenades for groups or destroying cover. Wasting a frag on one guy is a loss when that grenade could’ve cleared three later.
What changes on Veteran:
- Use cover always. Stand in the open more than three seconds and you’re dead, they don’t miss at medium range.
- Pre-aim spawns and doors. Most ambushes are scripted, same spots every time regardless of difficulty.
- Carry a scoped weapon for outdoor missions. Engaging snipers at range before they see you is the difference between moving forward and respawning over and over.
Final Words
In the action, you got a step‑by‑step plan for Missions 1–5: Strike, Kill or Capture, Wetwork, Close Air, and Borderline. Each walkthrough covers movement, when to fire, and key enemy positions.
You also received mission loadouts, collectible spots, and difficulty tweaks so you can swap tactics mid‑run. Quick rules: suppressed for stealth, assault rifles for sustained fights, reset if you lose positioning.
Keep this Call of Duty Modern Warfare II campaign mission walkthrough objectives and loadout checklist handy. Play the plan, adapt, and expect cleaner runs.
FAQ
Q: What are all the MW2 campaign missions?
A: The MW2 campaign missions vary by release. Modern Warfare 2 (2009) contains 18 missions (including “No Russian” and “Wolverines!”); the 2022 Modern Warfare II reboot has a different mission list — check the in-game menu or a wiki for the full roster.
Q: What is the most controversial Call of Duty mission / What is the controversial mission in MW2?
A: The most controversial Call of Duty mission is “No Russian” from Modern Warfare 2 (2009), which depicts an airport massacre and sparked debate over player involvement in civilian-targeted violence.
Q: Can you save Roach and Ghost?
A: You cannot save Roach and Ghost in MW2; their deaths are scripted narrative events in the campaign, so players cannot prevent those outcomes during normal gameplay.