
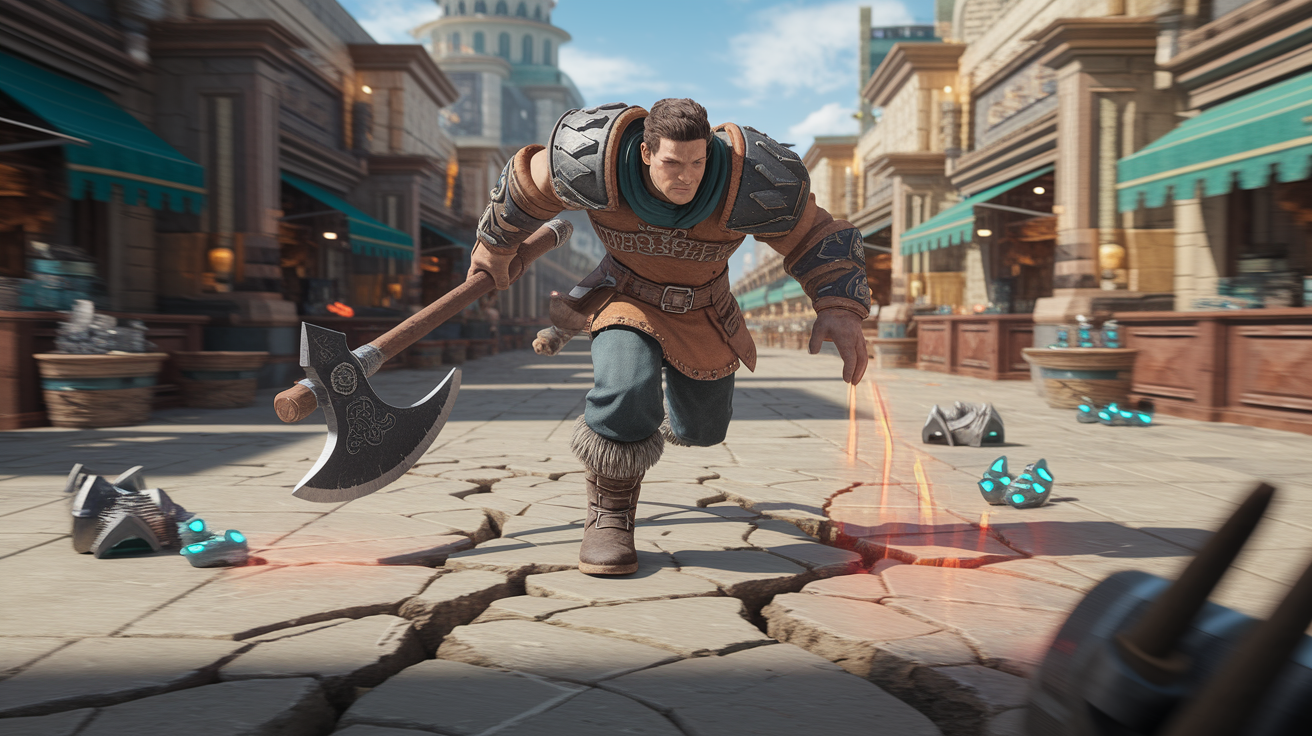
Controversial take: you can outlevel players with expensive gear using a cheap two-handed setup.
Skip the wallet.
Use a high physical DPS two-handed weapon you can equip.
Stack life and resistances on cheap armour.
Use Ground Slam early, swap to Boneshatter or Earthquake around level 28.
Link with Melee Physical Damage and Ruthless, vendor-friendly supports that spike damage.
Buy a Quicksilver Flask and prioritize movement between packs.
This intro shows the exact low-cost pieces and when to upgrade.
You’ll hit Act 6 faster without farming or trading.
Top Low-Cost Melee Setup for Rapid Early Progress (Start Here)
The fastest budget melee loadout is straightforward: grab a two-handed weapon with high physical damage and stack Armour gear that keeps you alive without slowing you down. You want the highest DPS weapon you can equip at your current level, then cheap defensive pieces with life, resistances, and movement speed. This works because early enemies die fast. Raw damage clears packs quicker than any defensive trick, and basic Armour pieces drop constantly or cost next to nothing from vendors.
Start with Ground Slam right after your tutorial boss. It hits in a wide angle, so you’re clearing multiple enemies per swing without repositioning. At level 28, switch to Boneshatter if you want faster clear with strike mechanics, or stick with Earthquake if you prefer stationary burst on tougher packs. Link your main attack with Melee Physical Damage Support and Ruthless Support the moment you unlock them. Both are cheap vendor pickups and give massive damage jumps for zero currency. Grab a Quicksilver Flask from any act vendor as soon as you can. Movement speed between packs is half your XP per hour.
Defensive survival comes from stacking Maximum Life wherever possible and keeping elemental resistances at least 60 percent by Act 5. Most budget Armour bases drop naturally or cost one or two Chaos Orbs if you want specific stats. Use Essences you find during Acts 2 and 3 to guarantee a life roll on any rare helmet or chest with better base armour than what you’re wearing. You can assemble the entire loadout by Act 3 without farming or stopping to trade, and every piece stays relevant into Act 6 if you keep weapon upgrades consistent.
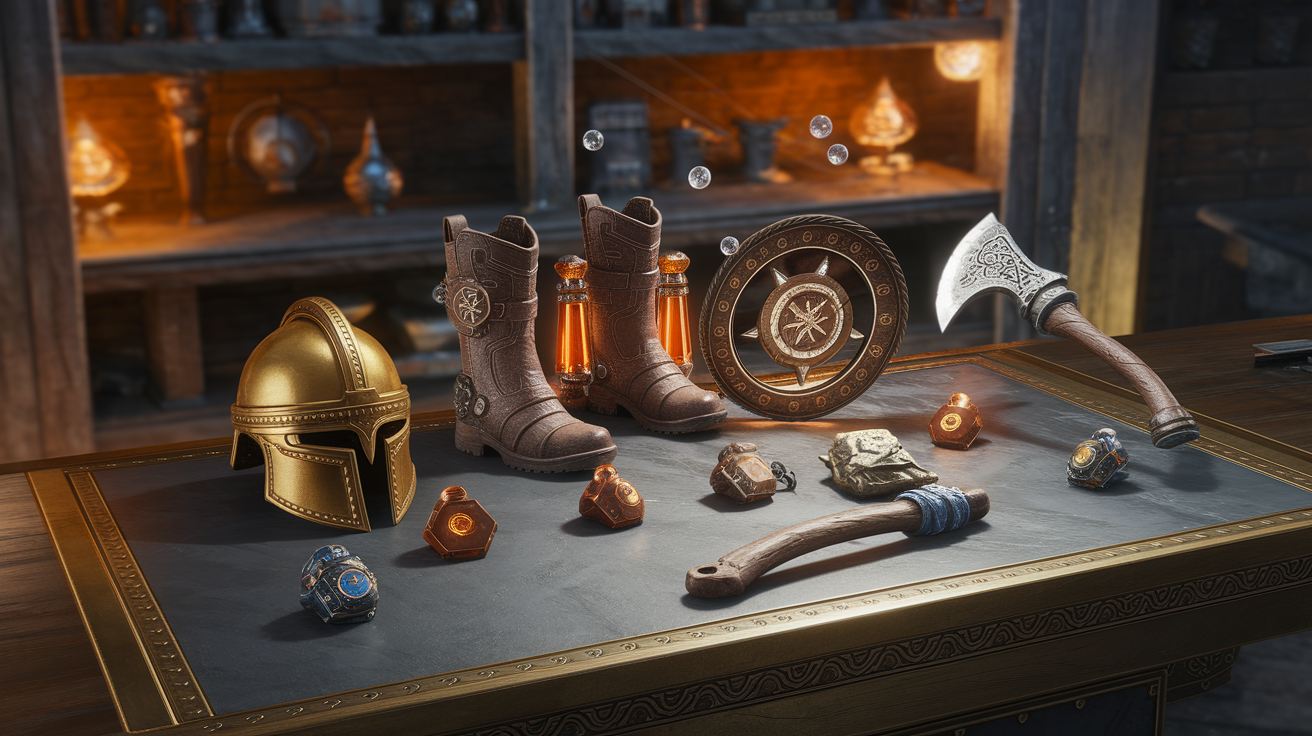
Main Weapon: Two-handed Axe with the highest Physical Attack Damage you can equip. Check vendors every new act. At level 13, Limbsplit is a strong cheap unique with a +1 to Strength gems bonus. At level 44, Rigwald’s Charge becomes the best budget choice if you can afford it early.
Backup Weapon Option: If axes aren’t available, use a two-handed Sword like Shiversting at level 14. It gives Cannot be Frozen on the weapon itself and solid physical damage.
Helmet: Goldrim unique (usable from level 1) for massive elemental resistance, or any rare Armour helmet with life and resistances if Goldrim costs too much. Goldrim often costs under 1 Chaos Orb early league.
Chest: Tabula Rasa if you can afford it. Six white sockets let you run a full 6-link setup immediately. Otherwise, grab a four-link rare Armour chest with life and resistances. Tabula can be farmed via Humility divination cards if you’re patient.
Gloves and Boots: Any rare Armour base with life, resistances, and movement speed. Wanderlust boots (unique, level 1) give 20 percent movement speed and freeze immunity for very low cost. Excellent budget pick.
Belt: Meginord’s Girdle (level 8 unique) adds Strength, Cold Resistance, and life. Costs under 1 Chaos Orb and works perfectly for budget strength-stacking.
Rings and Amulet: Two rare rings with life and resistances. If you have a few Chaos Orbs, Le Heup of All (level 24) gives balanced damage, resistances, and attributes. For amulet, Atziri’s Foible (level 16) reduces stat requirements and adds mana. Helpful if your gear demands high Strength.
Secondary Budget Melee Builds for Different Playstyles
If you want more survivability and slower, heavier hits, swap the two-handed Axe for a two-handed Mace and use Earthquake as your main skill. Maces give access to stun mechanics and pair well with Resolute Technique, which guarantees every hit lands without needing accuracy investment. Use Geofri’s Baptism at level 27 as your budget mace. It fits Resolute Technique builds perfectly and costs almost nothing. Pair it with Determination aura for extra armour and a Granite Flask to spike your physical mitigation during dangerous packs. This version is slower to clear but much safer in rippy Acts like 5 and 6, where spike damage can kill glass-cannon setups.
For players who prefer speed over raw damage, build around Boneshatter with maximum attack speed stacking. Use claws or fast one-handed axes if you can’t afford a good two-handed base. Link Boneshatter with Ancestral Call Support plus Faster Attacks Support. Stack flat physical damage on rings and amulet instead of focusing only on weapon base damage. This version clears faster because Boneshatter’s Trauma stacks ramp your damage as you fight, and the on-kill speed from Blood Rage keeps you mobile. The tradeoff is survivability. Boneshatter causes self-damage per stack, so you need life leech or a source of life gain on hit. Thief’s Torment ring at level 30 solves this problem if you can afford it, though it blocks your second ring slot.
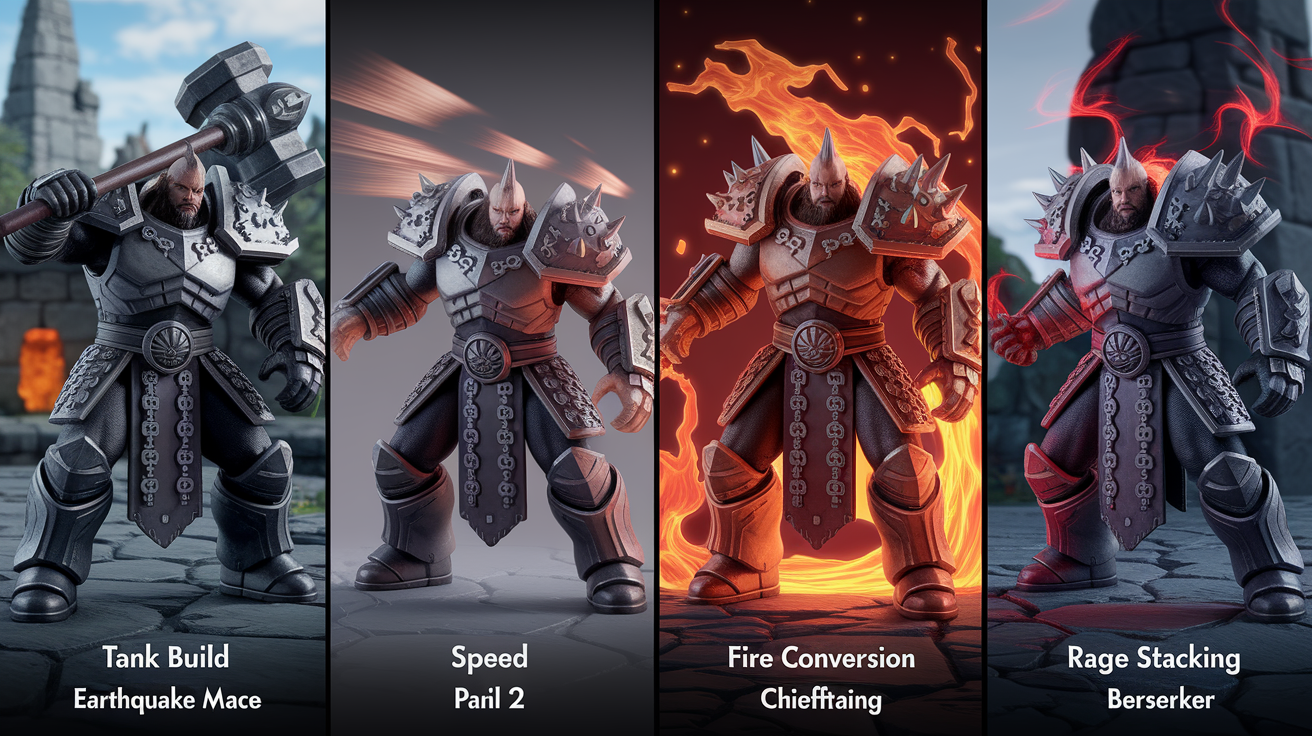
Tank Build (Earthquake + Mace): Use Geofri’s Baptism mace, stack armour and endurance charges, run Determination aura. Best for players new to melee who want forgiveness on positioning mistakes.
Speed Build (Boneshatter + Claws): Fast attack speed, Ancestral Call for range, Blood Rage for speed. Use Thief’s Torment for sustain. Best for experienced players comfortable with self-damage risk.
Fire Conversion Build (Chieftain): Convert physical to fire using Chieftain Ascendancy, swap Brutality Support for Elemental Damage with Attacks. Use Herald of Ash and add fire damage on gear. Best if planning to transition into Ngamahu’s Flame or other fire-based endgame weapons.
Rage Stacking Build (Berserker): Focus on Axe Mastery node that grants 1 Rage on hit. Use Rage Support and stack attack speed. Highest damage ceiling but requires constant leech to stay alive.
How to Acquire All Suggested Gear Quickly
Most budget melee pieces come from three sources: act vendors, common enemy drops, and cheap unique items traded for 1 Chaos Orb or less. You don’t need to farm specific zones or run side content to assemble the core loadout. Focus on progressing through acts at normal speed and checking vendor inventory every time you level up or enter a new town.
Goldrim (helmet): Trade for 1 Chaos Orb or farm Twilight Strand in Act 1 repeatedly if playing solo self-found. Drops from Hillock or random early-zone enemies. Can also be acquired via The Carrion Crow divination card set.
Tabula Rasa (chest): Farm The Humility divination card in The Blood Aqueduct (Act 9) or Aqueduct (Act 4). You need 9 cards for a full set. Alternatively, buy for 10 to 20 Chaos Orbs early league, or skip entirely and use a rare 4-link Armour chest.
Wanderlust (boots): Extremely common drop from Act 1 to 3 enemies, or buy from other players for 1 Alchemy Orb. Check vendors in Act 1 town after every level-up. Sometimes appears in inventory.
Meginord’s Girdle (belt): Trade for under 1 Chaos Orb, or farm Act 2 zones like The Old Fields or The Riverways. Drops from rare enemies and chests.
Two-handed Axe (weapon): Check every act town vendor for the highest physical damage base available at your level. At level 13, trade for Limbsplit (costs 1 Alchemy Orb). At level 44, save Chaos Orbs to buy Rigwald’s Charge if affordable.
Atziri’s Foible (amulet): Common unique, trade for 1 Alchemy Orb or farm Act 3 zones. Not essential but very helpful if stat requirements are blocking gear upgrades.
Essences for rare gear: Pick up every Essence you see during Acts 2, 3, and beyond. Use low-tier Essences (Whispering, Muttering) on any Armour base to guarantee life or resistance rolls. Essences are free and plentiful.
Flasks: Buy a Quicksilver Flask from any Act 1 vendor after reaching town. Upgrade to a Silver Flask in Act 2 or 3 for attack speed boost. Granite Flask drops commonly in Act 2. Pick it up for extra armour during tough fights.
Stat Allocation Priorities for Melee Optimization

Strength is your primary stat because it unlocks higher-tier melee weapons and adds a small amount of maximum life per point. Early on, allocate enough Strength to meet the requirements of your current weapon and chest armor, then ignore further manual stat investment unless a specific piece of gear demands it. Most melee builds naturally path through Strength nodes on the passive tree, so you’ll gain enough incidentally without spending attribute points. If you’re using a skill like Boneshatter that scales with attack speed, invest your remaining points into Dexterity only if your gear or support gems require it. Otherwise, let passive tree pathing handle attributes and spend leveling rewards on flask upgrades or extra skill gems.
Accuracy is critical until you take Resolute Technique on the passive tree. Without Resolute Technique, missing attacks wastes time and lowers your effective DPS, which slows leveling. Check your character sheet. If your chance to hit is below 85 percent, either grab a few accuracy nodes near your starting area or use a piece of gear with flat accuracy. Once you allocate Resolute Technique (usually around level 20 to 30 depending on your tree path), you can ignore accuracy entirely because the keystone makes all attacks hit automatically. This frees up gear slots and passive points for pure damage or life scaling.
Life and resistances outweigh all other defensive stats during early leveling. Aim for at least 60 percent Fire, Cold, and Lightning resistance by the time you finish Act 4, and push toward 75 percent before entering Act 6. Every 300 maximum life you add from gear and passives roughly doubles your survivability against the spike damage in Acts 5 and 6. Prioritize life rolls on every rare gear slot, and path toward life clusters on the passive tree early. Nodes that give 10 percent increased maximum life or a flat +50 life Mastery are extremely efficient. Armour helps reduce physical damage but won’t save you from elemental burst, so balance both but favor life and resistances first.
Progression Path: Transitioning Into Mid-Game Melee Builds
Your early-game loadout starts breaking down around level 60 when map-tier content demands better scaling and your budget uniques no longer compete with well-rolled rare gear. The first upgrade trigger is weapon base damage. If your two-handed Axe is still dealing under 200 DPS, you’re losing too much clear speed. At this point, either craft a better rare axe using Essences of Contempt or Rage (guarantees high physical damage rolls), or save currency to buy a rare axe with 250-plus DPS and an open prefix for bench-crafting flat physical damage. Your chest armor should transition from Tabula Rasa to a rare 5-link or 6-link Armour base with life and resistances, because Tabula’s zero defensive stats become a liability when enemies start hitting harder.
The second major transition happens when you unlock higher-tier support gems and can afford to optimize links. Swap Ruthless Support for Close Combat Support if you’re using Boneshatter, because Close Combat gives more consistent damage against packs. Add Fortify Support to your main skill link if you haven’t taken the Fortify Mastery on the passive tree. Having Fortify active at all times is a massive survivability boost. If you’re running physical damage, keep Brutality Support in your setup and avoid any elemental conversion unless switching to a Chieftain fire build. For fire conversion builds, this is when you replace Brutality with Elemental Damage with Attacks or Added Fire Damage Support and start stacking fire damage on gear.
| Upgrade Trigger | Recommended Mid-Game Option | Reason for Upgrade |
|---|---|---|
| Weapon DPS below 200 at level 60 | Rare two-handed Axe with 250+ DPS, open prefix for crafting | Damage scaling hits a wall; higher base DPS directly multiplies all other damage sources and speeds clear |
| Tabula Rasa no longer safe in maps | Rare 5-link or 6-link Armour chest with life and resistances | Zero defenses on Tabula cause one-shots; even a 5-link rare with 80+ life and resists is safer and maintains most DPS |
| Missing key support gems or wrong links | Swap Ruthless for Close Combat; add Fortify if not using Mastery | Higher-tier supports unlock better damage multipliers; Fortify cuts incoming hit damage by 20 percent |
| Passive tree filled with temporary travel nodes | Respec into cluster jewels or specialize into crit nodes if removing Resolute Technique | Early tree paths waste points on travel; mid-game lets you optimize into jewel sockets and specialized damage clusters |
Final Words
In the action, you learned the fastest low-cost melee setup, two alternate builds, quick pickup routes, stat priorities, and when to upgrade into mid-game gear. The guide named specific weapons, cheap armor, starter skills, and where to get them early.
Stick to the priorities: damage, stamina, survivability. Don’t overcommit to one stat and expect to tank everything.
Take the core plan, tweak it for your style, and use the budget early-game melee loadout for fast leveling as your launch point.
FAQ
Q: What is the best melee weapon for early game Warframe?
A: The best melee weapon for early game Warframe is the Skana — a balanced starter sword with easy modding, solid crit chance, and immediate availability; Cronus is a cheap early upgrade for faster scaling.
Q: What melee do you run the fastest with in Warzone?
A: The melee you run fastest with in Warzone is the Combat Knife — it gives the highest movement speed and quickest equip, and pairs well with mobility perks like Double Time to stay sprinting longer.
Q: What perk makes you melee faster?
A: The perk that makes you melee faster is Fast Hands (also called Quick Hands) — it speeds weapon swaps and reduces equip delay, letting you chain melee hits and finish downs faster.
Q: Does melee macchiato make melee weapons faster too?
A: The melee macchiato only makes melee weapons faster if its item description explicitly lists “melee attack speed”; otherwise it typically boosts movement or stamina, not weapon animation speed.