
Controversial: the team that wins late-game isn’t the one with the highest builds — it’s the one that reads the zone and rotates first.
Endgame in tournaments starts earlier than you think: the real setup window opens in phases 5–6, and phase 7 punishes one mistake.
This post gives a clear plan: which layer to take, when to move, and how to read lobby flow so you hit safe ground with mats, heals, and options.
Learn the rules winners use, and stop throwing games to bad rotates.
Why Endgame Matters and When It Actually Begins
Endgame doesn’t start when the final circle pops up on your screen. It starts the second survival stops being optional, and that moment hits earlier than you think.
In competitive Fortnite, endgame usually kicks in around storm phase 7. But the prep window? That opens way before. If you’re waiting until the fourth or fifth moving zone to think strategically, you’re already cooked. Tournament players treat phases 5 and 6 as their setup window, the stretch where positioning mistakes stack and small resource gaps turn lethal.
The gap between casual matches and tournament play comes down to density. Public lobby? Maybe 15 players in final circles. Competitive lobby? You’re dealing with 30 to 50 skilled opponents who all understand rotation basics, tunnel clean, and won’t hand you free kills. Every choice matters because the skill floor is higher and your room for error shrinks with each phase.
Endgame matters because tournaments get decided here. You can dominate early game, lock in perfect loot, rotate into mid game with max mats, but one positioning mistake in phase 7 erases all of it. Players who consistently place in Cash Cups and FNCS aren’t always the flashiest fighters. They’re the ones reading zones faster, picking safer routes, managing resources tight.
Definitions and Core Vocabulary
Before we break down tactics, you need to speak competitive endgame.
Rotation is deliberate movement into the next safe zone. Not sprinting toward white circle. Choosing a route, timing your move, executing with intent.
Front side is the part of safe zone closest to where you are now. Shortest travel distance, but it usually attracts the most traffic because everyone sees it as obvious.
Back side is the far edge of safe zone. Longer travel, but sometimes cleaner access because fewer players commit to the extended path.
Dead side is the area where the fewest players will rotate from. Storm collapsing from north and most players are south? Eastern edge might be your dead side, the low pressure route.
Congested side is where most of the lobby funnels. High traffic routes create chokepoints, third parties, wasted mats.
Layer is your vertical position: low ground, mid ground, or height. Each layer trades off visibility, safety, resource cost.
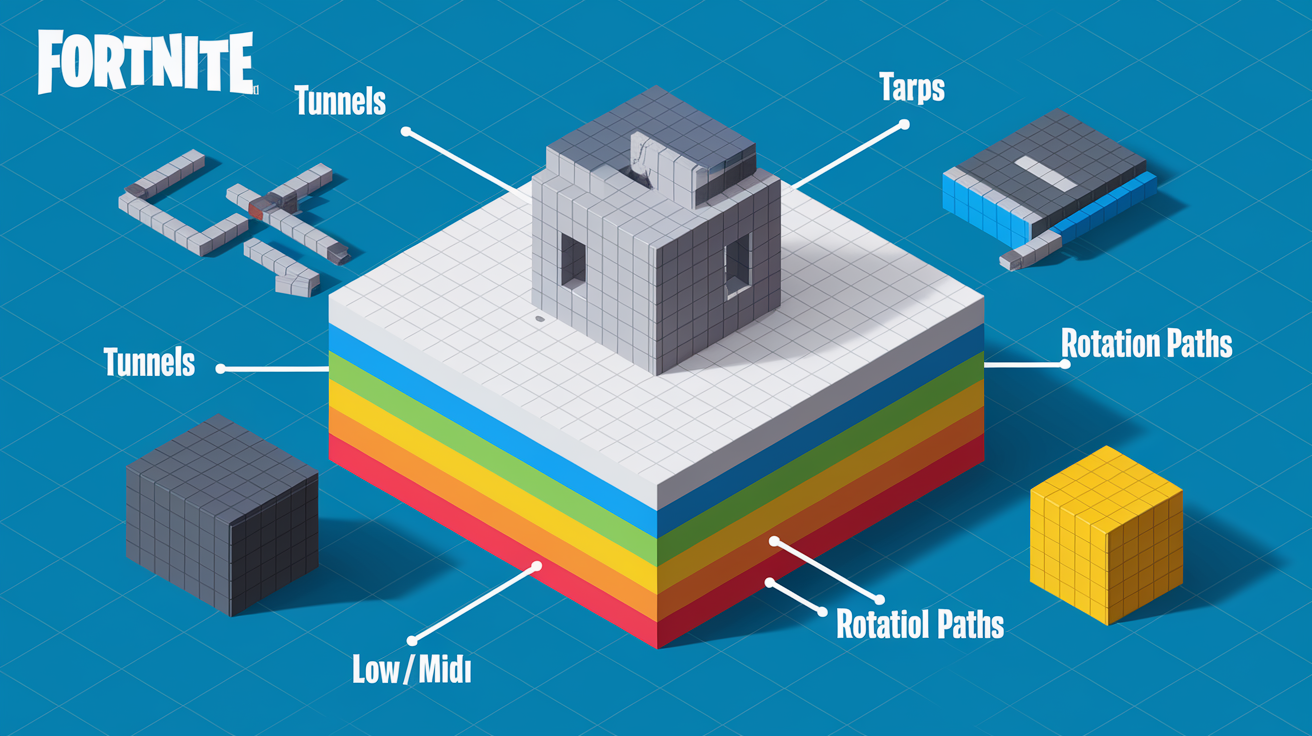
Tarp is the protective roof structure you build overhead while rotating, blocking shots from above. Tunneling is building protected pathways (walls, floors, cones) while moving through zones.
Refresh is taking a fight to restock mats, ammo, heals, or inventory. A clean refresh solves a resource problem without creating a survival problem.
Storm pressure is the combined weight of damage, time limits, and psychological stress the storm creates. Players under storm pressure make mistakes, panic build, take bad fights.
Surge is the damage event in competitive modes that punishes players who haven’t dealt enough damage before a threshold. Surge pressure forces fights and breaks passive strats.
Understanding these terms gives you a mental framework. When you’re mid match deciding between low ground dead side or mid ground congested, you’re processing the situation in seconds, not paragraphs.
Rotation Fundamentals: Early, Purposeful, Route-Focused Movement

Most players rotate too late and follow too many other players. Result? Crowded route, wasted mats defending angles you could’ve avoided, weaker position in the next circle.
Early rotation doesn’t mean sprinting into zone the instant it appears. It means moving before the pressure wave, that mass of players who delay until storm starts collapsing, then flood the same chokepoints all at once.
Rotate earlier than average, but always with purpose. Rotating at the right time into the wrong route is still a throw. Ask yourself where the lobby will move, not just where zone is. 70% of remaining players are west and zone pulls east? You want to be in that first 30% moving, not the trailing 70% fighting for space.
Route focused movement means optimizing for safety and options, not just distance. A 120 meter path that exposes you to three angles is worse than a 180 meter path that keeps you behind natural cover and existing structures. Distance matters, but angles and exposure determine if you survive the rotate.
When you pick a route, you’re answering three things:
- How many players can shoot me on this path?
- What cover exists, and can I use it without stopping?
- Does this route give me flex to adapt if I spot unexpected pressure?
Best rotations keep your options open. Committing to a tunnel that only exits one direction and that direction gets contested? You’re trapped. Build paths with decision points, spots where you can change layers, pivot left or right, or hold position temporarily.
Pre-Moving Zone Priorities: Positioning, Materials, Loadout, Escape Plans

Before the first moving zone starts, you’re in pre-moving circles. Stationary safe zones that give you time to prep for the chaos ahead.
Your four priorities: positioning, materials, loadout, escape planning.
Positioning means claiming a box that gives you options. Best pre-moving spot lets you see multiple directions, drop a layer if needed, exit toward at least two different routes. Avoid boxes that lock you into one path. Only exit is toward congested side and a team takes that angle? You’re stuck.
Materials are your currency for every decision ahead. Entering moving zones with under 1,200 mats? You’re underfunded. Ideal buffer is 1,800 total, split roughly 50% wood, 30% brick, 20% metal. Wood builds fastest for reactive defense. Brick offers better durability for rotations under fire. Metal is for endgame boxes where you need to stall and avoid getting lasered through fresh builds.
Don’t waste mats on unnecessary edits, overcomplicated height attempts, or boxing players you don’t plan to finish. Every mat spent in pre-moving is one you won’t have when zone starts moving and options collapse.
Loadout should let you punish exposed players, defend against local pressure, stay functional under zone movement. Prioritize weapons with good ammo economy. Running low on AR or SMG ammo in moving zones kills your ability to refresh or defend yourself. Carry minimum 2 full heals (medkits, chug splashes, slurp) and 3 to 6 minis. Duo or trio? Coordinate healing items so at least one teammate is capped on HP.
Mobility items (shockwaves, rift-to-go, grapplers) can save 200 to 400 mats and cut 6 to 12 seconds off a dangerous rotation. If tournament rules allow, carry one or two.
Escape planning means knowing your Plan B before you need it. Current box gets pressured, where do you go? Route you planned gets blocked by third party, what’s your alternate? Players who hesitate under pressure die. Players who’ve already decided their backup survive.
Moving Zones: Read Direction, Speed, and Lobby Flow

The moment a moving zone appears, you’re playing a different game. Circle no longer waits. It moves, and you move with it or die to storm.
Moving zones need three reads: pull direction, perceived speed, lobby flow.
Pull direction shows you where safe zone will be 20, 40, or 60 seconds from now. Don’t just look at current edge. Trace the vector. Circle pulling hard northeast? Anyone rotating from southwest is under max pressure, and northeast side will be calmest.
Perceived speed is how fast the zone feels like it’s moving relative to your position and the distance you need to cover. Faster looking zones punish hesitation. Pull looks aggressive? Treat every second of indecision as high cost. Slower pulls give you time to assess, but don’t let a slow pull make you lazy. Other players are still moving, routes are still collapsing.
Lobby flow is collective behavior of remaining players. Most rotating early or late? Favoring low ground tunnels or trying to claim mid ground? Clear chokepoints forming where teams are stacking?
Reading lobby flow lets you exploit gaps. Everyone tunneling low? Quick mid ground rotate might be cleaner. Everyone fighting for height? Slipping through low ground dead side can be invisible.
Combine direction, speed, and flow. You’re not reacting to storm. You’re predicting the next 30 seconds of the match and positioning ahead of it.
Layers: Low Ground, Mid Ground, Height — Trade-Offs and Layer Selection Rules
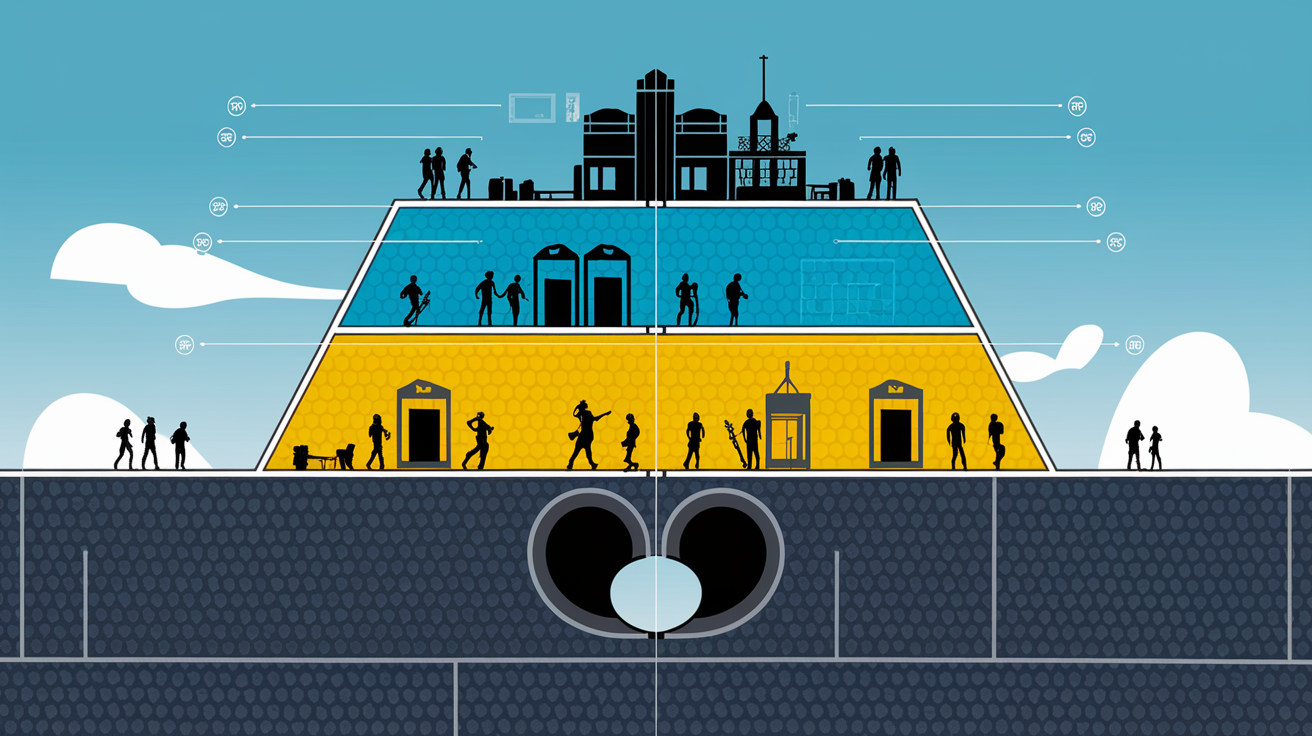
Picking a layer is picking a survival strategy. Each layer costs something and gives something back. Best choice depends on your mats, health, utility, current lobby state.
Low ground is the most underrated layer in comp. Cheaper, faster to set up, often safer than people think. You spend fewer mats because you’re not building vertical structures, and you’re harder to spot because you’re hidden by terrain and existing builds.
Low ground works best on flat terrain where verticality doesn’t create brutal disadvantages. Effective when conserving mats, rotating through dead side, or waiting for other teams to burn resources fighting for height.
Danger of low ground is vulnerability to collapse. Players above you start spraying down or a team takes height directly over you? You lose options fast. You also have limited vision, so awareness gaps get punished harder. Miss a rotation because you couldn’t see it coming? That’s a low ground failure.
Mid ground is the default layer for most players, and that’s exactly why it’s often the worst choice. Mid ground is the most contested space. You’re visible to players above, pressured by players below, exposed to lateral third parties. You’re in everyone’s sightline.
Mid ground works when you need flexibility to move up or down and the lobby is spread across all three layers, reducing focused pressure on any single one. Stuck on mid ground? Push toward far left or right edges of circle to protect your back and cut the number of angles you need to cover.
Height is the most glamorous layer and the most expensive to hold. Height gives you visibility, easier headshot angles, ability to apply cone pressure and force opponents to overbuild. You control the pace of fights below you.
But height costs 200 to 600 mats to set up and maintain, and it attracts takeovers. Every comp team in the lobby sees your height and checks if they can challenge it. Take height without mats to defend it or teammate support to cover flanks? You’re just a target.
Take height when you can claim it clean (opponents weak, distracted by other fights, or stuck rotating), when zone geometry favors height control, and when you have at least 1,000 mats left. Drop height proactively if defending it becomes more expensive than the survival value it gives.
| Layer | Cost (mats) | Visibility | Risk | Best Scenario |
|---|---|---|---|---|
| Low ground | Low (200–400) | Limited | Collapse, awareness gaps | Conserving mats, dead-side rotations, flat terrain |
| Mid ground | Medium (400–700) | Moderate | Multi-angle exposure | Flexible positioning, spread lobby |
| Height | High (500–900) | Maximum | Takeover attempts, mat drain | Strong mats, clean claim, zone control |
Use four factors to pick your layer: materials, health, utility (mobility and heals), current lobby flow. Low on mats and health? Defaulting to low ground dead side is often the smartest survival play. Stacked and lobby is passive? Height can let you dictate endgame.
Storm Pressure: Three Types and How to Use Storm Pressure
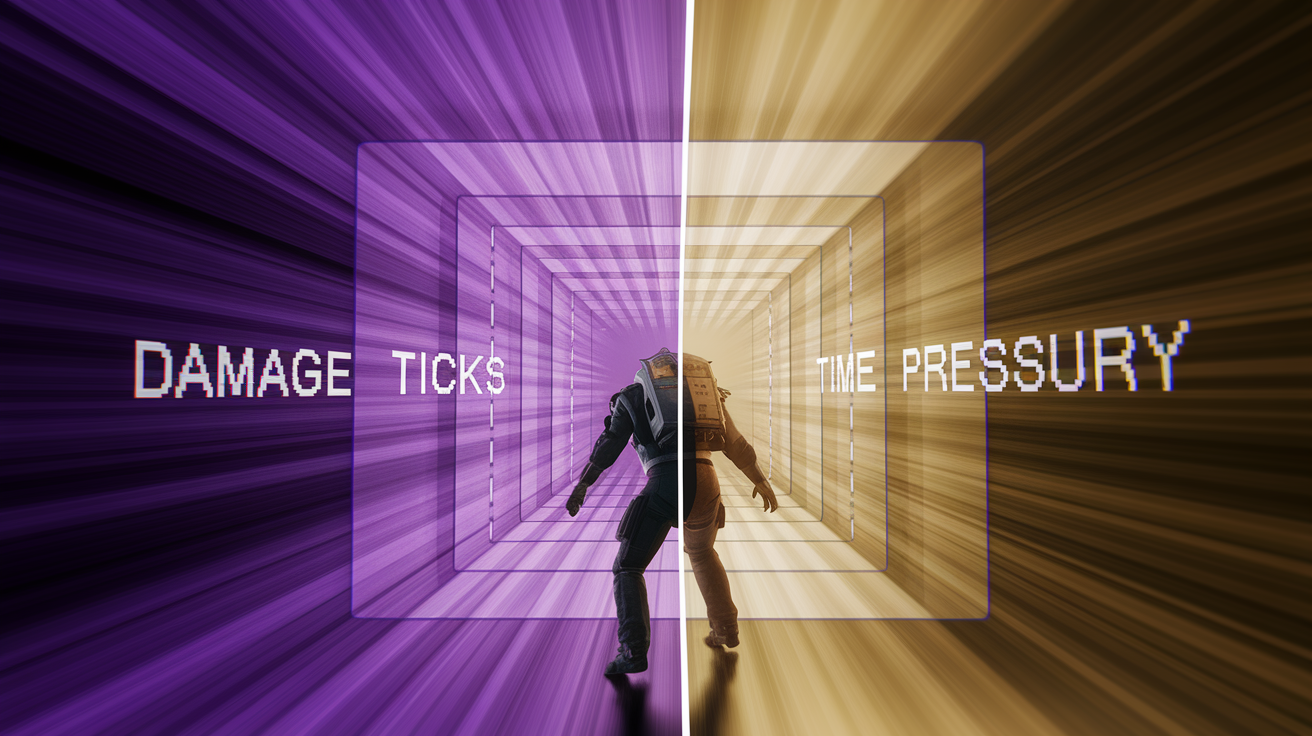
Storm pressure isn’t just damage per second. It’s a psychological and tactical weapon. Understanding its three forms lets you exploit it.
Damage pressure is simplest. Storm deals increasing damage in later phases, and players caught in it are forced to move, heal, or die. Damage pressure creates predictable behavior. Player taking storm damage will either burn heals to stay or rotate desperately, often into bad angles.
Time pressure is the shrinking window to make decisions. Storm moves faster and zones get smaller, every second of hesitation costs options. Time pressure is why players panic build, overcommit to fights they should drop, take routes they know are dangerous but feel like the only choice.
Psychological pressure is the emotional weight of storm. Players under storm pressure make mistakes. They forget to check angles, waste mats on unnecessary builds, take fights that don’t solve their problem. Psychological pressure is why a player with 10 HP and no heals will still try to box fight instead of rotating smart.
You can use storm pressure as a tool. Opponent rotating late and already taking storm damage? You don’t need to full commit to the fight. Tagging them forces heal usage or guarantees their elimination via storm. You get refresh value without the risk.
Rotating early and you see players still stuck outside zone? Claim positions that force them into bad angles when they finally move. You turn their storm pressure into your positional advantage.
Don’t let storm pressure affect you the same way. Plan your rotations so you’re never the player panicking in storm. Keep a mental timer for how long you can survive in storm with your current heals, and use that buffer strategically when it lets you avoid a worse fight or claim better route.
Materials, Loadout, and Utility: Treat Materials as Time

Materials aren’t just a building resource. They’re time. Every mat you spend buys seconds of safety, visibility, or route options. Every mat you waste is time you won’t have when final circles collapse.
Treat your material count as a budget. Entering moving zones with under 1,200 mats means you’re underfunded. Ideal competitive buffer is 1,800 mats. That gives you enough to rotate through contested zones, defend against pressure, still have a reserve for final two circles.
Not all mats are equal. Wood builds fastest, making it your reactive defense material. Use wood when you’re getting shot and need walls immediately. Brick is more durable and better for rotations where you expect sustained fire. Metal is for endgame boxes where you need to stall and avoid getting lasered through fresh builds.
Stop wasting mats on low value peeks, unnecessary edits, overbuilding under stress. Single overcomplicated height attempt can burn 400 to 700 mats and leave you vulnerable for the rest of the match. Spending mats? Ask whether this spend solves a survival problem or just feeds your ego.
Ammo economy is just as critical. Running low on AR or SMG ammo in moving zones kills your ability to pressure opponents, secure refreshes, or defend yourself. Prioritize ammo in your looting during mid game, and avoid spamming shots at targets you can’t confirm. Every wasted bullet is a future fight you can’t take.
Loadout goals should let you punish exposed players, defend against local pressure, stay functional under zone movement. Standard comp loadout includes rifle, SMG, heals, and flex slots for mobility or utility. Running double heals or a sniper in endgame? Make sure it’s solving a specific problem, not just filling a slot.
Healing items should include minimum 2 full heals and 3 to 6 minis. Full heals let you recover from critical damage. Minis let you top off quick between rotations or after small trades. Duo or trio modes? Coordinate healing items across your team so at least one player is always capped.
Mobility items like shockwaves, rift-to-go, or grapplers can save 200 to 400 mats and cut 6 to 12 seconds off a dangerous rotation. Tournament rules allow them? Carry one or two. Use them to bypass chokepoints, escape bad fights, claim height during zone swaps when opponents are distracted.
Refreshes: When to Take Fights, Three Vetting Questions, Mini-Refresh Tactics

A refresh is a fight you take to restock mats, ammo, heals, or better loot. Best refreshes solve a resource problem without creating a survival problem.
Most players take bad refreshes because they’re reacting emotionally instead of strategically. They see a weak opponent and dive the box without thinking through consequences. Then they get third partied mid fight, or they win but burn all their mats and heals in the process, leaving them weaker than before.
Before committing to any endgame fight, ask three vetting questions:
- Can I finish this quickly?
- What angles will open on me if I commit?
- Does the reward solve my next problem?
Can’t answer yes to all three? Don’t take the fight.
Can I finish this quickly? Opponent is one shot and boxed with no backup? Yes. Full HP with a teammate nearby and good positioning? No. Long fights in endgame attract third parties and burn resources faster than you gain them.
What angles will open on me if I commit? Every second you spend focused on one opponent is a second you’re not watching other angles. Committing to this fight exposes you to two other teams? Risk outweighs reward. Fight can happen in a relatively isolated pocket? Safer.
Does the reward solve my next problem? Low on mats and opponent has 800 mats? Yes. Low on heals and they’re a solo with no meds? No. Make sure the refresh actually improves your situation.
Best refresh targets are split opponents, players stuck healing late, players squeezed by storm who are already weak and distracted. These fights are low commitment and high certainty.
Avoid panic driven box dives. Poor refresh attempt usually results in your elimination and strengthens the lobby by giving another team your loot. Fight feels risky? It probably is.
Mini-refreshes are a lower risk alternative. Instead of committing to a full fight, you apply pressure to force opponents to burn mats and heals, then back off and let storm or third parties finish them. You sweep the loot after they’re eliminated without taking the risk of the direct fight.
Tag an opponent as they rotate, force them to box up and heal, then hold an angle and wait. They die to storm or another team? You get the refresh. They survive and heal? You’ve still forced them to spend resources, weakening them for later.
Format-Specific Role Execution: Solo, Duo, Team Role Differences and Communication Standards

Endgame plays different depending on whether you’re solo, duo, or in a trio or squad. Each format has different decision speed, role clarity, communication needs.
Solo endgame is the simplest decision tree. You don’t need to coordinate with anyone, but you also have no backup. Keep decisions simple and favor clean, front side rotations and conservative layers. Overcomplicating your strategy in solos leads to decision overload and mistakes.
In solos, your main goal is cutting the number of decisions you need to make under pressure. Pre-plan your rotations during pre-moving circles. Decide your layer before zone moves. Simplify your loadout so you’re not juggling too many items mid fight.
Duo endgame introduces coordination. You and your partner need to move together, cover each other’s angles, communicate quick and clear. Most effective duo structure is one player leading the tarp or tunnel path while the other covers angles and watches for third parties.
Keep supportive spacing. Too close together? One spray damages both of you. Too far apart? You can’t trade effectively or support each other when pressured. Ideal spacing is close enough to build connect but far enough that you’re not both in the same box.
Communication in duos should be short and actionable. Don’t say “I think there’s a team over there.” Say “Team west, 40 meters, one weak.” Give your partner info they can act on immediately.
Trio and squad endgame needs role assignment and disciplined comms. Assign one player as the pathing lead (responsible for choosing routes and calling rotations), one as the resource and health tracker (monitoring mats, heals, ammo across the team), one as the pressure watcher (scanning for third parties and vertical threats).
Rotate these roles dynamically based on who has the resources to fulfill them. Your pathing lead drops to 600 mats? Reassign pathing to the player with 1,200 mats. Your health tracker is weak? Someone else picks up that responsibility.
Communication standards matter more in team modes. Avoid vague complaints like “I’m getting shot” or “This is bad.” Use precise, actionable calls: “Taking fire from height, northwest, need cover to heal” or “Rotation in 10 seconds, everyone confirm mats.”
Clear role execution and clean comms separate teams that fall apart under pressure from teams that stay composed and survive to final circle.
Tunneling and Pathing: Efficient Tunnels, Use Existing Builds, Maintain Momentum
Tunneling is how you move safe through endgame without getting pieced by open shots. It’s controlled geometry: solving angles before they become damage.
Efficient tunneling means building only what you need. Overbuilding slows you down and wastes mats. Standard comp tunnel is a floor, two side walls, and a cone or roof ahead. You’re creating a protected corridor that lets you move forward while blocking shots from above and the sides.
Use existing builds whenever possible. There’s already a wall or floor in the direction you’re moving? Don’t replace it unless you need to. Recycling existing structures saves mats and keeps momentum. Players who rebuild everything from scratch burn through 1,000 mats in two rotations.
Keep forward momentum. Biggest tunneling mistake is stopping to over-edit or second guess your path. Hesitation creates openings for opponents to break into your tunnel or spray you during the pause. Decide your route, commit, and move.
When tunneling, alternate between movement and stabilization. Move forward three to five builds, then box up for one second to reload, check surroundings, confirm your next route. This rhythm lets you stay safe without losing speed.
Path through the least contested side of your current layer. Low ground and left side looks crowded? Path right. Mid ground is packed? Drop to low or push to height, whichever is less defended in that moment.
Be willing to change layers mid tunnel if your current route starts collapsing. Tunneling low and you see two teams boxing in ahead? Don’t force through. Drop a layer, shift laterally, or briefly take a protected angle and reassess.
Build protected reset boxes when you need to heal, reload, or communicate with your team. Reset box is a fully enclosed 1×1 with a roof, giving you a few seconds of safety to stabilize before continuing rotation.
Height Management: When to Take, When to Drop, When to Respect Others’ Height
Height is power, but power is expensive. Knowing when to take height, when to drop it, when to respect an opponent’s height separates tournament winners from mid tier placers.
Take height when:
You can claim it clean because opponents are weak, distracted by other fights, or stuck rotating. Current zone geometry favors height control, meaning holding height gives you clear sightlines and multiple escape routes. You have at least 1,000 mats left and teammate support to cover flanks.
Two main approaches to taking height. First is shooting down opponent builds to displace them, forcing them to drop or waste mats rebuilding. Second is using zone swaps, the moment when a new circle appears and most players are distracted by storm movement, to ascend quick while attention is elsewhere.
Zone swaps are the cleanest height taking windows. Players are focused on rotations, not defending vertical space. Use that distraction to ramp up or claim an uncontested layer.
Drop height when:
Defending it costs more than the survival value it gives. You’re low on mats (below 700) and multiple teams are pressuring your structure. Zone is pulling away from your current height, making it unsustainable.
Drop height proactively. Don’t wait until your builds are getting destroyed and you’re forced to fall. Plan your drop, pick a safe landing zone, execute before you’re under fire from three directions.
Respect enemy height when:
Opponent has clear control, strong mats, and you don’t have a clean angle to challenge. You’re low on mats or heals and a failed height challenge would get you eliminated. Third party pressure is coming, and fighting for height would expose you to multiple teams.
Respecting height doesn’t mean ignoring it. It means choosing not to feed upward shots or waste mats on a doomed challenge. Instead, position yourself to punish the height holder if they make a mistake, force them to spend mats maintaining position, or wait for another team to challenge them while you hold a safer layer.
Height is a tool, not a requirement. Players who obsess over taking height every game often die because they overcommit. Players who understand when height is worth the cost and when it isn’t are the ones who survive to final circle consistently.
Common Endgame Mistakes
Even skilled players repeat the same endgame mistakes when under pressure. Spotting these patterns in your own gameplay is the first step to fixing them.
Rotating late. Waiting too long to move turns every rotation into a high risk sprint under fire. Rotate earlier than average, before the pressure wave.
Overbuilding under stress. Panic building burns mats fast and doesn’t improve your position. When pressured, build the minimum structure needed to block immediate angles, then reassess.
Autopiloting one layer. Always playing low ground or always fighting for height makes you predictable. Adapt your layer choice to current resources, lobby flow, zone geometry.
Taking fights that don’t solve problems. Every endgame fight should improve your situation. Fight doesn’t provide mats, heals, better position, or remove a direct threat? Don’t take it.
Ignoring dead side. Players default to shortest path and ignore dead side routes. Dead side is often safer even when it’s longer because it cuts the number of opponents you’ll encounter.
Trying to win every micro-fight. Not every piece of pressure needs a full response. Sometimes correct play is giving up a wall, resetting in a new box, avoiding feeding damage.
Weak communication in team modes. Vague or late callouts create confusion and missed opportunities. Practice concise, actionable comms before tournament matches.
Failing to plan one zone ahead. Reacting to current circle without thinking about the next pull leads to bad positions. Always plan for the next zone, not just the current one.
Burning heals emotionally. Using a medkit because you’re nervous, not because you’re critically low, wastes heals you’ll need later. Heal with purpose, not as a comfort action.
Forgetting storm pressure affects everyone. When you’re stressed by storm, so is everyone else. Use that shared pressure to your advantage instead of letting it control you.
Practice Methods: VOD Review, Zone-Based Drills, Single-Focus Session Work
Endgame scenarios offer the least playtime per match, which makes deliberate practice essential. You can’t rely on natural repetition to build endgame skill. You need structured drills and review.
VOD review is the most effective single practice method. Record your tournament and scrim matches, then review every late game death. Ask focused diagnostic questions:
Did I rotate too late? Did I choose a crowded route when a cleaner option existed? Did I overspend mats on a fight that didn’t solve a problem? Was I on the wrong layer for my resources and lobby state? Did I force a refresh when I should’ve rotated?
Also review your wins. Wins contain patterns you can repeat. Placed well because you rotated early to dead side? That’s a pattern to reinforce. Won because you stayed disciplined on low ground and avoided unnecessary height fights? Repeat that approach.
Zone based practice modes like Realistic 1v1s, Zone Wars, custom moving zone creative maps let you rehearse rotation mechanics, tunneling rhythm, layer transitions in compressed time. Treat these modes as skill drills, not warm-up. Focus on one objective per session.
Examples of single focus objectives:
Front side rotations only: practice choosing and executing the safest front side route every zone. Material conservation: complete a full Zone Wars match using under 1,200 mats total. Dead side recognition: identify and rotate to dead side in every circle, even if front side is shorter. Layer flexibility: switch layers at least twice per match to build comfort moving between low, mid, and height.
Single focus session work means dedicating an entire practice session to one narrow skill. Spend 60 minutes only practicing tunneling efficiency. Spend another session only working on refresh decision making. Narrow focus accelerates improvement faster than unfocused grinding.
Track practice metrics over time. Monitor your average mats spent per match, late game survival time, time to safe zone averages, emergency build frequency. Set a goal to cut panic building by 40% over four weeks, or improve average endgame placement by two spots over eight weeks.
Consistency beats intensity. Three focused 30 minute practice sessions per week will improve your endgame play more than one exhausting five hour session.
Simple Late-Game Checklist
Use this decision checklist every time a new zone appears. These prompts keep you focused on the variables that matter most.
Am I rotating early enough to avoid the back side wave? Which side is dead side versus congested side? Which layer gives the cheapest survival with my current mats and health? How many materials can I realistically spend before needing a refresh? Do I need to apply pressure for tags, or stay hidden and conserve? If I get pressured right now, what is my backup route? Is there a collapsing fight nearby that can become a safe refresh opportunity? Am I moving with purpose, or just reacting to storm movement and noise?
Run through this list mentally in under 10 seconds. Goal isn’t a perfect answer to every question. Goal is avoiding autopilot and making intentional decisions under pressure.
Final Words
In the action, we ran the clock on late-game positioning, storm-timing, and zone control so you can force wins instead of praying for them. You got the simple priorities: edge control, height when possible, and conservative fights through third circle.
Use the decision rules: rotate early into safe ground, bait fights near zone edges, and swap to defensive play if you lose high ground. Keep practicing and adapt the steps to your lobby.
Apply these Fortnite endgame positioning and storm rotation tactics for tournament wins and stay confident.
FAQ
Q: What is the best strategy to win Fortnite?
A: The best strategy to win Fortnite is to prioritize landing safe loot, control high ground, and third-party fights smartly. Rotate for endgame positioning and force fights that fit your loadout and team status.
Q: What is storm surge in Fortnite tournaments?
A: Storm surge in Fortnite tournaments is a mechanic that activates when too many players remain, dealing extra damage to players with low elimination or damage output to force engagements and prevent stalling.
Q: What are common Fortnite mistakes to avoid?
A: Common Fortnite mistakes to avoid are poor positioning, bad rotations, ignoring audio, overextending for kills, low mats, and failing to communicate or third-party smartly.
Q: How to never lose a fight in Fortnite?
A: To never lose a fight in Fortnite is impossible, but you can heavily reduce losses by fighting only with high ground, mat and heal advantage, clean aim, pre-shot edits, and smart third-party timing.