
Think skill alone will save you in permadeath runs?
In hardcore permadeath modes one mistake ends a run.
You need a loadout built to survive mistakes, not just deal damage.
This survivability loadout focuses on three things: reliable health pools, flat mitigation, and guaranteed mobility escapes.
I’ll show simple stat targets, equipment choices, and redundancy rules you can use right away.
Follow them and you stop relying on perfect play and start making smart, repeatable choices that keep runs alive.
Core Survivability Framework for Hardcore Permadeath Builds
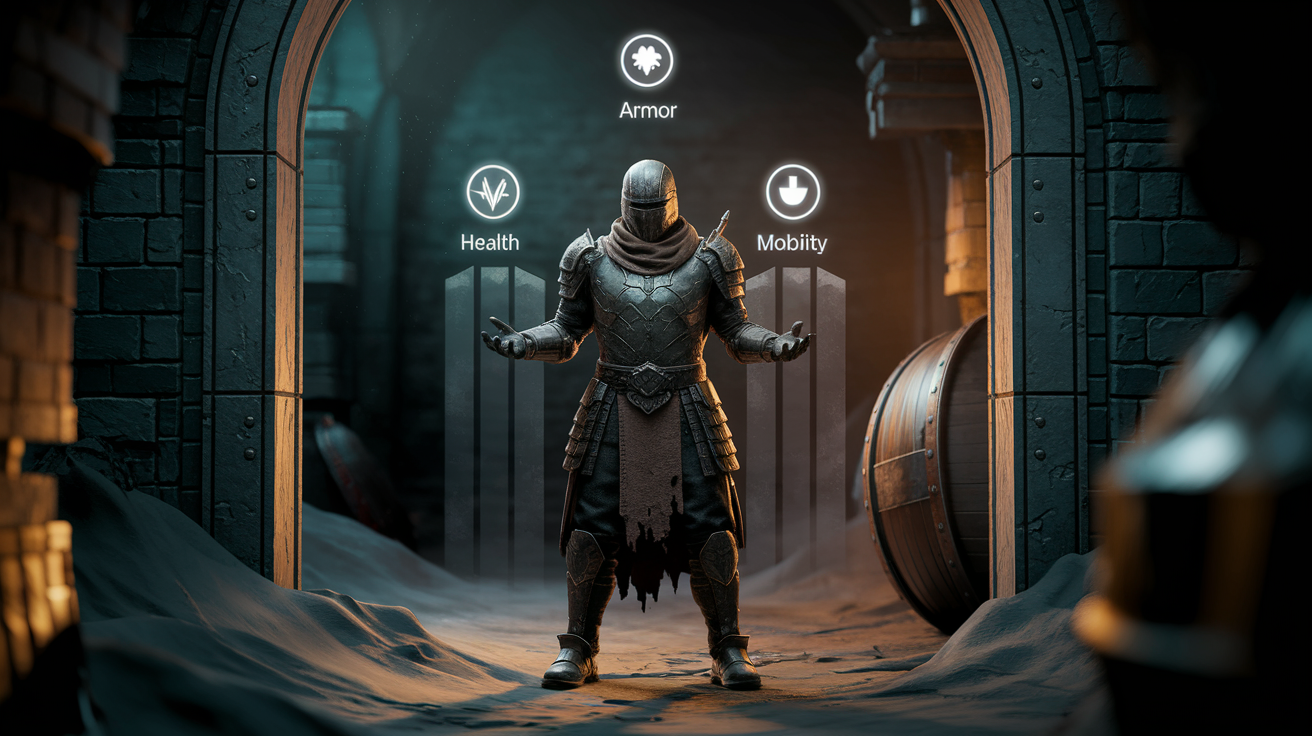
Every hardcore permadeath build starts with stat allocation that puts health pools, damage mitigation, and mobility ahead of raw damage. Your first job is raising maximum health until an average elite hit can’t one-shot you. In most ARPGs and survival games, you’re looking at a health pool somewhere between 1.5 and 3 times the burst damage from common elite enemies. Once you’ve got your base health sorted, add flat damage reduction through armor or resistance stats. Elemental resistances should cap at 75% where it applies (Path of Exile, Diablo-style games), and physical mitigation should land between 40% and 70% depending on your role. Stamina or energy pools matter way less than regeneration rates, so grab skills and gear that restore resources passively instead of just expanding the tank.
Weapon selection in permadeath runs should favor consistency and safety over peak damage potential. Long-range weapons let you control engagement distance and cut down on incoming hits while you’re killing threats. Shields, when you can use them, give you a literal damage buffer that buys time to react when things get spicy. Lifesteal-capable weapons turn every kill into a heal, creating a sustainable loop that doesn’t burn through limited consumables. Avoid slow, high-variance weapons like two-handed melee or shotguns that force close-range exposure unless your build can guarantee one-shot kills before retaliation. Safest loadout? A medium-range weapon with high fire rate or attack speed paired with a backup mobility tool that lets you bail when spacing breaks down.
Defensive skills form the third pillar and should always include at least two crowd-control effects and one guaranteed escape. Damage mitigation passives like shields, armor buffs, or damage-over-time reduction provide constant uptime without needing reaction speed. Mobility escapes (blinks, dashes, teleports) give you a second chance when positioning fails or you trigger an unexpected trap. Sustain skills that offer regeneration, lifesteal, or heal-over-time keep you in fights longer and cut down on downtime between engagements. Best permadeath builds stack all three categories, creating redundancy so losing one layer doesn’t immediately end your run.
Redundancy rule Keep at least two independent methods to restore health and two ways to escape danger so that cooldowns or item depletion don’t create a single point of failure.
Risk economy Treat every combat as a cost-benefit transaction. Skip encounters that offer marginal rewards relative to the threat level.
Checkpoint discipline In games with manual saves or rest points, treat your last safe checkpoint as read-only. Only push forward when consumables and cooldowns are ready.
Avoidance over mitigation When possible, eliminate threats before they can attack rather than tanking hits, even if your build can survive them.
Floor thresholds Establish minimum acceptable values for health, resistances, and healing items before entering new zones or boss encounters. Retreat if you fall below them.
Layered defenses Combine passive mitigation, active escapes, and consumable heals so that multiple mistakes are required before death becomes unavoidable.
Equipment and Armor Priorities for Maximum Survivability
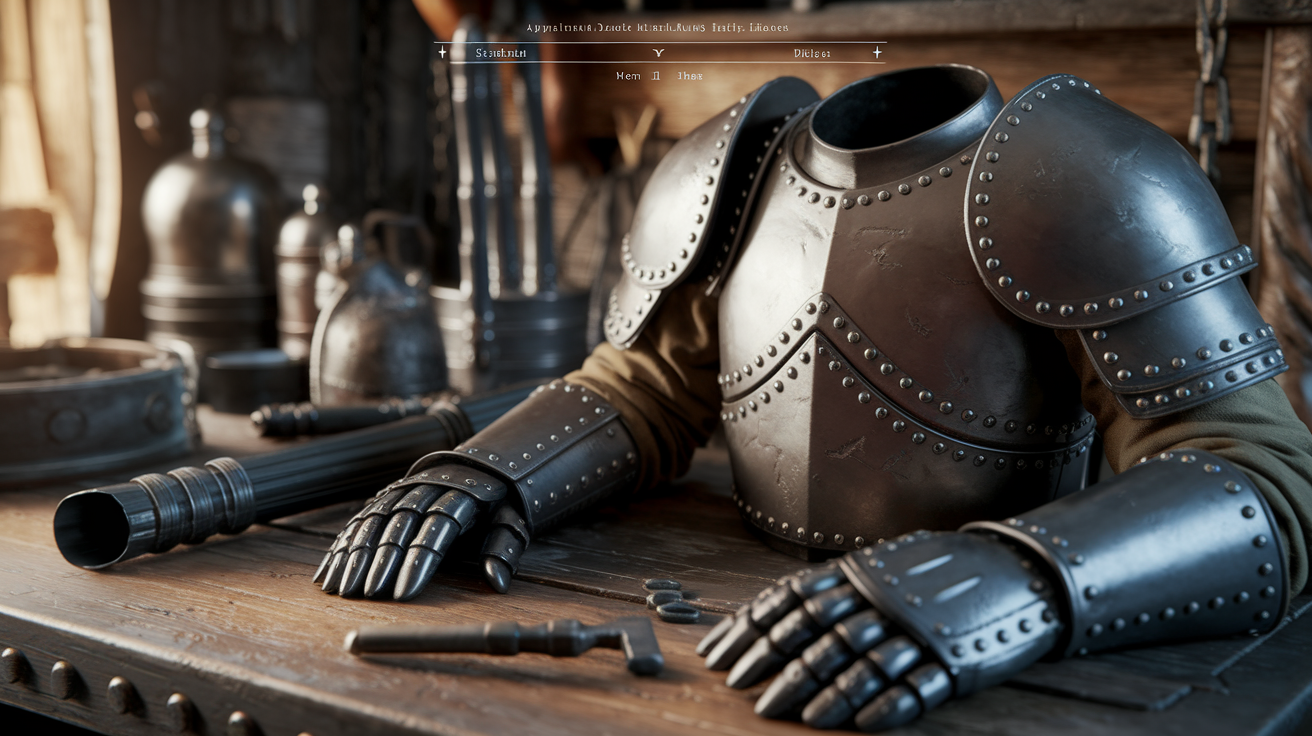
Heavy armor with flat damage reduction stays the safest baseline choice for permadeath runs because it reduces variance in incoming damage and protects against both physical and elemental hits in most game systems. Power armor equivalents (X-01 class in Fallout, full plate in fantasy RPGs) offer the highest survivability ceiling but come with weight penalties and mobility trade-offs. Evasion-based gear works well for builds that can guarantee they won’t be hit, but the moment RNG fails or you miss a dodge input, incoming damage is unmitigated and often lethal. Medium armor or hybrid pieces balance mobility with decent resistances and work best for kiting builds that need to maintain specific engagement ranges. Blocking tools like shields or parry-capable weapons add an active mitigation layer that can negate burst damage if you’ve got reliable reaction speed. Emergency-escape equipment such as items with built-in teleports, speed boosts, or temporary invulnerability saves runs when positioning or cooldowns fail at the same time.
Durability and repair costs of your gear matter as much as raw stats in long permadeath sessions. Choosing equipment that requires rare or expensive materials to repair can drain your economy and force risky farming runs just to sustain your loadout. Weapons with built-in crowd control, healing procs, or utility effects provide better return on investment than pure stat sticks because they solve multiple problems with a single gear slot. Always carry at least one backup weapon in a different damage type to handle resistant enemies without wasting consumables or retreating entirely.
| Gear Type | Primary Benefit | Suitable Playstyles |
|---|---|---|
| Heavy Armor + Shield | Flat damage reduction, high mitigation floor, proc-based heals | Tank, solo melee, front-line roles in party play |
| Medium Armor + Lifesteal Weapon | Balanced mobility and sustain, self-sufficient healing loop | Hybrid melee-ranged, kiting builds, solo exploration |
| Light Armor + High Dodge | Maximum mobility, avoidance-focused, low weight | Stealth, ranged kiting, speed-run oriented builds |
| Long-Range Weapon + Utility Mods | Safe engagement distance, crowd control procs, armor penetration | Sniper, archer, ranged DPS with positioning focus |
| Emergency Escape Items | Teleport, invulnerability, or temporary speed boost on cooldown | All builds as failsafe, especially in high-trap environments |
Defensive Tactics and Combat Survival Methods
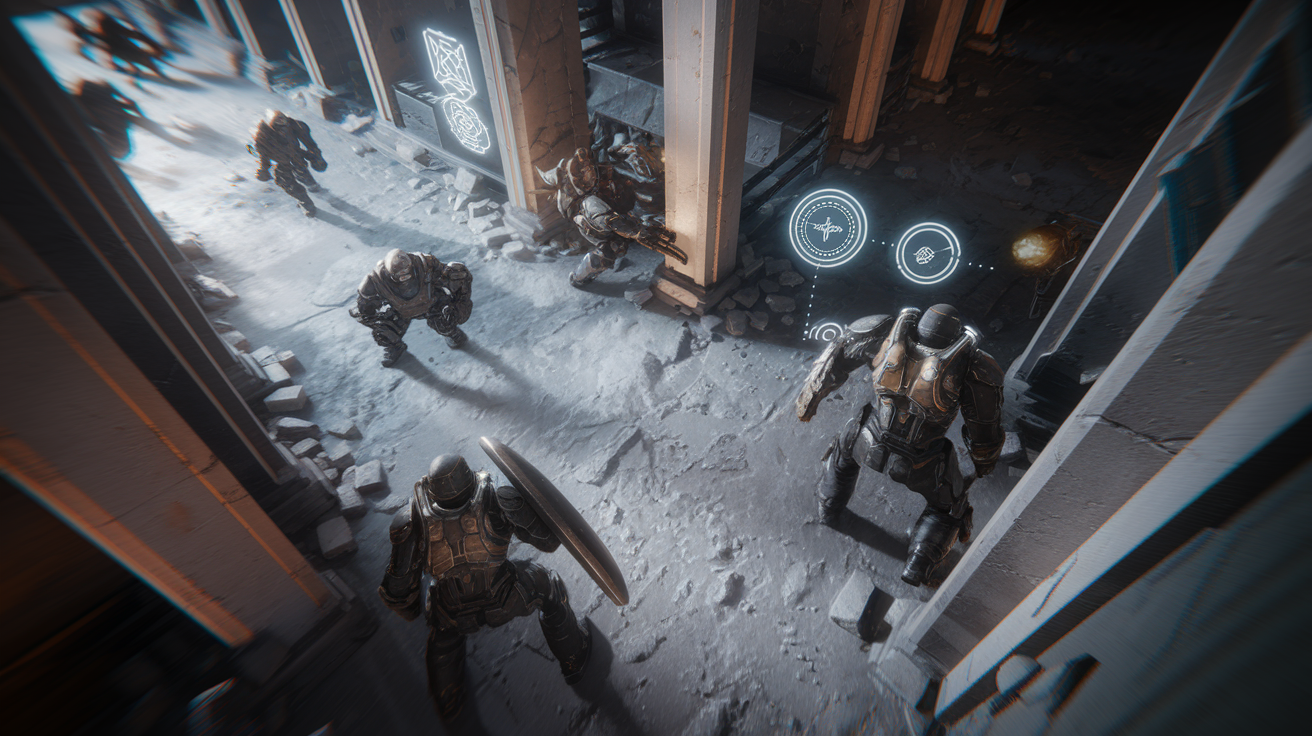
Pacing your combat engagements around cooldowns and consumable availability prevents deaths caused by overcommitment. Safest combat rhythm involves pulling one to three enemies at a time, eliminating them with crowd control plus focused damage, then waiting for your primary defensive cooldowns to refresh before engaging the next group. Forcing fights into chokepoints where only one or two enemies can attack simultaneously reduces the total incoming damage and makes crowd-control rotations more effective. When you enter a new area, scan for environmental hazards like mines, oil slicks, explosive barrels, or patrolling elite enemies. Mark safe retreat routes before initiating combat. If a fight turns against you, immediate retreat to a previously cleared area is always safer than trying to salvage a bad engagement with consumables.
Positional advantages multiply your effective survivability without requiring additional gear or stats. Elevated terrain gives ranged builds unobstructed sightlines and often prevents melee enemies from pathing correctly. Line-of-sight denial using pillars, doorways, or terrain features lets you break aggro or force enemies into predictable attack patterns. Maintaining a spacing buffer of 12 to 20 meters (game-dependent) for ranged builds creates a reaction window where you can kite backward while continuing to deal damage. Melee builds should always fight with a wall or obstacle at their back to prevent flanking and reduce the total number of simultaneous attackers.
Eliminating unnecessary engagements is the single most effective tactic for permadeath survival because unforced errors account for the majority of avoidable deaths. Travel along the edges of enemy patrol zones rather than through the center. Use stealth or invisibility when available to bypass threats entirely. Avoid looting containers or harvesting resources in high-traffic areas unless the reward justifies the risk. When you encounter random environmental hazards like the landmines and exploding vehicles common in Fallout Survival mode, slow your movement speed and scan the ground ahead rather than sprinting through unfamiliar terrain. Time saved by rushing is never worth the risk of instant death from a single missed visual cue.
Healing, Inventory, and Resource Management for Permadeath Survival

Healing item management begins with setting clear usage thresholds that prevent both waste and panic deaths. Automate or mentally commit to using your weakest heal at 50% health, a medium heal at 35%, and your strongest emergency heal only when you drop below 15%. This prevents the common mistake of burning your best consumables early in a fight and then running out during a prolonged engagement. Your minimum viable healing stack should contain at least 20 consumables for short sessions, with an optimal count of 30 to 60 for extended exploration or dungeon runs. Long-term base or settlement play requires a reserve stash of 100 or more healing items stored safely so you can restock before major pushes.
Stackable healing items Grab consumables that stack to high counts (stimpacks, potions, food) over single-use rare heals to maximize inventory efficiency.
Emergency mobility consumables Carry at least two items that grant temporary speed boosts, teleports, or invulnerability for situations where your mobility skill is on cooldown.
Pre-fight preparation items Use buffs, resistances, or damage-boost consumables before initiating difficult encounters rather than mid-fight when panic reduces decision quality.
Repair kits and durability tools Keep one to two repair consumables per major engagement if your game includes gear degradation to avoid mid-run equipment failure.
Crafting cost thresholds Only craft consumables when the material cost is less than 25% of the vendor purchase price to sustain long-term economy.
Your total inventory weight and slot allocation should reserve at least 20% capacity for emergency looting of quest items, rare drops, or backup gear. Specialize in one or two weapon types to avoid carrying multiple ammo types or incompatible upgrade materials. In games with weight penalties like Fallout Survival, this specialization becomes mandatory because ammo and healing items carry significant weight. Duplication exploits and item-farming loops can provide near-infinite resources, but even unlimited stimpacks or crafting materials don’t protect against instant-death environmental hazards, so inventory size alone never replaces tactical discipline.
Case Studies of Survivability Builds Across Different Games

In traditional roguelikes and turn-based permadeath games like Darkest Dungeon, survivability builds focus on dedicated healer slots (Vestal, Occultist), stress-management tools, and trinkets that increase self-healing or reduce deathblow chance. Safest party composition includes a tank to absorb hits, a healer with both health and stress recovery, a crowd-control specialist to stun or disable high-threat enemies, and a single-target damage dealer to eliminate priority targets quickly. Defensive trinkets that boost maximum health, dodge chance, or deathblow resistance outperform damage-focused items because they reduce the probability of losing an irreplaceable hero. Key tactical principle is to retreat from dungeons before stress or health falls below 50% rather than pushing for one more room and risking a party wipe.
In ARPGs like Path of Exile Hardcore and Diablo Hardcore modes, the gear and stat framework revolves around hitting resistance caps (75% elemental in most cases) and layering multiple defensive mechanics like block, dodge, life leech, and energy shield. Successful builds maintain five to six life flasks with instant or high-regeneration rolls, reserve at least one utility flask for freeze or bleed removal, and focus on life-on-hit or life-leech stats on weapons and passive trees. Mobility skills such as Teleport, Dash, or Leap Slam are mandatory inclusions because they provide the only reliable escape when surrounded or caught in ground-effect damage. Meta priority order is resistances first, health pool second, mitigation or avoidance third, and damage output last.
Survival shooters with permadeath mechanics like Fallout 4 Survival mode put weight on resource conservation, environmental awareness, and stat builds that stack Endurance and armor mitigation. Power armor provides the highest survivability ceiling but requires fusion core management and exposes you to instant death if a mine or explosion destroys a leg piece and forces you out of the suit mid-fight. Safest early-game approach involves slow, methodical looting with constant scanning for environmental hazards like oil slicks, landmines, and explosive vehicles. Charisma builds that unlock settlement-building perks (Local Leader at Charisma 6) allow you to establish safe respawn points and resource production chains, reducing the need for risky scavenging runs. Stealth and crit builds using Agility and Luck stats excel at eliminating single high-threat targets but remain vulnerable to area-of-effect damage and random traps.
In hybrid action-RPG survival games like Don’t Starve Together, permadeath builds center on food production, renewable resource loops, and base fortification to minimize exposure to dangerous biomes. Character selection should favor survivability-focused options with built-in healing, damage reduction, or resource generation rather than high-risk glass-cannon characters. Core survival loop involves establishing a permanent base with farms, crockpots, and defensive structures before attempting exploration or boss encounters. Seasonal preparation and stockpiling consumables (healing items, armor, weapons) for winter or high-threat events prevents starvation or combat deaths during resource-scarce periods. Map knowledge and biome awareness allow you to avoid high-variance threats like spider dens, hound waves, or boss-tier creatures until you have the gear and consumables to handle them safely.
Final Words
You’re mid-raid, low on potions, and a patrol closes in. Use the checklist fast: stat priorities, safe weapons, and defensive skills.
Gear choices, blocking vs evasion, and combat spacing were the core topics. We also covered item management, emergency escapes, and real-game examples across roguelikes and ARPGs.
Use the survivability loadout for hardcore permadeath modes as a baseline, then tweak for your playstyle and patch changes. Stick to the basics, avoid risky plays, and expect more runs to end with you alive.
FAQ
Q: What stats should I prioritize for a permadeath survivability build?
A: The stats to prioritize for permadeath are high max health, stamina (or dodge resource), and resistances; they increase your buffer, mobility, and reduce the chance of one-shot or burst deaths.
Q: Which weapon types are safest for hardcore permadeath modes?
A: The safest weapon types for hardcore permadeath are shields, long-range weapons, and lifesteal-capable options because they enable spacing, blocking, and passive recovery to avoid risky close-range trades.
Q: What defensive skills should I choose for a permadeath build?
A: The defensive skills to pick are damage mitigation (armor or DR), mobility escapes (dash, blink), and self-heal or sustain; they stack to shorten lethal windows and give breathing room to recover.
Q: How should I manage healing items and inventory in permadeath?
A: Healing and inventory should prioritize stackable instant heals, emergency mobility consumables, and pre-fight provisioning; keep quickslots stocked and ditch low-value clutter that wastes space and time.
Q: Should I use heavy armor or evasion gear for permadeath?
A: The choice between heavy armor and evasion depends on playstyle: heavy soaks big hits, evasion reduces hits through mobility—pick the one that matches your defensive skills and recovery plan.
Q: What combat tactics reduce the chance of dying in permadeath modes?
A: The combat tactics that cut death risk are spacing, kiting, baiting enemies into terrain, timed retreats, and forcing single-target fights so you control engagement tempo and reduce unexpected burst damage.
Q: When should I avoid or disengage from fights in permadeath?
A: You should disengage when you lack healing, face multiple unmanageable foes, or the terrain prevents escape; skip fights when potential permanent loss outweighs loot or progress gains.
Q: How do I adapt this survivability framework across different game genres?
A: The framework adapts by mapping health/stamina/resists to each game’s systems, choosing low-variance weapons and genre-appropriate defensive skills, and tailoring consumables to match encounter pacing.