
Think a Scorpion tank can solo The Tower? Not even close.
Vehicles dominate the outside, but this mission turns into tight infantry fights the moment you go inside.
This walkthrough gives clear vehicle and infantry tactics for Halo Infinite’s The Tower mission: where to park and shell from, when to dismount and climb the west cliff with your Grappleshot, what pickups to prioritize – like the Threat Sensor – and how to beat Chak’Lok without wasting time or vehicles.
Read on for step-by-step actions and simple decision rules.
Key Steps for Completing The Tower Mission with Optimal Vehicle and Infantry Tactics

Approach the Tower from the southwest and clear scattered Banished patrols before you reach the main structure. Your first job is establishing the Forward Operating Base near the signal source. This FOB gives you fast travel and reveals surrounding POIs, but it’s still locked into the Banished network until you manually disable it. Once you’ve secured the FOB, you get access to weapon and vehicle call-ins that stay useful throughout the mission.
After you’ve removed the FOB from the network, circle west around the main structure and climb the cliff face with your Grappleshot. This route skips heavy ground resistance and puts you above the bastion entrance, cutting minutes off your approach. From this elevated position, drop into the compound and clear the central outpost area methodically, forcing enemies back toward the bridge. The east building contains a lock mechanism you’ll need to lift to end the Tower’s lockdown state.
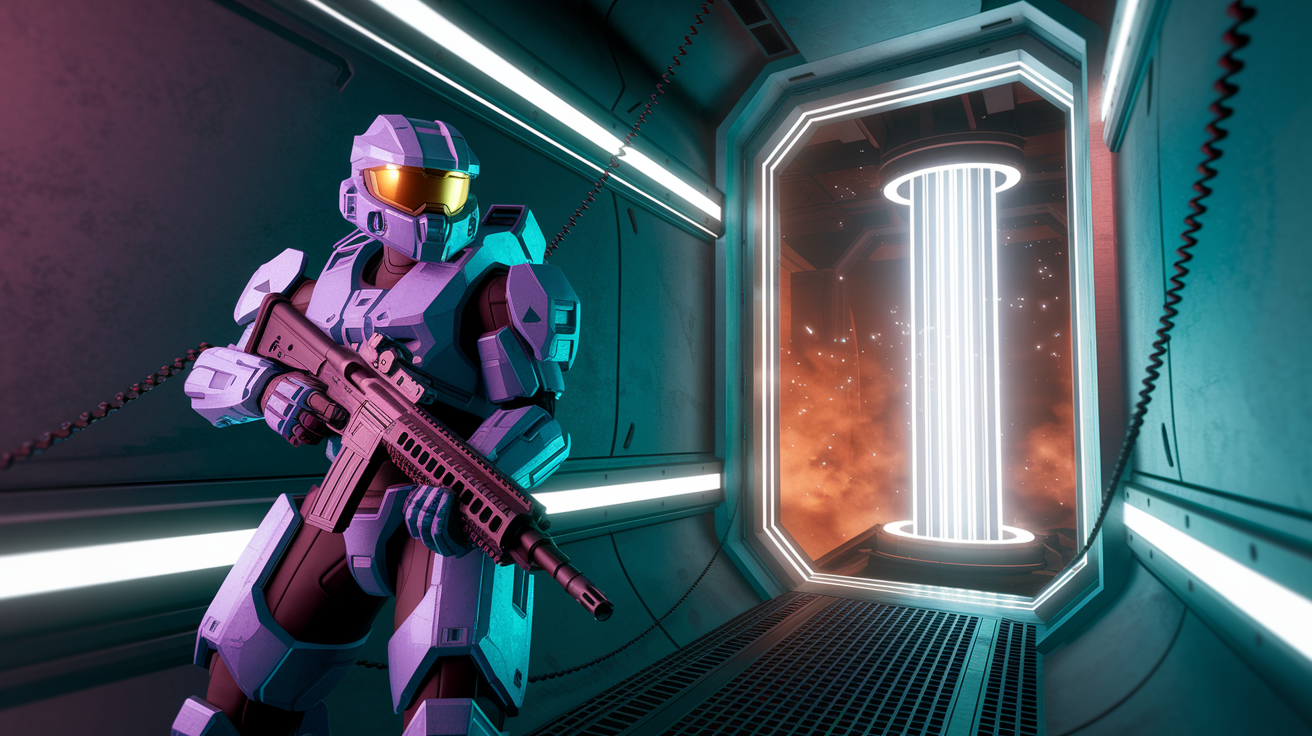
Infantry work starts the moment you step inside the Tower. Vehicles can’t follow you through the interior corridors and grav-lifts, so plan your weapon swaps before entering. You’ll transition to on-foot combat permanently once you activate the gravity lift and ride the elevator to the Tower’s upper floors.
- Establish and secure the Forward Operating Base while managing light Banished patrol units.
- Remove the FOB from the Banished network by interacting with the control terminal.
- Infiltrate the Tower bastion via the west-side cliff, clearing the central outpost area.
- Lift the lock inside the east building to disable the lockdown.
- Activate the gravity lift from the bridge and repel the first wave of reinforcements.
- Ascend the Tower’s interior floors, collecting the Threat Sensor upgrade at the top level.
- Defeat Chak’Lok in the final chamber, then free Spartan Griffin to complete the mission.
Vehicle to infantry transition happens at two clear moments. Dismount vehicles before entering the bastion interior or using any grav-lift. Switch back to vehicles only if you exit the Tower to clear reinforcement drop zones outside.
Vehicle Tactics for Approaching and Clearing the Outer Tower Perimeter
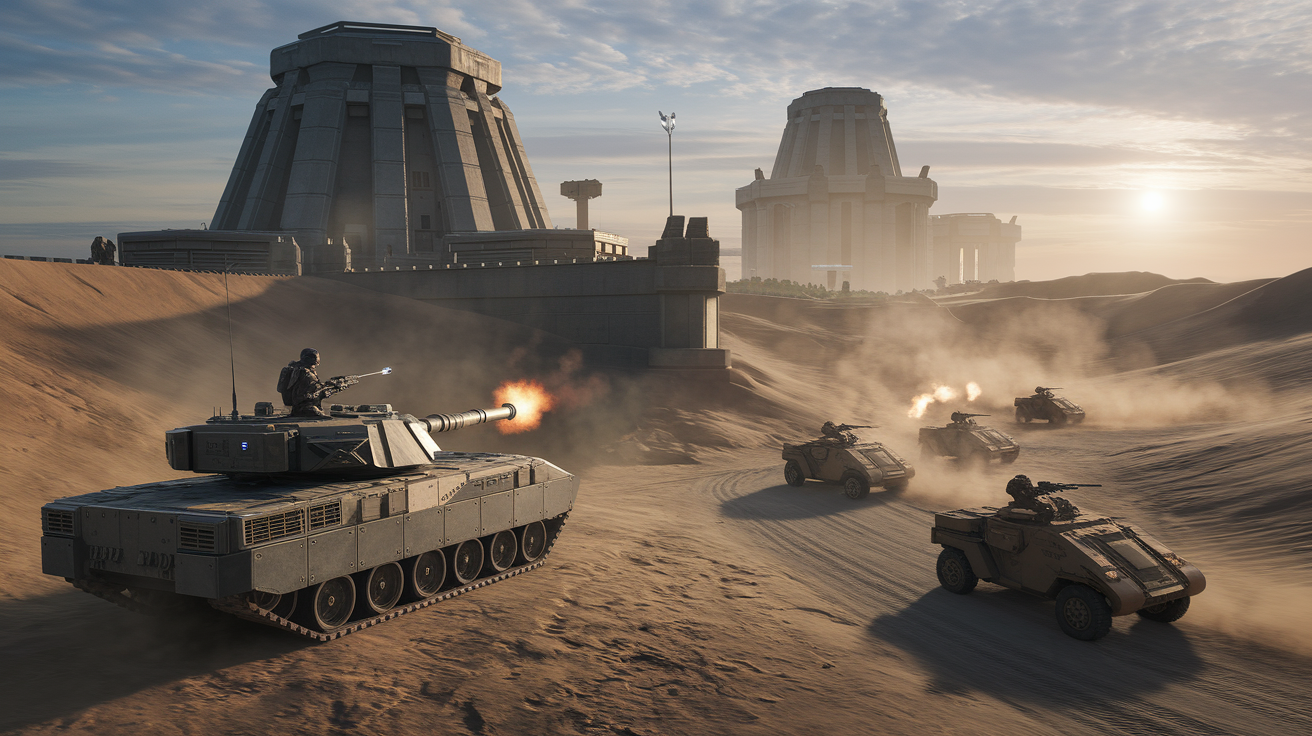
The open terrain surrounding the Tower favors vehicle suppression before you commit to interior fighting. A Scorpion tank delivers the highest firepower per shell with its M512 90mm cannon, perfect for breaking up clustered Grunt and Jackal formations at range. Position the Scorpion on elevated ground west or south of the compound to shell static defenses without exposing your flanks. The autoloader ejects spent casings after each shot, so pace your fire to avoid wasting ammo on suppressed targets already retreating.
Gungoose and Razorback offer mobility and secondary firepower. The Gungoose pairs twin forward-firing cannons with full speed, letting you strafe patrols and retreat before heavier units respond. Razorback convoys carrying marines equipped with Sentinel Beams can trivialize outer defense layers, but this method reduces engagement difficulty sharply. Reserve vehicle play for thinning reinforcements and securing the FOB perimeter, then dismount before entering tight corridors or climbing the cliff infiltration route.
- Park vehicles on high ground southwest of the Tower to get maximum shell range and minimize exposure to Ravager-equipped Elites.
- Use hit-and-run passes with the Gungoose to clear patrol routes without committing to prolonged firefights.
- Dismount before ascending the western cliff because vehicles can’t follow and will block your retreat path if reinforcements flank.
- Call in a fresh Scorpion or Razorback from the FOB after you disable the network lock to replace damaged vehicles before the bridge phase.
- Avoid driving vehicles into the bastion courtyard once enemies retreat indoors. The confined space invites plasma grenade spam that disables treads fast.
Infantry Combat Framework for The Tower Interior
The Tower’s interior is a vertical linear gauntlet with narrow ramps, tight turns, and limited cover between floors. Equip a Pulse Rifle or Plasma Carbine for shield stripping and pair it with a BR75 Battle Rifle or VK78 Commando for precision follow-up damage. Kinetic headshots drop unshielded Grunts and Jackals in one or two hits, conserving your plasma ammunition for shielded Elites on higher floors. The Threat Sensor upgrade sits near the tower top. Collect it before ascending the final ramp to improve visibility during the Chak’Lok encounter.
Control each lane by holding doorways and using the Grappleshot to reposition when flanked. Enemies funnel through single-file chokepoints on most floors, so backpedal while firing to maintain spacing and avoid melee rushes. Shock grenades and fusion coils scatter along the interior walls. Use them to stun groups before they close distance. The confined layout means missed shots ricochet, so burst-fire your kinetic weapons to maintain accuracy under pressure.
Clearing Tight Corridors Efficiently
Corners and blind turns conceal Jackal sharpshooters and sword-wielding Elites waiting to ambush. Lead with a grenade or deploy your Threat Sensor at the turn to reveal hidden positions before you commit. Once threats are marked, slice the angle by strafing wide rather than rounding the corner straight. This gives you a firing window before enemies acquire line of sight.
- Pre-fire known ambush points with burst shots from your Commando to suppress hostiles before they can return accurate fire.
- Use Grappleshot to pull fusion coils into corridors as improvised area-denial explosives.
- Maintain at least half a corridor’s length between you and the nearest enemy to avoid lunge-range sword strikes.
- Reload during enemy flinch animations or while backing through doorways to minimize vulnerability windows.
Detailed Strategy for Beating Chak’Lok with Sensor, Plasma, and Kinetic Weapons
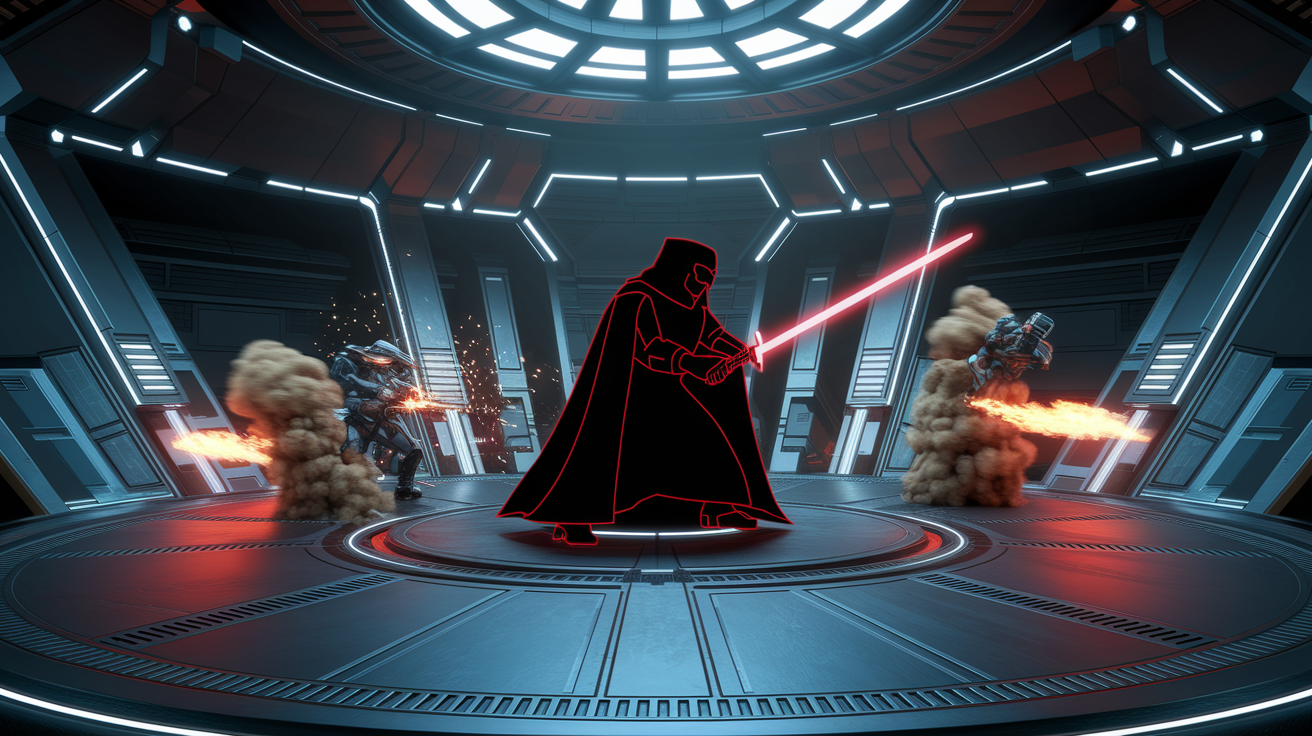
Chak’Lok enters the arena cloaked and stays invisible between attack runs, making conventional tracking difficult without preparation. Deploy the Threat Sensor on the floor near the center of the arena immediately when the fight begins. The sensor’s detection radius forces Chak’Lok’s outline to glow red even while cloaked, eliminating his stealth advantage. He carries an energy sword and closes distance aggressively, so maintain a minimum of ten meters separation at all times and backpedal while firing.
Strip his shields with concentrated Pulse Rifle fire, then swap to your Battle Rifle or Commando for headshots the instant his shields collapse. Chak’Lok has high HP. Expect the fight to last two to three full shield cycles if you land consistent precision damage. Shock Coils are scattered around the arena perimeter. Use your Grappleshot to collect them mid-fight and throw them at Chak’Lok’s position to accelerate shield depletion. Avoid throwing coils while he’s cloaked unless your Threat Sensor has him marked. Wasted coils extend the encounter significantly.
- Keep the Threat Sensor active at all times by redeploying it every cooldown cycle to maintain constant visibility.
- Grapple to elevated ledges or opposite corners when Chak’Lok lunges to create separation and reset your firing angle.
- Prioritize Shock Coil pickups over ammo crates during lulls. Coils deal more shield damage per second than sustained Pulse Rifle fire.
- Bait Chak’Lok into the Threat Sensor’s radius by positioning yourself just outside detection range, then circle back once he’s marked.
- Finish with melee only after his shields are fully depleted and you have a clear retreat path. His sword out-trades your melee in a standing exchange.
Optimal Weapon Loadouts and Priority Pickups for The Tower Mission
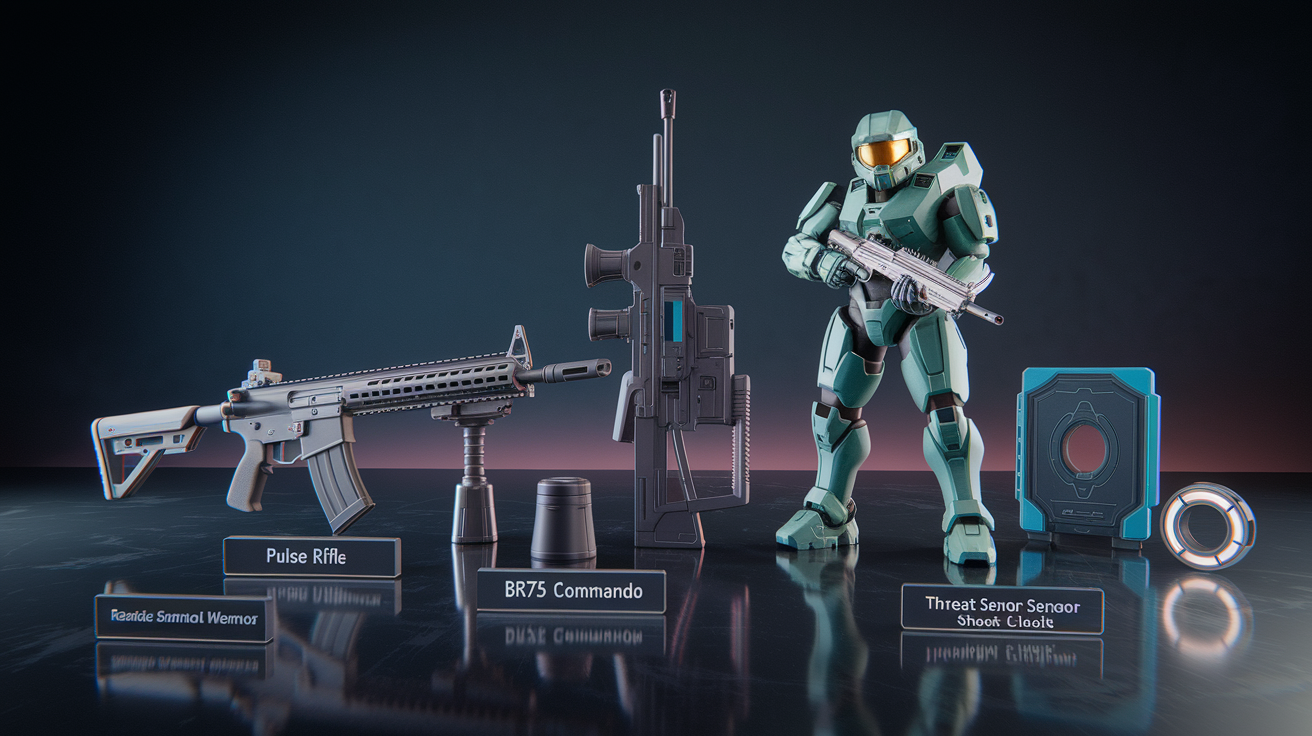
Primary loadout logic centers on pairing a shield-stripping plasma weapon with a high-damage kinetic option for unshielded targets. The Pulse Rifle recharges automatically and delivers reliable shield pressure without ammo scarcity, making it the safest plasma choice for extended encounters. Pair it with the BR75 Battle Rifle for medium-range precision or the VK78 Commando if you expect tighter engagements with faster target switching. Both kinetic rifles drop unshielded enemies in under three headshots, conserving time between kills.
Secondary pickups depend on encounter phase. Collect the Threat Sensor armor upgrade at the tower top before confronting Chak’Lok. It provides the only reliable counter to his cloak. Shock Coils appear in the boss arena and along interior walls. Prioritize coils over grenades when available because they strip shields faster and can be thrown from safer distances. Ammo crates appear before the final door. Top off your kinetic weapon and swap your plasma rifle for a fresh Pulse Rifle if yours is running low.
| Weapon/Gadget | Best Use |
|---|---|
| Pulse Rifle | Shield stripping on Elites, Jackals, and Chak’Lok; infinite recharge makes it the safest plasma option for long encounters |
| BR75 Battle Rifle | Medium-range precision headshots on unshielded targets; three-round burst conserves ammo while maintaining lethality |
| Threat Sensor (armor upgrade) | Reveals cloaked enemies including Chak’Lok; mandatory pickup before final boss to eliminate stealth advantage |
Enemy Types, Reinforcements, and How to Counter Them in The Tower
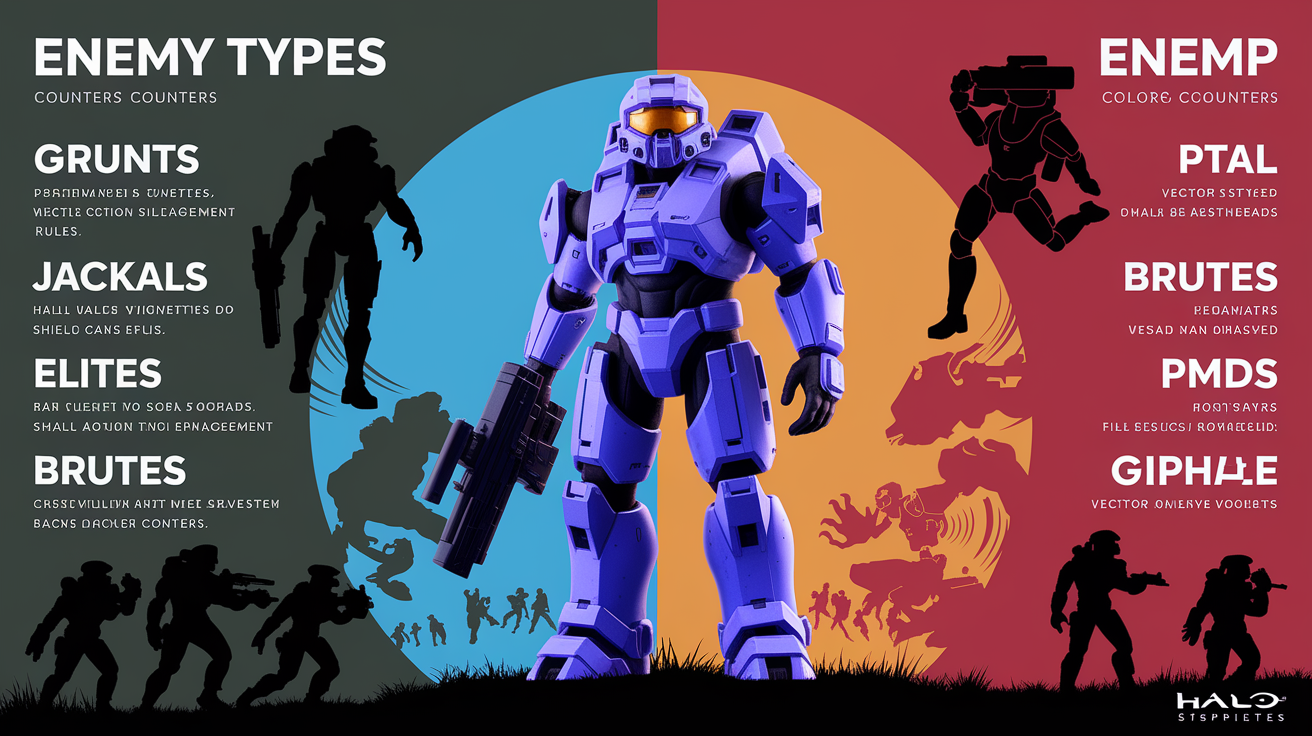
Grunts form the bulk of reinforcement waves and die to single headshots or melee finishers once shields are gone. They panic and flee when their Elite commanders fall, so prioritize shielded targets first to collapse group morale. Jackals carry energy shields that block frontal fire, forcing you to flank or use plasma weapons to overload the shield and expose the Jackal behind it. Precision shots through the notch in the shield work, but plasma fire is faster and safer under pressure.
Elites wield energy swords or Ravagers and push aggressively once their shields drop below half. Counter them by backpedaling while maintaining Pulse Rifle fire, then finishing with kinetic headshots the moment shields fail. Brutes appear in smaller numbers but absorb more damage and berserk when wounded, charging with melee weapons. Shock grenades slow berserking Brutes long enough to land headshots, or use Grappleshot to reposition and create distance before they close. Reinforcement waves arrive via drop pods marked by red indicators. Clear the drop zone before the pod lands to deny enemy reinforcements a foothold.
- Grunts — single headshot with any kinetic weapon; ignore unless they throw plasma grenades, then prioritize immediately.
- Jackals — Pulse Rifle overloads shields in two seconds, follow with one BR headshot; alternatively flank and melee.
- Elites — strip shields with Pulse Rifle, backpedal to avoid sword lunge, finish with three BR headshots while moving.
- Brutes — shock grenades to slow berserk charges, Grappleshot to reposition, sustained headshots with Commando or BR to finish.
- Drop pod reinforcements — throw grenades at the pod’s landing zone or pre-aim with your Pulse Rifle to strip shields as enemies exit.
- Ravager-wielding enemies — maintain distance beyond projectile arc, strafe to dodge charged shots, rush with melee after they fire to exploit reload window.
Efficient Route Planning: FOB, Entry Points, and Speedrun-Friendly Tower Paths
The western cliff infiltration skips the main gate entirely and places you directly above the bastion’s interior courtyard. Grappleshot up the cliff face in three bursts, aiming for ledges rather than smooth rock to conserve grapple cooldown. Once you crest the cliff, drop into the compound from above and immediately clear the central outpost area by pushing enemies toward the eastern building. This route eliminates two exterior patrol zones and cuts roughly ninety seconds off the FOB to interior transition.
Tower interior progression is strictly vertical with no meaningful shortcuts between floors. Speed depends on reducing per-floor clear time rather than skipping encounters. Grapple directly to upper walkways when available instead of taking ramps, and use grenades to flush enemies from cover rather than waiting for clean shots. The Threat Sensor pickup at the tower top is mandatory for the boss fight, but all other item pickups are optional if you’re running minimum-time clears.
- Grapple straight up the western cliff in three sequential bursts rather than zigzagging to conserve time and reduce exposure to perimeter patrols.
- Ignore the main door and right-side entrance entirely. Both routes force additional combat encounters that the cliff path skips.
- Sprint through cleared floors without looting bodies unless you need ammo. The fastest runs grab only the Threat Sensor and ammo crates before Chak’Lok.
- Use Grappleshot to pull yourself onto elevated walkways instead of climbing ramps, saving two to three seconds per floor transition.
Advanced Adjustments for Solo, Co-op, and Legendary Difficulty

Solo players must manage all shield-stripping and precision damage without support, so loadout flexibility becomes critical. Carry a Pulse Rifle and BR at all times to handle both shielded and unshielded threats independently. Legendary difficulty reduces your shield recharge rate and increases enemy accuracy, forcing you to break line of sight more frequently and abuse Grappleshot repositioning to avoid sustained fire. Shock Coils become mandatory for Chak’Lok on Legendary because his shields regenerate faster, extending the fight beyond your ammo reserves if you rely solely on weapon damage.
Co-op teams should assign roles before entering the Tower. One player focuses on shield stripping with Pulse Rifle and plasma grenades while the second follows up with precision kinetic fire. This division of labor doubles damage output and cuts encounter time nearly in half. The shield-focused player also handles Threat Sensor deployment and coil collection during the Chak’Lok fight, freeing the precision player to maintain constant damage pressure. Reinforcement waves hit harder in co-op, so coordinate grenade throws and focus fire on drop pods to prevent enemies from establishing defensive positions.
Legendary-Specific Survival Rules
Legendary amplifies every mistake. Elites and Brutes kill in two to three hits, and shield recharge delays punish aggressive positioning. Treat every corridor as a potential ambush and pre-deploy Threat Sensors before rounding blind corners. Shock grenades become your primary crowd-control tool because they stun long enough for you to reposition or land headshots on multiple targets before the effect wears off.
- Never engage more than three enemies simultaneously. Retreat and funnel them through doorways to force single-file engagements.
- Grapple to elevated positions or distant cover the instant your shields break. Waiting for recharge in the open is a guaranteed death.
- Collect every Shock Coil in the Chak’Lok arena before starting the fight. Legendary requires all six coils plus sustained weapon fire to deplete his shields reliably.
- Coordinate co-op grenade throws to chain-stun high-value targets like sword Elites, preventing them from closing distance while your team focuses fire.
Final Words
Dropping onto the west-side cliff, grab the FOB, sever it from the network, then push the best infiltration path into The Tower. Use grappleshot mobility to climb and hold lanes.
Disable the lockdown, trigger the grav-lift, beat reinforcement waves, collect the Threat Sensor, clear floors, and finish Chak’Lok to free Spartan Griffin. That’s the core flow.
Use vehicles for perimeter work, switch to infantry inside tight corridors. This Halo Infinite The Tower mission walkthrough vehicle and infantry tactics keeps runs focused and winnable. Keep at it — you’ll get smoother clears.
FAQ
Q: What are the core progression steps to complete The Tower mission?
A: The core progression steps are to establish an FOB, remove it from the network, infiltrate (west cliff preferred), disable lockdown, activate the grav-lift, clear waves, grab the Threat Sensor, ascend, defeat Chak’Lok and free Griffin.
Q: Where is the fastest infiltration route into The Tower and any speedrun tips?
A: The fastest infiltration route is the west-side cliff; use the grappleshot to climb, approach from elevation to bypass fights, skip optional clears when safe, and prioritize vertical movement for time savings.
Q: How should I use vehicles when approaching and clearing the Tower perimeter?
A: Vehicles are best used before entering the Tower: Scorpion for heavy suppression, Gungoose for hit-and-run, Razorback to support marines; keep distance, use elevation, and thin enemy numbers before dismounting.
Q: When should I switch from vehicles to infantry during the mission?
A: You should switch from vehicles to infantry when the perimeter and FOB are secured, just before entering the Tower; dismount at the entrance or cliff base to avoid getting boxed in by interior corridors.
Q: How do I capture and manage the FOB?
A: To capture and manage the FOB, establish it as a spawn and supply point, remove it from the Banished network to stop respawns, then use it as a forward staging area and defend while prepping infiltration.
Q: Where is the Threat Sensor upgrade and why should I collect it?
A: The Threat Sensor upgrade is located near the tower top; collecting it reveals stealth enemies like Chak’Lok, making him visible and greatly simplifying the long boss fight.
Q: How do I defeat Chak’Lok effectively?
A: To defeat Chak’Lok, reveal him with the Threat Sensor, strip shields with the Pulse Rifle, finish with a kinetic weapon, use Shock Coils via Grappleshot, and maintain spacing to avoid ambushes.
Q: How should I handle reinforcement waves during the mission?
A: To handle reinforcement waves, thin them with vehicle cannon or explosives, use elevation and choke points, clear clusters before pushing, and switch to lane control indoors to prevent corridor overwhelm.
Q: What loadout and pickups should I prioritize for The Tower?
A: Prioritize the Threat Sensor and Shock Coils, carry a Pulse Rifle for shields and a precision kinetic (BR or Commando) for finishers, and grab nearby ammo crates before the boss room.