
Think Nightmare bosses are just unfair RNG?
They’re not – most attacks telegraph and repeat.
This guide breaks down the most common boss tells, which affixes turn fights lethal, and how to use recovery tools so runs stop ending on one mistake.
You get clear decision rules: when to use your defensive cooldown, when to save a potion charge, and when to retreat before wasting resources.
Read this and your next boss fight becomes a skill check, not a coin flip.
Nightmare Dungeon Survival Essentials: Core Tactics to Withstand Boss Encounters

Boss telegraphs in Nightmare Dungeons follow patterns you can read if you know what to look for. Red or orange stuff on the ground? That’s going to hurt. Probably kill you. When the boss winds up slow or a limb starts glowing, a big hit’s coming. But here’s the thing: don’t just stare at the floor. Watch the boss itself. A Khazra Abomination leans back and raises both arms? Sweeping cleave in about two seconds. Tomb Lord lifts his staff and holds it there? Bone prison’s next. Once you learn these cues, fights stop feeling random.
Your defensive priorities change the second you enter a boss room. Spacing beats damage because one screw-up ends your run way faster than low DPS ever will. Use your defensive cooldowns early, not when you’re at 20 percent health panicking. Panic heals are wasted potions. Always know where the nearest wall, pillar, or safe spot is so you can move without thinking. Keep your camera zoomed out enough to see both the boss wind-up and the ground effects. Melee? Circle the boss. Don’t just stand there. Ranged? Max distance, and never back yourself into a corner.
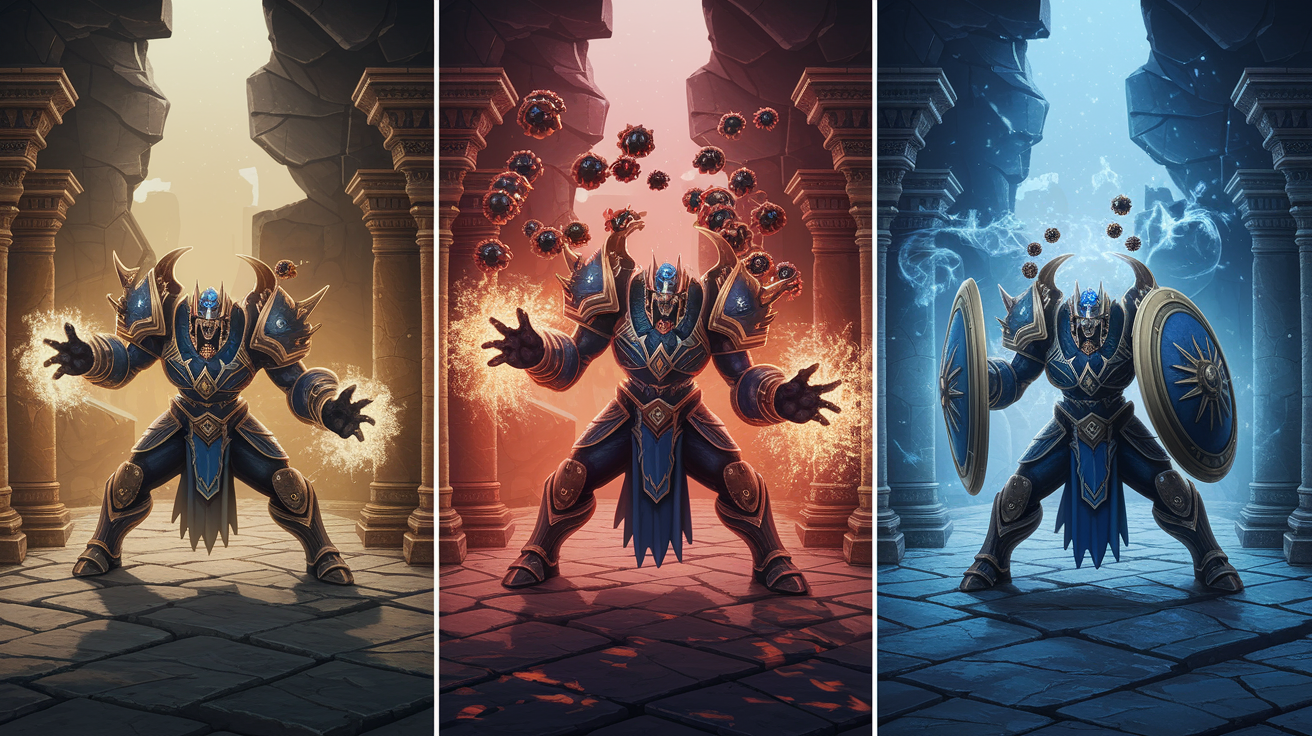
Elite affixes turn certain bosses lethal in specific ways. Suppressor Aura kills your potion healing, so now you can’t afford to get hit at all. Mortar drops delayed AoE bombs that make you move constantly, even when you’d normally be safe. Fire Enchanted bosses explode when they die, which wrecks melee players who don’t back off. Vampiric bosses heal when they hit you, so long trades become losing fights. Check the affixes before you go in and adjust for whichever two or three are most likely to kill you.
Six things to do in every boss fight:
- Check affixes before engaging – Know what’s going to force your cooldowns early.
- Use your first defensive cooldown at 75 percent health – Waiting until you’re almost dead wastes it.
- Save one potion charge for overlapping mechanics – If the boss has a combo that hits twice, you need healing for both.
- Move after every major attack – Standing still between abilities leaves you open.
- Kill adds immediately if they give potion charges – Adds are sustain. Ignoring them costs you healing.
- Retreat if two dangerous mechanics stack – Fighting through overlapped danger burns resources faster than it burns the boss.
Core Boss Mechanic Patterns Across Nightmare Dungeons
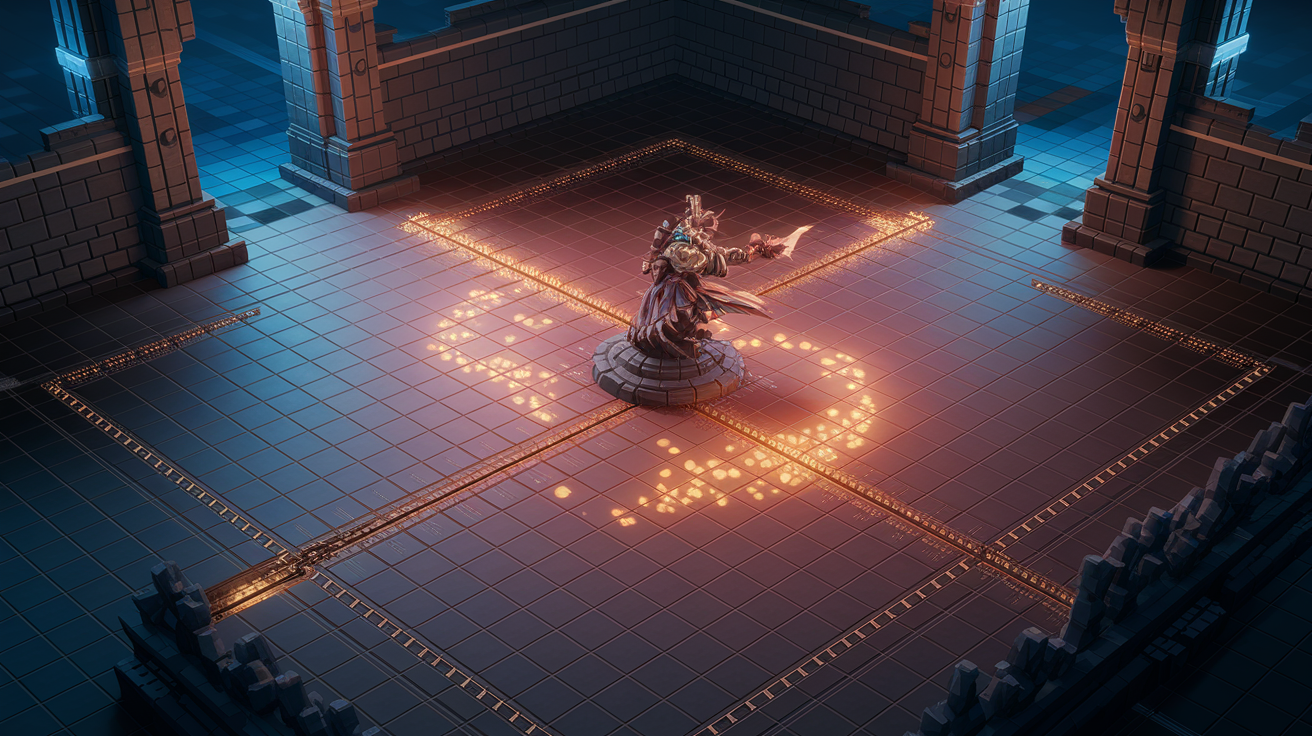
Most Nightmare bosses use the same handful of mechanics in different combinations. Sweeping melee arcs cover anywhere from 180 to 270 degrees in front of the boss, so melee players dodge sideways or back off for a second. Linear charges close distance fast and hit hard, but there’s always a brief pause and a stance change before they happen. Ground DoT puddles like poison or fire take away space and stack damage over time. Especially bad when combined with something else. Summoned adds show up in waves, either to overwhelm you or to give you potion refills depending on how fast you clear them. Stuns and cages like bone prisons lock you down unless you dodge the setup cast.
Area denial defines a lot of Nightmare boss fights. Puddles push you out of your best damage spots, which cuts your DPS and gives the boss time to do more stuff. Walls and barriers split the arena or funnel your movement, creating kill zones if you don’t adapt. Traps like spike fields or delayed explosions punish you for standing still and reward mapping safe paths before things activate. The longer the fight goes, the more these effects overlap. Your safe space shrinks until positioning mistakes become unavoidable unless you end it fast.
Elite affixes make all of this worse. Suppressor Aura means every attack has to be dodged because potions don’t work. Mortar adds random AoE bombs during downtime, so there’s no safe window. Arcane Enchanted spawns rotating beams on top of boss attacks, making it nearly impossible to dodge both without mobility skills. Vampiric bosses heal from damage, so trades become net losses. Fire Enchanted explodes when the boss dies, which wipes melee players who don’t retreat immediately. Read the affixes when you enter and treat them like extra boss abilities.
Boss-Specific Behavior Breakdowns
Fast Melee Pressure Bosses
Fast melee bosses like Khazra Abominations and Fallen Overlords use charge patterns, persistent bleeds, and wide cleaves to overwhelm you up close. Charges happen after a quick ground scrape or backward hop. Always straight toward where you were standing. Sidestep perpendicular to the boss’s facing direction the moment you see the setup. Bleeds stack fast if you trade hits, so kite in short loops around the boss to stay mobile while still getting attacks in between their combos. Cleaves sweep 180 to 270 degrees and come after a weapon raise or body twist. Dodge behind the boss or get out of melee range completely.
Kiting these bosses requires tight spacing. Stay just outside auto-attack range and bait a charge or leap, then punish the recovery before moving again. Ranged? Maintain max distance and reposition after every charge to avoid the follow-up cleave. Melee? Use movement skills to circle behind during wind-ups instead of retreating. Keeps your damage uptime high. Bleed stacks are dangerous because they ignore armor, so any skill or Aspect that cleanses debuffs or gives brief immunity during dodges becomes essential for longer fights.
AoE and Summoner-Type Bosses
AoE and summoner bosses like Tainted Blood Bishops and Tomb Lords control the arena with add waves, poison or fire zones, and spacing denial. Add waves spawn every 20 to 30 seconds in groups of three to six. They either swarm ranged players or cut off melee escape routes. Kill them fast to restore potion charges and clear space. Ignore them and you get overlapping pressure that forces defensive cooldowns. Poison and fire zones appear as ground circles with a one-second warning, then stick around for 8 to 12 seconds. Multiple zones cut the safe arena size in half.
Summoner fights demand constant arena awareness. Map safe zones before the boss casts, then rotate toward them as soon as the telegraph shows up. If the boss is channeling a long windup, use that time to clear adds and restore potion charges before the cast finishes. Ranged players should position near arena edges to maximize kiting space. Melee players need to stay mobile enough to dash between add packs and the boss without getting trapped. These fights punish standing still harder than anything else because every second in one spot gives the boss time to layer more denial.
Multi-Phase Spellcasters
Multi-phase spellcasters like Succubi and Occultists teleport constantly, deploy shield phases that stop all damage, and use long windup AoEs that wipe you if you’re not ready. Shield phases absorb everything until you break them or complete a specific mechanic, like killing totems or priority adds. Recognize the trigger and swap targets immediately. Teleports happen every 15 to 25 seconds and reset positioning, which wastes time if you don’t predict where they’ll land. Long windup AoEs like meteor storms or arcane barrages give you 2 to 3 seconds of warning through glowing effects or voice lines, then cover huge areas with lethal damage.
Multi-phase caster fights are all about reading animation tells. Boss raises both arms and glows? Shield phase is coming. Stop attacking and find the thing that breaks it. Boss flickers or dissolves? Teleport’s next, usually to the opposite side or behind you. Spin your camera and prepare to chase. For long windup AoEs, use the windup time to clear adds, restore charges, or move to the safest corner. Never stand still during a caster’s telegraph. If you’re not sure whether the AoE will one-shot you, assume it will.
Recovery Mechanics and Sustain Strategies in Nightmare Dungeons
Potion charges refill by killing enemies, so add management is your primary sustain during long boss fights. Each kill restores a percentage toward your next charge. Prioritize add waves over boss damage when pressure’s high. In boss rooms with no adds, you enter with whatever charges you have and no way to refill. Means you either play flawlessly or retreat and reset. Some bosses spawn adds in waves specifically to give you healing opportunities, but only if you kill them before the next mechanic forces potion usage.
Defensive Aspects and skills reduce incoming damage or boost effective healing, extending your survival without needing more potion charges. Aspects that give damage reduction after using a defensive skill, like Aspect of Disobedience, stack mitigation over time and reward active play. Skills that convert damage into Fortify or Barrier, like Barbarian shouts or Sorcerer shields, create temporary health pools that absorb hits without consuming potions. Life on hit and life on kill provide passive sustain that scales with attack speed and enemy density. Especially valuable in add-heavy boss fights where small heals prevent potion waste.
Five ways to keep or restore health in boss fights:
- Kill adds immediately to restore potion charges – Every add wave is a sustain chance if you clear fast.
- Use Fortify or Barrier skills before damage lands – Temporary health absorbs hits without burning potions.
- Equip at least one defensive Aspect that cuts incoming damage – Passive mitigation extends time between potion uses.
- Stack life on kill for add-heavy fights – Small heals per kill add up fast when density’s high.
- Save one potion charge for the boss’s worst mechanic – Never waste your last charge on chip damage.
Potion Usage and Emergency Response Priorities

Potion upgrades unlock at fixed levels and increase flat healing per charge. Prioritize upgrading at the Alchemist as soon as new tiers open. A Tier 1 potion heals around 35 percent of your health. Fully upgraded Tier 10 restores close to 60 percent. That difference decides whether you survive overlapping mechanics or die to the second hit. Upgrade costs are tiny compared to the value. Skipping them leaves you under-healing in every fight. Check your potion tier every five to ten levels and upgrade before pushing higher Nightmare tiers.
Timing potion usage prevents death from overlapping mechanics. Using potions reactively instead of proactively wastes charges. If a boss telegraphs a big hit and you’re already below 60 percent, drink before it lands so you survive the spike and anything that follows. Waiting until you’re at 20 percent means the next tick or bleed kills you before the cooldown finishes. Treat potions as a tool to stay above dangerous thresholds, not as a panic button when you’re already dead. In fights with multiple dangerous phases, plan potion usage around the two or three mechanics most likely to kill you and hold charges for those.
Emergency priorities during panic moments follow a strict order: dodge first, then use defensive cooldowns, then drink only if both are unavailable or on cooldown. Movement skills and sidesteps cost nothing and avoid damage entirely. Best first response to telegraphed attacks. Defensive cooldowns like Iron Skin, Teleport with damage reduction, or Blood Mist give brief immunity or massive mitigation and buy time without consuming charges. Potions are your last defense because they have the longest cooldown and most limited supply. Burning one when a dodge or cooldown would’ve worked wastes what you’ll need later. If two mechanics overlap and you can’t dodge both, use a cooldown for the first and a potion to recover from the second. Never the reverse.
Class-Based Adjustments for Boss Mechanics

Barbarian Boss-Fight Adjustments
Barbarians survive through Fortify stacking and shout-based mitigation that scales with uptime and cooldown management. Rallying Cry and Challenging Shout provide massive damage reduction and Fortify generation. Use them before the boss’s heaviest attacks, not after taking damage. Fortify acts as a temporary health buffer that absorbs hits. Many Barbarian builds generate it through skills like Lunging Strike or passives that trigger on hit. The longer you maintain Fortify, the less often you need potions. Prioritize uptime by rotating shouts and Fortify generators instead of relying on raw health pool. Leap and Charge double as mobility tools to dodge AoEs while repositioning for damage. Essential for fast melee pressure bosses that demand constant movement.
Rogue Boss-Fight Adjustments
Rogues rely on evasion, repositioning, and brief immunity windows to survive things that would one-shot slower classes. Dash and Shadow Step provide quick escapes from ground effects and boss charges. Many builds reduce these cooldowns through resource management or Aspect synergies. Use evasion skills to dodge into attack range, not just away. Maximizes damage windows while staying mobile. Stealth mechanics like Concealment grant brief immunity and reset threat, letting you reposition during overlapping mechanics or recover without fully disengaging. Rogues have lower base health than most classes, so avoiding damage entirely beats trying to tank and heal. Stack cooldown reduction and movement speed to ensure you always have an escape when the next telegraph appears.
Sorcerer Boss-Fight Adjustments
Sorcerers mitigate through Barrier generation and crowd control that locks down adds and delays boss casts. Ice Armor and Flame Shield provide on-demand Barrier or immunity, giving you a health buffer that absorbs one or two hits before you potion. Barrier scales with max health, so stacking some defensive stats instead of pure glass cannon keeps your shields meaningful in higher tiers. Freeze and Stun interrupt boss windups and add channels, buying safe windows to reposition or burst. Teleport offers the best emergency escape with a short cooldown, letting you dodge AoEs and reset positioning multiple times per fight. Sorcerers die fast if caught without cooldowns. Always hold Teleport or a Barrier skill in reserve for panic moments instead of using them on cooldown for damage.
Druid Boss-Fight Adjustments
Druids blend shapeshifting defenses, mobility, and passive sustain to survive extended boss fights without heavy potion reliance. Werebear form grants massive damage reduction and Fortify generation. Best stance for tanking unavoidable hits or facetanking add waves. Werewolf form trades defense for movement speed and attack speed. Ideal for kiting fast melee bosses or clearing adds quickly to restore charges. Earthen Bulwark provides on-demand Barrier that absorbs several hits. Cooldown’s short enough to use multiple times per fight if you rotate it with shapeshifting defenses. Companion skills like Ravens or Wolves distract bosses and deal passive damage, reducing pressure while adding sustain through life on kill. Druid survival depends on switching forms and cooldowns based on current threat, not sticking to one rotation.
Necromancer Boss-Fight Adjustments
Necromancers manipulate minions and bone shields to absorb damage and control boss positioning while staying at range. Bone Armor provides a scaling shield that absorbs several hits and can be refreshed mid-fight. Acts as a reusable health buffer. Minions like Skeletal Warriors and Mages tank boss attacks and draw aggro, giving you time to reposition or channel high damage abilities without immediate pressure. Blood Mist grants brief immunity and mobility. Best panic button for escaping overlapping AoEs or recovering from bad positioning. Corpse generation through minion deaths or enemy kills enables Corpse Explosion and other burst tools that clear add waves fast, restoring potion charges and reducing fight length. Necromancer survival revolves around maintaining minion uptime and using Bone Armor on cooldown to prevent chip damage from becoming lethal over time.
Gear Optimization for Surviving High-Tier Bosses

Armor and resistance caps become non-negotiable in high-tier Nightmare Dungeons. Uncapped defenses amplify incoming elemental damage to lethal levels. Resistance to all elements should reach at least 50 percent by Tier 50 and closer to 70 percent by Tier 80, or single elemental attacks will one-shot you through cooldowns. Armor reduces physical damage but scales poorly without percentage-based reduction from other sources like Aspects or skill modifiers. Stack both flat armor from gear and damage reduction percentages from Aspects to create layered mitigation that handles physical and elemental threats. Jewelry slots provide the easiest way to fix resistance gaps. Prioritize resistance rolls on rings and amulets over minor offensive stats.
Aspect selection shifts toward defensive synergies as Nightmare tier increases. Raw damage becomes useless if you die before dealing it. Aspect of Disobedience provides stacking damage reduction up to 25 to 50 percent based on how consistently you attack, rewarding aggressive play with better survival. Aspect of the Protector grants a shield when using a defensive skill, doubling the value of cooldowns like Iron Skin or Flame Shield by adding a health buffer on top of the base effect. Life on kill and life per second Aspects provide passive sustain that reduces potion dependency in add-heavy fights. Especially valuable for classes with low base healing. Offensive Aspects still matter, but only if you survive long enough to use them. Balance roughly 60 percent defense and 40 percent offense in your Aspect choices for high tiers.
Stat priorities on gear change based on whether you’re pushing higher tiers or farming lower ones efficiently. For survival-focused progression, prioritize maximum life, damage reduction, resistances, and cooldown reduction on every piece. Maximum life scales all percentage-based healing and shields. Universal defensive stat. Cooldown reduction ensures your defensive skills are available for every dangerous mechanic instead of leaving gaps where you’re vulnerable. For speed farming lower tiers, swap some defensive stats for movement speed, resource generation, and critical strike to clear faster while maintaining enough mitigation to avoid one-shots. Never sacrifice resistance caps or core damage reduction Aspects even in farm builds. One-shot mechanics exist at every tier.
Difficulty Scaling and Adjusting Strategies for Higher Nightmare Tiers

Higher Nightmare tiers multiply monster damage, health pools, and affix combinations. Mechanics that were survivable at Tier 20 become one-shots at Tier 60. Boss attacks that dealt 30 percent of your health at Tier 40 now deal 70 percent at Tier 70, forcing earlier mitigation use and stricter positioning. Elite affixes stack more frequently and combine in deadlier ways, like Suppressor plus Vampiric. Nullifies potion healing while the boss lifesteals from every hit. Monster density increases inside boss rooms. Add waves spawn faster and in larger groups, reducing safe windows for healing or repositioning. Adapting to higher tiers means playing the same mechanics with tighter margins and no room for mistakes that were forgivable 20 tiers earlier.
Precise positioning becomes the difference between clearing and failing as tiers scale past 60. At lower tiers you can facetank one or two hits while repositioning. At higher tiers every avoidable attack must be avoided because your health pool only survives two or three mistakes total. Use arena geometry to your advantage by kiting around pillars, hugging walls to limit boss approach angles, and pre-mapping safe zones before ground effects appear. Cooldown timing shifts from reactive to predictive. Waiting until you take damage wastes the mitigation window. Use your first defensive cooldown at 75 percent health during the boss’s first major attack, not at 25 percent after you’ve already burned two potions.
Four adjustments for high-tier Nightmare success:
- Cap resistances to 70 percent minimum – Elemental damage scales faster than your health pool at high tiers.
- Use defensive cooldowns before taking damage – Reactive mitigation wastes the window when you need it most.
- Kill add waves immediately to restore potion charges – Ignoring adds at high tiers removes your only sustain source.
- Retreat if two dangerous mechanics overlap – Fighting through stacked danger burns resources faster than the boss burns health.
Final Words
In the action, focus on reading telegraphs, spacing, and using defensive cooldowns early so one-shots don’t end runs.
We walked through core boss patterns, boss-specific counters, potion sequencing, recovery tricks, class tweaks, and gear priorities to help you survive higher nightmare tiers.
Use the rules above, recognize attack cues, manage potion economy, and prioritize mitigation, and you’ll close more fights.
This Diablo 4 boss mechanics breakdown and recovery tips for nightmare dungeons is a practical checklist you can use every run. Keep at it, steady improvement comes fast when you stop guessing.
FAQ
Q: How to get harder Nightmare Dungeons in Diablo 4?
A: Getting harder Nightmare Dungeons requires raising the Nightmare tier or selecting stronger Nightmare modifiers at the dungeon entrance; higher tiers add monster levels, affixes, and damage for better rewards.
Q: How to escalate Nightmare Dungeons?
A: You escalate Nightmare Dungeons by increasing the selected Nightmare tier or stacking tougher modifiers before entry, which raises enemy damage, density, and affix complexity while improving loot quality.
Q: How to clear a Nightmare Dungeon in Diablo 4?
A: To clear a Nightmare Dungeon, read boss telegraphs, avoid one‑shot mechanics, manage potions by killing adds, use defensive cooldowns proactively, and prioritize killing high‑threat targets quickly.
Q: Are Nightmare Dungeons harder?
A: Nightmare Dungeons are harder because they scale monster level, add punishing affixes, increase damage, and demand tighter positioning and timing; difficulty increases predictably with tier.