
Think Random Seed Any% is just RNG and resets?
It’s not.
Good routing beats luck every time.
This post gives beginner-friendly route optimizations that focus on the five non-negotiable problems: tools, Nether access, blaze rods, pearls, and the stronghold.
You’ll get clear decision rules, what to do first, when to switch methods, and the exact resource counts that save minutes.
Read on to learn simple, repeatable choices that cut resets and turn random worlds into predictable runs.
Core Random Seed Any% Routing Priorities For Beginner Minecraft Speedrun Optimization

Random Seed Any% throws you into a world you’ve never seen before. No memorized paths, no fortress coordinates, no portal placements you can count on. You adapt a core priority chain to whatever the world generator decides to give you. The route stays seed-independent, meaning your goal sequence doesn’t change even when every structure spawns somewhere new. You’re solving five problems in order: get tools and materials, reach the Nether, farm blaze rods, collect pearls, kill the dragon. Master this chain and every random world becomes predictable at the big picture level, even when the details keep shifting.
The numbers define everything. You need 10 obsidian minimum for a Nether portal, 6 blaze rods to craft 12 blaze powder, and 12 Eyes of Ender to fill an End portal frame. Miss any of these exact counts and you’re forced into a detour, often losing minutes. Beginners waste time over-farming iron or skipping the math, then discover mid-run they’re short a rod or pearl. Lock in these targets before you touch a seed. How to speedrun Minecraft covers category basics, but random seed demands something different: flexible routing wrapped around non-negotiable resource counts. Can’t adapt the plan to unpredictable terrain? You’ll be resetting constantly.
The full route flows like a pipeline. Wood and stone tools unlock iron, iron opens the Nether, the Nether gives rods and pearls, pearls lead you to the stronghold, and the stronghold ends with the dragon. Each segment feeds the next. Skip a piece and the chain breaks. Beginners often rush into the Nether without enough food or fail to secure iron for buckets, then spend extra minutes backtracking. Routing is about making forward progress on all five problems in parallel, not sprinting through one step and stalling on the next.
Random Seed Any% Priority Chain:
- Gather wood, craft tools, and secure basic food within the first 2 minutes.
- Collect iron and materials to build or find a Nether portal, aiming for portal-up in 5 minutes or less.
- Enter the Nether and locate a fortress to farm 6 blaze rods.
- Obtain 12 ender pearls from endermen or bartering, then craft 12 Eyes of Ender.
- Use Eyes to triangulate and reach the stronghold, then activate the End portal.
- Kill the Ender Dragon using bed explosions or direct combat, depending on gear and beds available.
Early-Game Movement And Resource Optimization In Random Seed Speedruns
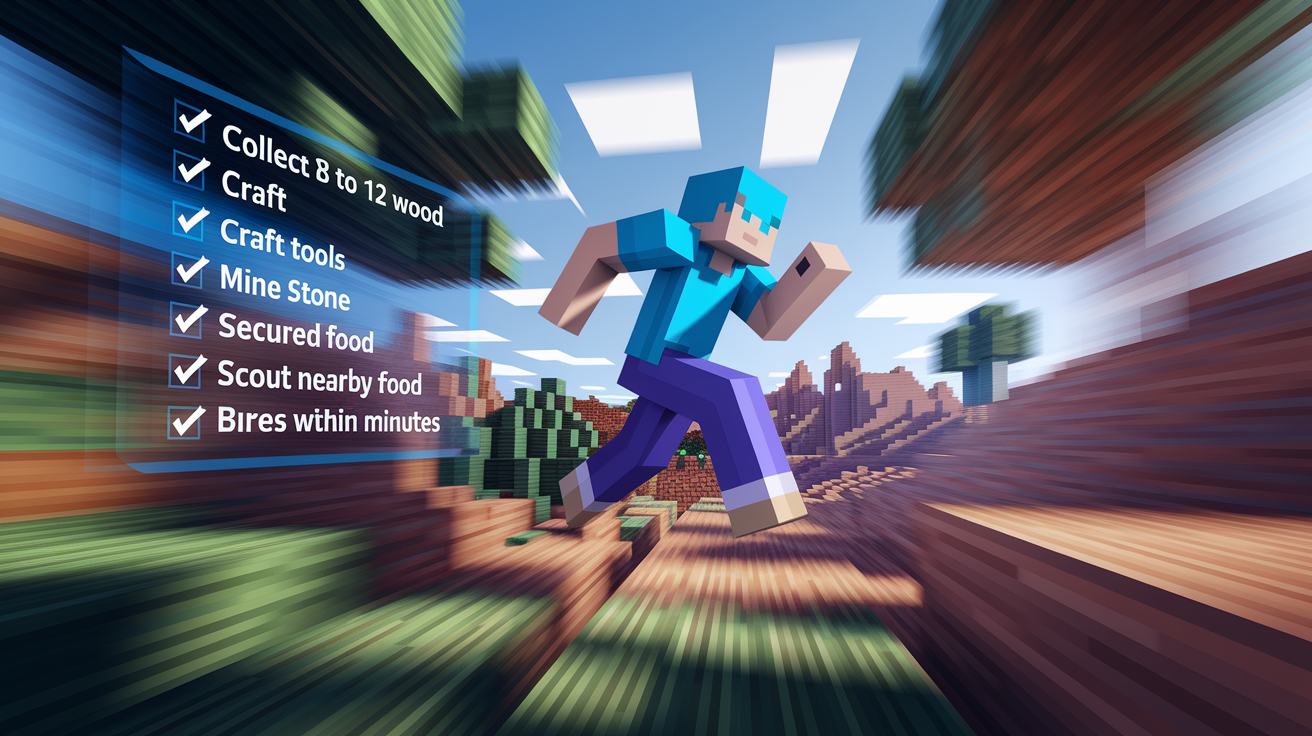
The first 5 minutes set your entire pace. Waste 90 seconds punching trees or spend 3 minutes lost in a forest, and the rest of the run drags. Early mistakes compound because every resource you miss now is a detour later. Beginners often collect too much wood, craft unnecessary tools, or ignore surface navigation while chasing a chicken. The goal is simple: secure the minimum gear to reach the Nether, then move. You need wood for tools, stone for pickaxe and axe, 3 to 4 iron for a bucket if you’re planning lava portal method, flint for flint and steel, and 8 to 12 cooked food so you don’t starve mid-fortress. Anything beyond that is wasted motion.
Movement techniques matter as much as routing. Sprint-jumping saves roughly 20 percent travel time compared to walking. If you’re crossing 300 blocks to a village or desert, sprint-jump the entire distance. Strafing around mobs instead of stopping to fight keeps momentum. Block-clutching, where you place a block below yourself mid-fall, prevents death from cliffs and ravines, especially in the Nether. Every second you spend standing still or backtracking is a second lost. Practice moving with purpose, eyes scanning the horizon for villages, lava pools, or desert temples that can shortcut your material gathering.
Early-Game Checklist (First 5 Minutes):
- Collect 8 to 12 wood logs immediately after spawn
- Craft crafting table, wooden pickaxe, and wooden axe within 30 seconds
- Mine stone to upgrade to stone tools before moving far from spawn
- Search surface caves or visible ore for 3 to 4 iron (bucket method) or 10+ iron (classic portal)
- Gather gravel and flint for flint and steel backup
- Kill animals or loot village for 8 to 12 cooked food minimum
- Scout for villages, deserts, or temples within a 2 to 3 minute radius before committing to a direction
- Avoid mining below y=20 unless a cave system is already visible and safe
Fast Nether Portal Building And Random Seed Routing Adjustments

Building the Nether portal is the first hard gate. You need 10 obsidian for the frame, skipping corners to save material, plus a way to light it. Two methods dominate beginner runs: the classic obsidian-mining route and the bucket-lava method. Classic portal means you mine 10 obsidian blocks directly, which requires a diamond pickaxe. That path forces you to mine iron, smelt it, craft iron pick, find diamonds, mine diamonds, then mine obsidian. It’s slow and rigid. The bucket-lava method is faster when conditions align. You carry 2 water buckets, each costing 3 iron, then find a lava pool. Pour water over lava to create obsidian in place, skipping the diamond step entirely. If you spawn near a lava pool and surface iron, bucket method cuts 2 to 3 minutes off your portal time.
Portal placement matters almost as much as build speed. Beginners often place portals deep in caves or far from spawn, then waste time running back and forth when they need to restock or adjust routing. Place your portal as close to spawn resources as practical, ideally within 100 blocks of your starting area and near open terrain. When you enter the Nether, you’ll spawn near the corresponding coordinates divided by 8. If your overworld portal is poorly placed, your Nether spawn might drop you into lava or a thousand blocks from any fortress. Think one step ahead: portal location affects Nether routing, Nether routing affects blaze rods, and blaze rods control your entire timeline. Don’t rush the placement just to save 10 seconds. A bad portal costs minutes.
Random seed runs force you to evaluate terrain on the fly. See a ruined portal with 7 obsidian already placed and a flint and steel in the chest? Grab it and light immediately. Find a village with a blacksmith containing iron and a lava pool 50 blocks away? Route to the pool with buckets. Stuck in a desert with no iron and no lava? Accept the longer path and mine for diamonds. The routing adjustment is about reading what the seed gives you and picking the fastest available path, not forcing a single strategy every time. Watch the clock. If you’re past 6 minutes and still don’t have portal materials, your routing choice was wrong for that seed. Restart or accept the slow run as practice.
| Method | Iron Needed | Time Risk | Notes |
|---|---|---|---|
| Classic Obsidian | 13 iron (pick, then diamond pick) | High if diamonds are deep or scarce | Requires diamond mining step, consistent but slow, works on any seed |
| Bucket-Lava Method | 6 iron (2 buckets) | Low if lava pool is nearby | Faster when conditions align, fails if no accessible lava pool within 3 minutes of spawn |
Beginner-Friendly Nether Navigation, Blaze Rod Routing, And Bastion Safety
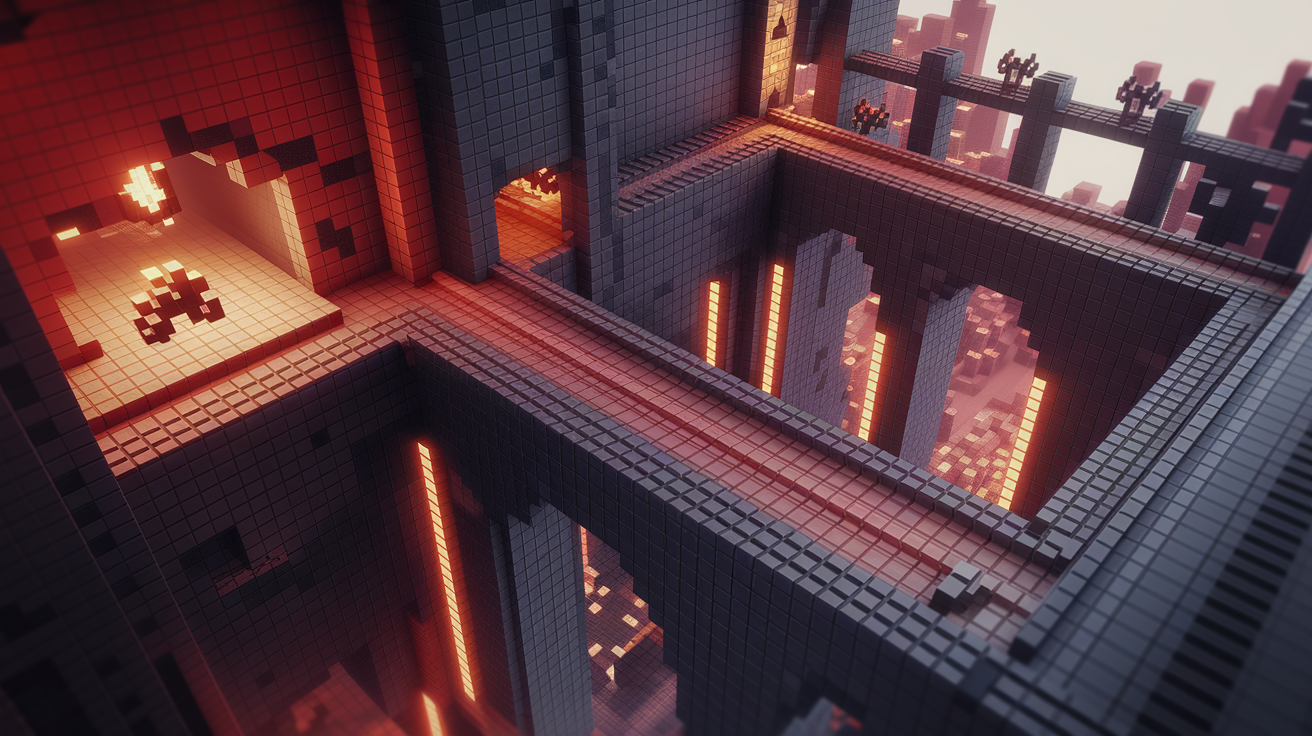
The Nether is where most beginner runs collapse. You enter with minimal gear, no map, and hostile mobs everywhere. Your only goal is to find a Nether fortress, farm 6 blaze rods, and leave. Everything else is distraction or risk. When you step through the portal, scan the horizon immediately. Fortresses are dark red brick structures, usually elevated on netherrack cliffs or spanning lava lakes. Don’t see one within render distance? Pick a cardinal direction and sprint. Fortress spacing is random, so you might find one in 30 seconds or wander for 4 minutes. Keep moving and don’t detour for gold, ancient debris, or piglin structures unless your routing plan explicitly includes them.
Fortresses are safer than bastions for beginners. Bastions contain piglins, piglin brutes, and hoglins, all of which can kill you in seconds if you’re under-geared. Fortresses have blazes and wither skeletons, but the layout gives you control. Stick to the fortress roofs and bridges rather than dropping into lower sections. Blazes spawn from spawners, which are predictable and campable. Wither skeletons patrol hallways but move slowly. If you enter a bastion, you’re gambling on bartering RNG and fighting multiple mobs at once. Only approach bastions if you have solid armor, a shield, and a concrete reason, like needing gold to barter for pearls when endermen refuse to spawn. Otherwise, route straight to the fortress. The 1-in-500 lucky spawn example where a blaze spawner appears near the portal almost never happens. Plan for the average case, not the dream.
Navigation inside the fortress is about minimizing exposure. When you find a blaze spawner, block off surrounding hallways with cobblestone or netherrack so wither skeletons can’t flank you. Use blocks to create line-of-sight barriers between you and the blazes, forcing them to path around cover while you hit them from angles. Blazes shoot fireballs in bursts of three, so strafe between shots instead of tanking damage. Your goal is 6 blaze rods, which converts to 12 blaze powder and fuels 12 Eyes of Ender. Collect 5 rods and die? You restart. Collect 7? You wasted time. Count your drops and leave as soon as you hit 6. Every extra second in the fortress is risk without reward.
Safe Blaze Rod Farming For Beginners
Blaze farming is a controlled fight, not a brawl. Find the spawner, usually a small square platform with fire particles, and secure the room. Place blocks to cut off side entrances so wither skeletons can’t rush you mid-fight. Build a 2-block pillar next to the spawner and stand on top. Blazes float and shoot, but their fireballs arc. From the pillar, you force them to shoot upward at a bad angle while you hit them from above with a sword or axe. Don’t have blocks? Use the fortress walls as cover and peek out to attack between fireball volleys.
Always keep an escape route. Health drops below 4 hearts and you’re out of food? Sprint back to the portal. Don’t greed for one more rod. Dying resets all blaze rod progress, costing 3 to 5 minutes. Aim for 6 rods minimum. Some runners grab 7 as insurance against crafting mistakes, but 6 is the mathematical requirement. Once you hit the count, leave immediately. Hanging around for extra loot or exploring the fortress is a beginner trap that adds zero value to your time.
Ender Pearl Acquisition Routes And RNG Decision Trees For Any% Beginners

You need 12 ender pearls to craft 12 Eyes of Ender, which fills an End portal frame. The two main sources are endermen and piglin bartering. Endermen spawn in the overworld at night and roam the Nether in warped forests. Piglins barter when you drop gold ingots, with a low-percentage chance to return pearls. Beginners should default to endermen because the drop rate is predictable and you control engagement. Bartering is faster when you have surplus gold and know the odds, but it’s RNG-heavy. Barter 20 gold and get zero pearls? You’ve wasted time and material. Route to endermen first, then pivot to bartering only if pearl spawns are terrible or you find a Bastion with easy gold access.
The decision tree shifts based on what the seed hands you. Spawn near a desert and kill 8 endermen in the first night? You’re halfway to 12 pearls before entering the Nether. Enter the Nether and see a warped forest near your portal? Camp there and farm endermen while waiting for blaze spawns to cycle. Stuck in a basalt delta with no endermen and a Bastion 200 blocks away? Grab the gold and barter. The key is recognizing when your primary plan isn’t working and switching before you waste 4 minutes chasing bad RNG. Keep a mental count. Eight minutes into Nether time with only 4 pearls means your routing choice needs adjustment.
RNG Pearl Acquisition Decision Tree:
- Overworld night with visible endermen nearby: hunt endermen until you hit 12 pearls, stay mobile to avoid other mobs.
- Nether spawn near warped forest: camp forest and kill endermen, faster than overworld in many seeds.
- Nether spawn with no endermen but nearby Bastion: loot Bastion gold, barter with piglins, expect roughly 1 pearl per 5 to 8 gold.
- Scarce endermen and no Bastion: return to overworld, wait for night, and hunt endermen in open biomes like plains or desert.
- Temple or village found early: check for gold or existing pearls in chests, rare but cuts minutes when it hits.
- Emergency low-pearl situation after 10+ minutes: accept slower pace, focus on guaranteed endermen farms, avoid risky bartering unless gold is already in inventory.
Stronghold Location Techniques And Efficient Eye Of Ender Usage

Eyes of Ender point toward the nearest stronghold when thrown. Each throw moves the Eye in an arc, lands on the ground, and either breaks or survives for pickup. Roughly 20 percent of throws break the Eye, so you need spares. The scraped data recommends keeping at least 2 spare Eyes beyond the 12 required for the portal, meaning you should aim to carry 14 total. Running out of Eyes mid-hunt forces a detour back to the Nether or a night-time endermen grind, costing 3 to 5 minutes. Do the math before you leave the Nether. Got 11 pearls and 6 blaze rods? You’re one pearl short. Fix it now.
Throw Eyes from high, open ground. Standing in a forest or ravine makes the Eye path harder to read and you’ll waste throws re-checking direction. Climb a hill, throw the Eye, and watch where it lands. Move 50 to 100 blocks in that direction, then throw again. The angle will shift slightly as you get closer. When the Eye starts diving into the ground instead of arcing forward, you’re within 20 blocks of the stronghold. Dig straight down carefully, watching for caves and lava. Fall into a ravine and die? The run is over. Some runners throw Eyes every 10 blocks when close, but that burns through your stock. Throw every 50 to 100 blocks until the angle tightens, then close the gap with careful digging.
Eye of Ender Throw Optimization Steps:
- Throw first Eye from spawn or high ground near Nether portal to establish initial direction.
- Sprint-jump in straight line for 100 to 150 blocks, then throw second Eye to confirm direction.
- Adjust path if Eye angles more than 20 degrees off previous throw.
- At 300 to 500 blocks from spawn, throw every 75 blocks to track angle changes.
- When Eye begins diving into ground, mark position and dig down carefully, checking for caves and lava below.
Ender Dragon Fight Basics And Bed-Explosion Strategy For Random Seed Beginners

The Ender Dragon fight is the final gate. You spawn on a 5-by-5 obsidian platform in the End with the dragon circling above. Your goal is to destroy the dragon’s health bar before it kills you. The safest beginner method is bed explosions. Beds explode when you try to sleep in the End or Nether, dealing massive damage in a radius. Time the explosion correctly and you can kill the dragon in 4 to 7 bed blasts instead of fighting for minutes with a sword. Bring beds from villages, or craft them using wool from Bastion string and wooden planks. Each bed is 3 wool plus 3 planks. Got 6 beds? You’re safe. Got 3? You’re gambling on perfect execution.
Place the bed on the ground when the dragon dives toward the center platform or portal. Right-click the bed to trigger the explosion just as the dragon’s head enters the blast radius, roughly 4 to 5 blocks away. The explosion will knock you back and damage you, so eat food immediately after each blast and don’t stand directly next to the bed. Dragon circling high? Wait for it to dive. Waste a bed on bad timing and you’re closer to running out and falling back on sword combat. Sword combat works but takes longer and requires dodging the dragon’s charge attacks and fireball breath. Beginners die most often from fall damage off the platform or getting knocked into the void by the dragon’s wings. Stay near the center, keep food in hand, and don’t chase the dragon off the platform edge.
Safe Bed-Explosion Steps and Fallback Plan:
- Enter End with 4 to 7 beds, a full stack of food, and at least iron armor.
- Place first bed on obsidian platform, wait for dragon to dive toward you or portal.
- Right-click bed when dragon’s head is within 5 blocks, eat food immediately after explosion.
- Repeat every 15 to 20 seconds as dragon completes attack cycles.
- If beds run out or break from bad timing, switch to sword and hit dragon during ground dive attacks.
- Avoid chasing dragon during flight, as falling off platform or into void ends the run instantly.
- If health drops below 3 hearts with no food, retreat to edge of platform and wait for safe attack window instead of forcing damage.
Practice Tools, Split Timing, And Drills To Build Random Seed Consistency

Random seed consistency comes from repetition. You can’t memorize the world, so you memorize the decisions and execution. Practice tools help you track progress and isolate weak segments. LiveSplit is the standard split-timing app used by most runners. It tracks your time across segments like portal, Nether entry, blaze rods, Eyes collected, and dragon kill. When you finish a run, LiveSplit shows where you gained or lost time compared to your previous attempts. Portal split consistently 7 minutes but top runners hit 4? You know where to drill. Nether split is fast but your Eye hunt takes 10 minutes? You’re losing time on stronghold navigation. Use the data to target your weakest link instead of grinding full runs blindly.
Video reviews are the second layer. Record your runs and watch them at 1.5x speed. Look for moments where you stood still, backtracked, or took unnecessary risks. Beginners waste huge chunks of time on small mistakes: walking instead of sprint-jumping, forgetting to eat food, placing portals in bad spots, or fighting mobs that didn’t threaten routing. Watch your own footage and these patterns become obvious. Compare your splits and movement to beginner-focused tutorial videos, especially runs labeled as “tutorial pace” or “learning run” rather than world record attempts. World record runs use advanced tricks and muscle memory you don’t have yet. Learning runs show you the clean, repeatable path.
Drills turn theory into reflex. Instead of running full seeds and hoping for improvement, isolate each segment and repeat it until the execution is automatic. The scraped data suggests three drill sets: 10 portal drills to hit sub-5-minute portal times, 10 Nether-blaze rod drills to secure 6 rods in 7 to 10 minutes, and 10 stronghold triangulation drills to reduce wasted Eye throws. Each drill set focuses on one skill and removes the randomness of everything else. After 30 total drills, your hands know the motion and your brain knows the decision tree. When you return to full runs, the segments you drilled become automatic and free up mental space to work on the pieces you haven’t practiced yet.
Recommended Beginner Drill Schedule
Run 10 portal drills first. Set a timer, spawn in a random seed, and race to build a lit portal in 5 minutes or less. Miss the goal? Restart and try again. Track your average time across all 10 attempts. Once your average drops below 5 minutes, the portal segment is no longer your bottleneck. Move to Nether drills: spawn in a random seed, enter the Nether with creative-mode gear or commands to skip the portal build, then locate a fortress and farm 6 blaze rods in 7 to 10 minutes. Repeat 10 times and track your consistency. Finally, run 10 Eye drills. Spawn with 14 Eyes in your inventory, throw them to locate the stronghold, and measure how many throws you waste and how long the hunt takes. Reduce throw count and travel time across attempts. This three-phase drill schedule builds the core execution layer that makes full runs feel smooth instead of chaotic.
Final Words
in the action, we ran through the core routing priorities: gather wood/tools/food → enter the Nether → get 6 blaze rods → collect ender pearls → find and activate the Stronghold → defeat the Dragon. Seed-independent routing and clear resource targets (10 obsidian, 6 rods, 12 Eyes) guide every decision.
We covered early movement and portal builds, safe blaze farming, pearl routes and Eye-throw efficiency, plus the bed finish and practice drills.
Use the Minecraft speedrun route optimizations for random seed Any% beginners as your checklist, adapt to RNG, and you’ll improve steadily.
FAQ
Q: What is the seed 8880302588844065321?
A: The seed 8880302588844065321 is a specific Minecraft world seed you can paste when creating a world to reproduce the exact map; terrain and structure placement vary by edition and game version, so match versions.
Q: What is the fastest speedrun random seed in Minecraft?
A: The fastest random-seed speedrun is the current Random Seed Any% world record; times change with patches, so check speedrun.com or the category leaderboards for the latest recorded run and replay.
Q: What are the best seeds for beginner speedrun?
A: The best beginner seeds are set-seed practice maps with a nearby village, surface lava pool, and simple Nether access; use community practice seeds and preset training maps to learn routing and mechanics.
Q: Are Minecraft speedruns done on random seeds?
A: Minecraft speedruns are done both on random seeds (Random Seed Any%) and set seeds; Random Seed runs require seed-independent routing, fast adaptation to RNG, and typical goals like 10 obsidian, 6 blaze rods, 12 Eyes.