


Think roamers are useless in ranked? Think again.
A clean counter-rotate and flank setup wins more defense rounds than one extra nitro cell.
This post gives a simple, repeatable plan: pick the right roamer-anchor split, carve safe rotation holes, gadget those lanes, and time your re-entry windows.
You’ll get exact priorities, step-by-step routes, and clear decision rules so you stop guessing when to leave site and start cutting attackers off.
Read on to learn when to push, when to stall, and the mistakes that cost rounds.
Team composition and roamer-anchor balance
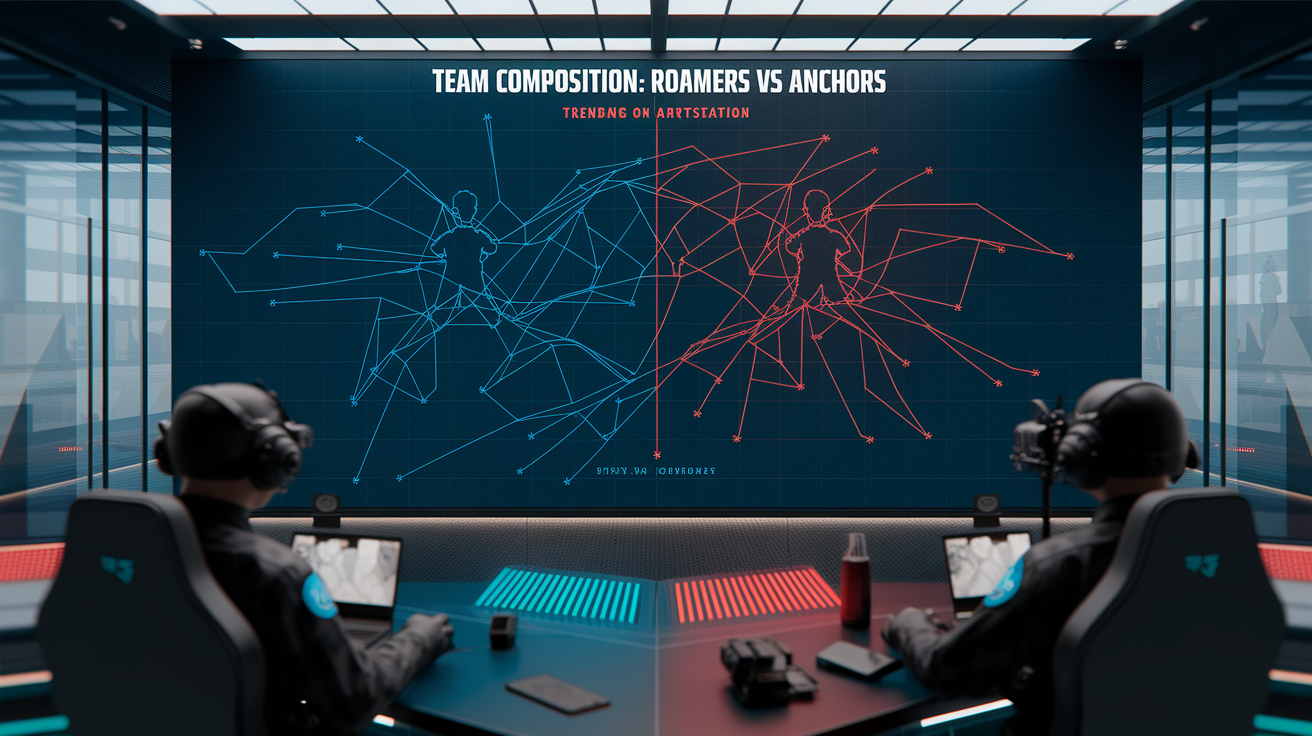
The foundation of any successful counter-rotation starts with the right team split. Most ranked sites run two roamers, two anchors, and one flex player. Roamers handle map control and flank cuts, anchors hold site and deny plant attempts, and the flex adapts based on what attackers commit to. On tighter sites with limited rotation space, you might want three anchors and two roamers instead. This gives you more utility on site to counter gadget-heavy pushes while keeping enough pressure off-site to force attackers into bad plants.
Stagger when your roamers leave. If both roamers leave site at the same time, attackers can drone them together and call for simultaneous clears. Send the first roamer out 10 to 15 seconds into prep phase, then hold the second roamer on site until the 30 to 40 second mark. This creates uncertainty for attackers and spreads their drone economy thin. The flex should stay near the rotation holes until attackers show commitment to a specific entry point.
Role counts matter. Run at least two anchors with utility denial gadgets like Jäger or Wamai to protect the site from projectile spam. Your roamers should prioritize intel denial and area control, not frag hunting. Vigil, Mozzie, and Ela excel here because they disrupt attacker droning and slow executes without needing direct gunfights. One flex running Smoke or Aruni gives you late-round plant denial when counter-rotations run long.
Don’t run four roamers unless you’re smurfing or playing a heavily vertical map like Coastline where off-site control wins rounds. The problem is simple. If attackers drone clear your roamers and push straight to site, you have no one holding crossfires or delaying the plant. That leaves your returning roamers fighting a 5v1 retake with no support utility.
Preparing rotation holes before the round starts
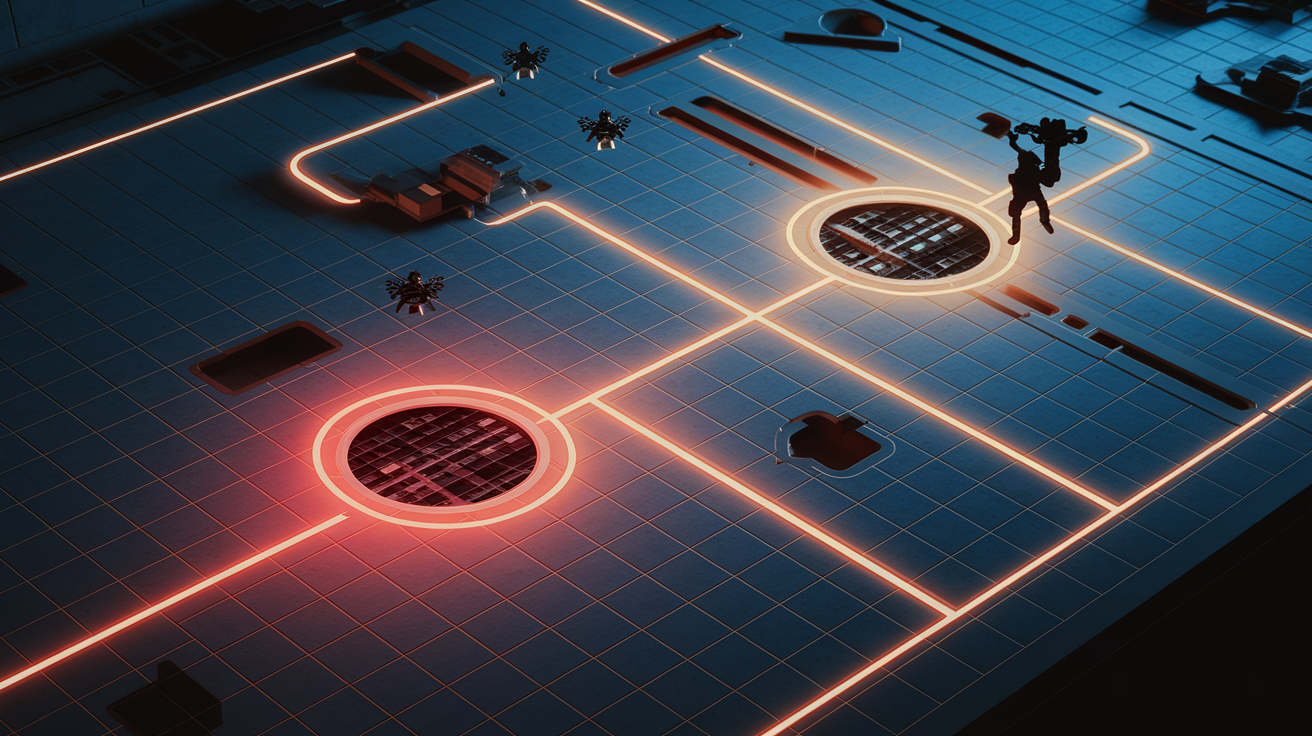
Rotation holes are your lifelines. Without clean exits and re-entries, you can’t flank and you can’t counter-rotate when attackers commit. Every site needs two to four prepared rotations, placed where attackers can’t easily drone or prefire them. One fast rotation should connect directly to a roaming corridor or stairwell, giving aggressive flankers a quick path back to cut off plant. One slow rotation should stay hidden behind cover or require a vault, letting late flankers sneak in without audio cues.
Soft-wall rotations are the cheapest and fastest. Use shotgun secondaries or impact grenades to blow doorways or walls near site corners. Keep them low and wide so you can crouch through without vaulting. Place these rotations away from common drone entry points and main attacker sightlines. On Consulate, blow the rotation between Archives site and the back hallway near Visa stairs, not the front door where attackers pre-aim.
Hatches add vertical flexibility. Opening a hatch below or above site lets you drop in for surprise flanks or escape through the floor when attackers push your position. Prioritize hatches that lead to covered rooms or long sightlines, not open kill zones. On Bank, open the hatch between CEO and the hallway above Open Area to create a fast collapse route when attackers plant default. On Clubhouse, keep the Cash hatch closed unless you’re running a coordinated vertical hold. Attackers love to abuse open hatches for easy kills on anchors.
Count your rotations per site and mark them during prep. Two rotations minimum, four maximum. More than four spreads your defense too thin and gives attackers too many angles to exploit. Less than two traps you in a crossfire with no escape. Walk each rotation during prep to confirm it’s clear of attacker drones and safe to use mid-round.
Gadget placement to protect your rotation network
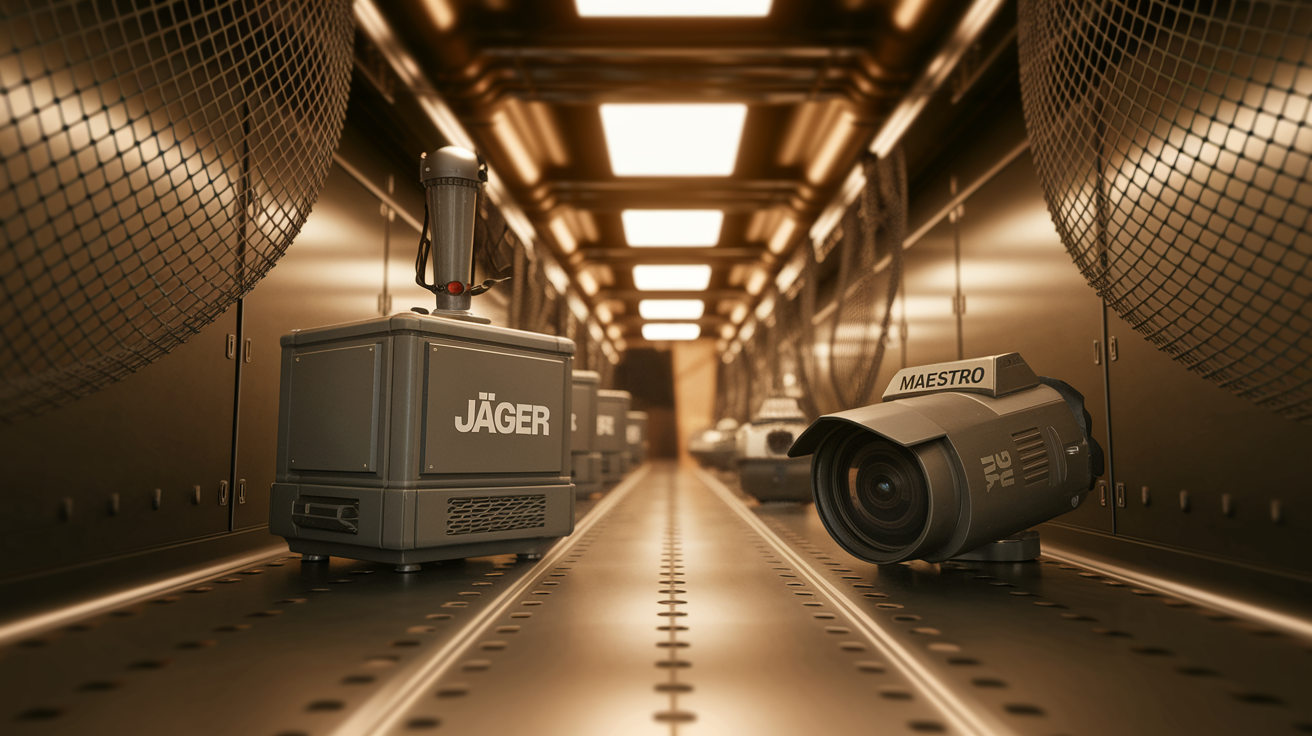
Rotation holes mean nothing if attackers can drone them, nade them, or prefire you coming through. Protect every major rotation with at least one defensive gadget. Place Jäger ADS units near the rotation entrance on the site side to eat grenades and Zofia impacts. Drop Wamai Mag-NETs on walls adjacent to rotations to catch projectiles before they land. This buys you two to four seconds of safe passage when you need to counter-rotate under pressure.
Mute jammers deny drone intel on rotations. Place one jammer within range of each major rotation hole so attackers can’t see you moving through. This forces them to clear with utility or commit blindly, both of which cost time and resources. On Oregon, put a Mute jammer in the Small Tower rotate between Kids and Tower to block drones scanning the flank route. On Kafe, jam the rotate between Train and Cigar so attackers can’t spot your return timing.
Bandit wires and Kaid Electroclaws stop hard breachers from blowing new rotation paths into your setup. If you’ve built a rotation network around a specific wall, electrify that wall. Attackers will waste Thatcher EMPs or Kali charges trying to open it, giving your roamers more time to set up flanks. Don’t waste electricity on random walls. Focus on the ones that protect your counter-rotate lanes.
Evil Eyes and Bulletproof Cameras give anchors eyes on rotations without exposing themselves. Place one Maestro cam covering the site-side entrance of your main rotation so anchors can call out when attackers push through or when it’s safe for roamers to re-enter. Valkyrie cams work too, but they die to IQ and get hacked by Dokkaebi. Maestro cams survive longer and force attacker utility.
Don’t over-gadget. Two to four gadgets protecting rotations is enough. More than that strips utility from the actual site hold and leaves you vulnerable to execute-heavy pushes. Spread your ADS and jammers between site and rotations based on attacker operator bans and early droning patterns.
Designing primary and secondary flank routes
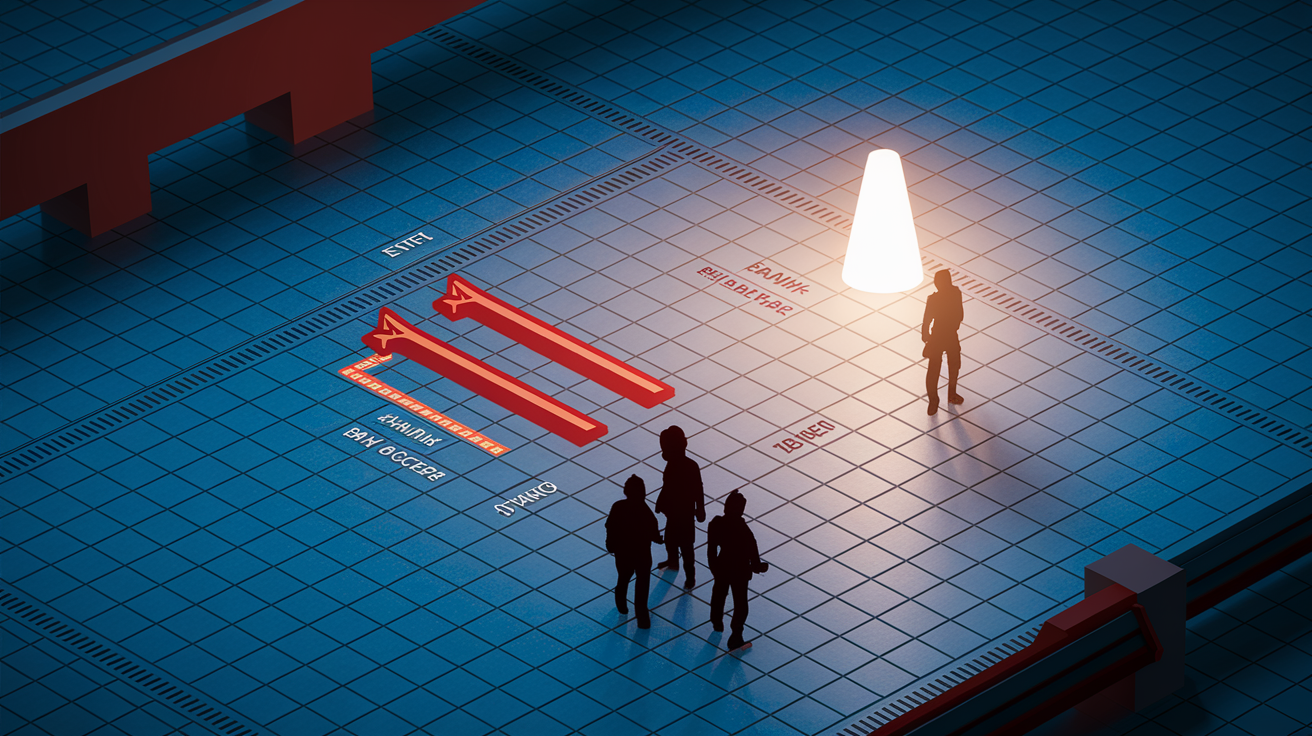
Flank routes are paths your roamers take to cut off attackers rotating toward site or setting up for plant. Every site should have one primary flank route and one secondary flank route. The primary route is fast, direct, and slightly noisy. Use it when you have confirmed attacker positions and need to punish a commit quickly. The secondary route is slower, quieter, and uses more cover. Use it when attackers are droning heavily or you need to sneak past their flank watch.
Primary flank routes should place you 10 to 20 meters away from the main attacker entry point in under 10 seconds. On Bank, the primary flank from Lockers to the hallway behind Lobby lets you cut attackers pushing Open Area in under eight seconds. On Clubhouse, the rotate from Church to Construction gives you a fast angle on attackers entering from Main Entrance or Garage. These routes trade stealth for speed.
Secondary routes take longer but give you better survival odds. Plan a 15 to 30 second path that uses multiple rooms, vertical movement, or off-angle positions to avoid common drone spots. On Consulate, instead of running straight from Visa to Press, take the long route through Admin and Piano to flank attackers setting up in Lobby. On Theme Park, use the upper corridors and drop hatches to rotate around attackers pushing Haunted.
Each route needs a staging position. This is where you hold and wait for the execute trigger. Stay 5 to 15 meters from the site, close enough to hear gadget use and attacker movement but far enough that you’re not in the immediate crossfire. Use this position to listen for hard breach charges, drone stacking, or Thatcher EMPs. When you hear the commit, push the flank.
Mark routes with consistent callouts. Name your primary and secondary flanks so your team knows which path you’re taking. “I’m running fast flank” tells your anchors you’ll arrive in under 10 seconds. “I’m taking sneak flank” means you need 20 seconds and they should stall the plant. This prevents miscommunication and wasted counter-rotates.
Counter-rotation timing windows and execution triggers
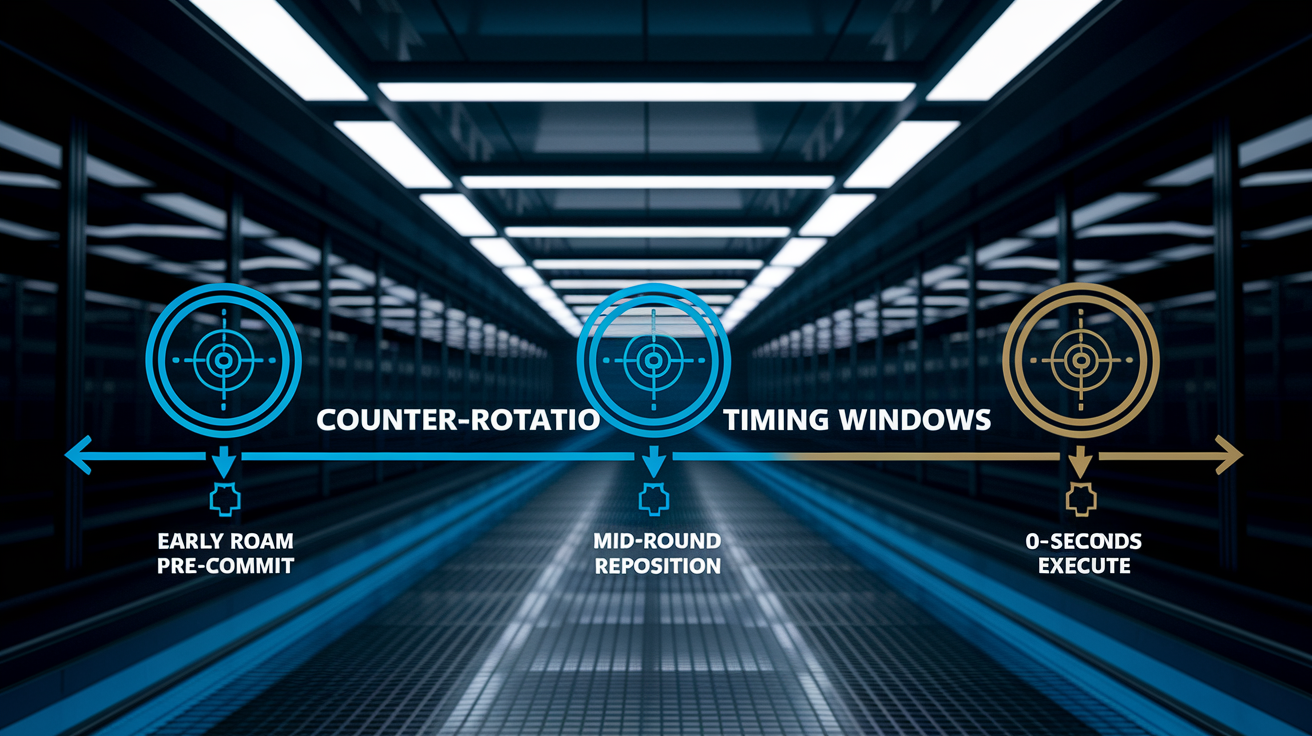
Timing is everything. Leave site too early and attackers drone you out before the execute starts. Leave too late and you’re fighting a 1v5 retake with the defuser down. The best counter-rotations happen 10 to 30 seconds before attackers commit to plant. You move when they’re focused on breaching or clearing site, not when they’re still droning.
Early roam departures work for intel denial. Send one roamer out in the first 15 seconds to contest attacker droning and slow their map control. This roamer should not commit to gunfights. They exist to waste attacker time and force utility use. If attackers burn a Thatcher or Twitch drone to clear you, that’s utility they can’t use on site. Return to your staging position by the 60 second mark or when attackers establish map control.
Mid-round repositions happen when attackers fail to push. If you’ve held your off-site position for 60 to 90 seconds and attackers haven’t committed, they’re either regrouping or shifting to a different site entry. Use this window to rotate closer to site or swap to your secondary flank route. Anchors should call “No pressure” or “Drones only” to signal it’s safe to move.
Pre-execute counter-rotates are the money play. Attackers usually commit to plant within 10 to 30 seconds of opening a hard breach or clearing a key anchor position. Watch for the triggers. Hard breach charge placement, multiple attacker movements toward a single doorway, or sudden drone pullback after heavy scanning. When you see two or more triggers at once, start your counter-rotate immediately.
Sound tells you when to move. Two fast footsteps near a reinforced wall means they’re setting up breach. One long sprint means someone is rotating to cut your flank or cover plant. Continuous vaulting or multiple breach sounds within five seconds signals the full execute is starting. That’s your cue to push the flank hard and fast.
Coordinate timing with anchors. Have your anchors call “Breach up” or “They’re coming” the moment they spot attacker commitment. Roamers should acknowledge with “Flanking now” or “10 seconds” so anchors know when to delay the plant or bait attackers into your crossfire. If anchors die before you arrive, abort the flank and play retake from a safe position.
Operator recommendations for mobile defense and denial

Roamers need speed, intel disruption, and area control. Vigil is the safest pick because his gadget denies attacker droning without requiring setup. Pop the ERC-7 when drones enter your area and reposition while attackers guess your location. Pair him with the K1A for fast ADS time and controllable recoil. Vigil works solo and fits any team comp.
Mozzie punishes attacker drone economy. Capture one to three drones during prep and use them to spot attacker positions, call out executes, and deny intel for the rest of the round. Place Pests near common drone entry points like main doors and windows. On Kafe, put Pests in Cigar Shop and Reading to catch early drones. On Clubhouse, cover Construction and Main Entrance. Every captured drone is one less set of eyes attackers have during execute.
Ela slows pushes and protects your flank routes. Place two to four Grzmot Mines on doorways attackers use to rotate toward site or common flank-watch positions. When attackers trip a mine, you get an audio cue and they lose aim control for three seconds. Use that window to peek and take the fight. Ela’s Scorpion EVO has a massive magazine so you can spam through smoke or prefire common spots without reloading.
Lesion offers similar area denial but trades fragging power for late-round strength. His Gu Mines are invisible and deal damage over time, forcing attackers to stop and pull them out. Place Gu at rotation entrances, near common plant spots, and on flank routes attackers use to cut off roamers. The more Gu you place, the more information you get when attackers trigger them. Lesion is the best roamer for denying last-second plants because attackers can’t plant while pulling a needle.
Caveira is high-risk, high-reward. Her Silent Step lets you move without audio cues, and interrogations can win impossible rounds. Only run Caveira if you’re confident in your map knowledge and can consistently land Silent Step flanks. She has no team utility and loses most straight gunfights, so you’re trading team support for the chance at a game-changing interrogation.
Anchors should run utility denial and area lockdown. Jäger is mandatory. His three ADS units eat up to six projectiles, protecting site from grenade spam and Zofia impacts. Place one ADS on site near the default plant position, one covering your main rotation, and one near the reinforced wall attackers are most likely to breach. Jäger’s 416-C is one of the best defender weapons in the game, giving you strong fragging power even when holding passive angles.
Maestro gives you intel and chip damage without exposing yourself. Place Evil Eyes covering plant positions, rotation holes, and attacker entry points. Use the laser to destroy attacker gadgets like breach charges and drones, or chip attackers behind cover to pressure them into bad peeks. Maestro’s ALDA 5.56 has an 80-round magazine, perfect for holding long angles and pre-firing common attacker positions during late-round chaos.
Mute blocks drones and denies hard breach if placed correctly. Use four Signal Disruptors to jam main drone routes during prep, then reposition them to reinforced walls when attackers start their execute. Mute is one of the best solo queue defenders because his gadget is simple, effective, and doesn’t rely on team coordination. Run the MP5K for accurate headshots or the M590A1 shotgun for rotation hole creation and close-range dominance.
Communication callouts and timing coordination

Callouts win rounds. Every piece of information roamers and anchors share cuts attacker options and improves your counter-rotate timing. Use concise, standardized phrases that include operator count, location, and time remaining. “Three east stairs, 90 seconds” tells your team exactly what’s happening and how much time they have to react.
Roamers should call enemy positions the moment they spot attackers or hear movement. Use map-specific callout names so everyone knows where to look. On Consulate, say “Two in Visa hallway pushing Archives” instead of “They’re over here.” On Bank, call “Thatcher used EMP on garage wall, Thermite setting charge” so your anchors know the hard breach is coming and your off-site Bandit can trick or reposition.
Anchors call site pressure and gadget usage. When you see drones stacking, say “Drone stack on main door, push incoming.” When you hear breach charges or attacker gadgets, call “Breach charge on east wall” or “Hibana charges on reinforced, need ADS.” These calls let roamers know when the execute is starting so they can time their counter-rotate.
Use timers to coordinate pinches. If you’re holding a flank and see attackers committing, say “Three on site, pushing flank in five seconds.” Your anchors now know to hold their position and bait attackers into your crossfire. If you need more time, say “Ten seconds, keep them busy.” This prevents anchors from taking bad peeks or giving up site control too early.
Standardize your callouts for each site. Assign three to four anchor callout zones like “Main Entry,” “Garage,” “Service,” “Lobby,” and complement them with roamer sectors like “Long Flank,” “Roof,” “Back Alley.” Run custom games or unranked matches to drill these callouts until your team uses them automatically. Consistent language eliminates confusion during clutch situations.
Call your utility status. If you’re a roamer with a C4 or impacts, say “C4 available” when you’re staging for a flank so anchors know you can deny plant from below or through a soft wall. If you’ve used all your gadgets, say “Out of utility” so teammates don’t rely on you for denial. Anchors should call “ADS down” or “Jager dead” when utility is lost so roamers know the site is vulnerable to grenade spam.
Sound awareness and punishing attacker drone commits

Sound is your radar. Every attacker action creates audio cues that tell you where they are, what they’re doing, and when they’re about to commit. Learn to distinguish footsteps, gadget sounds, and breach noises so you can react before attackers appear on your screen.
Footstep cadence reveals attacker intent. Two fast bursts of footsteps near a wall usually means an attacker is rotating between rooms and checking angles. One long continuous sprint often precedes a plant attempt or drone clear. If you hear three or four attackers sprinting toward the same door within two seconds, they’re executing as a group. That’s your trigger to push the flank or bait them into a crossfire.
Gadget audio gives away attacker positions and utility. Sledge’s hammer and Ash’s breaching rounds are loud and directional. Thatcher’s EMP has a distinct electrical hum followed by a burst. Thermite and Hibana charges make a sizzling sound before detonation. When you hear these, call the gadget type and location, then prepare your counter-rotate. If attackers commit multiple breach gadgets to one entry point, they’re committed and unlikely to have backup utility for other walls.
Drone stacking tells you where the push is coming from. When you hear two or more drones scanning the same doorway or room, attackers are gathering intel for an execute. Call “Drones stacking [location]” and start moving toward your staging position. Don’t wait for the attackers to appear. Use the drone sound to predict the push and get into position early.
Vault and barricade sounds are giveaways. If an attacker vaults a shield or breaks a barricade during the last 60 seconds of the round, they’re either pushing aggressively or repositioning for plant. Use this audio to narrow their location and adjust your flank timing. On maps with multiple floors, listen for footsteps above or below site to spot vertical players setting up for execute support.
Use Mozzie and Mute to deny attacker drone info. Every captured drone or jammed doorway forces attackers to commit utility or push blind. When attackers lose drone coverage, they move slower and make more noise trying to clear angles manually. This gives you more time to set up flanks and makes their executes easier to predict.
Punish attacker re-drone attempts. After attackers burn their initial drones, they’ll often throw backup drones to confirm your position before pushing. If you hear a drone jump in your area mid-round, shoot it immediately. This tells attackers you’re still alive and in position, forcing them to use more utility or avoid that route entirely.
Coordinating counter-rotates with anchor crossfires
Counter-rotations work best when anchors and roamers create a crossfire that attackers can’t escape. Pre-plan two crossfire lanes per site. Anchors hold the primary and secondary sightlines from cover while roamers create third-axis pressure from the flank. This splits attacker attention and makes trading kills nearly impossible.
Anchors should hold their positions until roamers confirm they’re ready. When your roamer says “Flanking now” or “In position,” anchors should shift from passive hold to active bait. Peek aggressively, use utility to draw attacker focus, and bait them into overcommitting. If attackers turn to fight the anchor, the roamer gets free kills from behind. If attackers ignore the anchor and hunt the roamer, the anchor gets the flank.
Use timed re-entry for maximum pressure. When anchors call “They’re planting” or “Breach going off,” roamers should start their counter-rotate immediately. Don’t wait for the plant to finish. Push while attackers are focused on covering the planter and clearing anchors. The confusion between plant, anchor fight, and flank arrival creates a three to six second window where attackers make mistakes.
Practice pinch timings in custom games. Set up a 2v5 with two anchors on site and three attackers practicing execute. The roamer starts off-site and must re-enter within 10 seconds of hearing the breach sound. Anchors must survive and bait attacker attention without dying before the roamer arrives. Drill this until roamers instinctively time their collapse to match anchor pressure.
Call your angle when you re-enter. Say “Coming from blue stairs” or “Pushing through rotate” so anchors don’t accidentally kill you or block your sightline. Friendly fire and crossfire confusion are the top two reasons counter-rotates fail in solo queue. Clear comms prevent this.
Hold crossfires even after plant goes down. If attackers plant and you’re still in a 3v4 or better, don’t panic rush. Anchors should hold one angle on the defuser while roamers pressure from the opposite side. Force attackers to split their attention between defuser and flank, then collapse when they’re isolated or low on utility. Many retakes are won by patience, not aggression.
Exploiting common attacker execute patterns
Attackers follow patterns. Most ranked teams hit the same walls, use the same breach order, and plant in the same default spots round after round. Learn these patterns and you can predict executes before they happen, giving you perfect counter-rotate timing.
The most common attacker mistake is stacking utility on one wall. Teams burn Thatcher, Thermite, and two flashes to open a single reinforced wall, then funnel through in a line. This makes them vulnerable to C4 from below, crossfire from anchors, and flanks from roamers who know exactly where they’re entering. When you see attackers over-commit utility to one breach, call it and prepare the punish.
Default plant positions rarely change. On most sites, attackers plant in the corner with the best cover from common defender angles. On Bank Basement, they plant behind the yellow server racks. On Consulate Garage, they plant behind the white van. Memorize default plant spots and pre-aim them when you counter-rotate. You’ll catch attackers off guard because they expect to fight from cover, not into a pre-aimed crossfire.
Fast rush executes trade utility for speed. Some teams skip droning and execute within 30 seconds of round start, betting defenders aren’t set up yet. Counter this by keeping at least one anchor on site at all times and staging your roamer closer to site during prep. If attackers rush and you’re not ready, you lose. If they rush and you’re set, they waste utility and die in your crossfire.
Split pushes divide attacker attention and utility. When attackers send two players to one entry and three to another, they’re trying to spread your defense thin and force you to commit early. Don’t panic. Anchors should hold the primary push (usually the three-player side) and use utility to stall. Roamers should collapse on the split (the two-player side) and eliminate the isolated attackers, then rotate back to help anchors with the main push.
Late-round hatch drops are a desperate attacker play. If attackers haven’t made progress by 60 seconds remaining, they’ll often open a hatch and drop directly onto site to force plant. Keep one anchor watching hatches and one roamer positioned to collapse from below or above. Attackers dropping hatch are vulnerable mid-animation and easy to kill if you’re ready.
Watch for Thatcher-less executes. When Thatcher is banned, attackers rely on Kali, Twitch, or Maverick to clear defender gadgets. These operators are slower and easier to punish. If you hear Maverick torching or see Kali lances, attackers are in the setup phase and can’t push yet. Use this window to reposition your roamer or rotate anchors to off-angles that avoid the breach.
Training drills to build counter-rotate instincts
Theory doesn’t win rounds, practice does. Run structured drills with your team to build the reflexes and timing your counter-rotates need. Start with map walkthroughs to identify rotation holes and flank routes, then move to live scenario training.
Map overlay drill. Take each ranked map and mark two to four rotation holes per site. Label your primary flank route and secondary flank route. Walk each route during a custom game and time how long it takes to move from site to your staging position and back. Write down the timings. “Primary flank from Kitchen to Garage: eight seconds. Secondary flank through Laundry and Blue: 17 seconds.” Use these numbers to plan your counter-rotate windows.
Rotation speed drill. Set a stopwatch and practice moving from anchor position to flank position through your prepared rotations. Your goal is to complete the rotate in under 10 seconds for primary routes and under 20 seconds for secondary routes. If you’re slower, your rotations are bad or you’re taking too many detours. Simplify the route and drill it until it’s automatic.
Drone denial drill. Play a 2v2 where attackers have unlimited prep time to drone the site and roamers must deny information using Mozzie and Mute. Attackers win if they identify roamer positions before the 30 second mark. Roamers win if attackers enter site without knowing where they are. This drill teaches gadget efficiency and forces roamers to think about intel denial, not frag hunting.
Execute trigger drill. Set up a 3v5 where three anchors hold site and attackers practice full executes with breach, flash, and plant. Anchors must survive at least 15 seconds after the execute starts by using utility and playing cover. This teaches anchors how to stall and bait without dying, giving roamers time to arrive. If anchors die in under 10 seconds, the counter-rotate is impossible.
Pinch timing drill. Run a 2v3 scenario where one anchor and one roamer face three attackers executing on site. The anchor must call “Breach starting” the moment they hear attacker utility, and the roamer must collapse within 10 seconds. Attackers should plant and set up crossfire. Defenders win if they kill all attackers or prevent plant. Repeat this 10 to 15 times per site to build automatic timing between anchor calls and roamer movement.
Callout consistency drill. Play unranked or quick match and force your team to use standardized callouts for every piece of information. No “over there” or “behind you.” Every call must include location name, enemy count, and action. “Two in Visa pushing Archives” or “Thatcher EMP on garage wall, 60 seconds left.” Record your matches and review comms afterward. If callouts are vague or missing, drill them again until they’re automatic.
VOD review for pattern recognition. Record your ranked matches and watch them looking for attacker execute patterns. Note the time they breach, which walls they hit, where they plant, and how they set up post-plant. After five to ten matches on the same map, you’ll see the patterns. Write down the three most common execute styles your rank uses and build counter-rotate plans specifically to punish them.
Scenario library. Create a document or shared folder with 10 to 15 short clips per map showing successful counter-rotates. Label each clip with the site, the rotation used, the timing window, and the outcome. New players on your team can watch these clips to learn routes without needing verbal explanations, and experienced players can review them before ranked sessions to refresh timing and positioning.
Solo queue adaptability drill. If you solo queue, you can’t rely on voice coordination. Practice non-verbal counter-rotates by watching the kill feed and round timer instead of waiting for callouts. When you see two anchors die within five seconds of each other or the round timer hits 70 seconds with no attacker kills, assume execute is starting and begin your flank. This builds independence and makes you a stronger player when comms are bad or nonexistent.
Final Words
In the action, we covered holding key angles, timing your rotations, and setting flanks that punish common attacker habits.
You got clear priorities, a simple step-by-step rotation, decision rules for when to fall back or contest, and quick fixes for the usual mistakes.
Use Counter-rotations and flanking setup for Rainbow Six Siege ranked defense to force attackers into bad trades, then reset and punish. Practice in casuals, tune it to teammates, and you’ll see steady rank gains.
FAQ
Q: Is a 0.7 kd in Siege bad?
A: A 0.7 K/D in Siege is below average but not game-breaking—Siege prizes objectives, utility, and teamplay. Focus on positioning, utility use, and trades to climb faster than obsessing over K/D alone.
Q: Is 1600 dpi bad for siege?
A: A 1600 DPI for Siege is not inherently bad; what matters is DPI times in-game sensitivity. Use a sensitivity that lets you do smooth tracking and precise flicks, then lock it and practice consistently.
Q: What R6 pros use 4:3?
A: Some R6 pros use 4:3, but specific names change often as players tweak settings. Try both 4:3 and 16:9 yourself—pick the ratio that improves your aim and target visibility.
Q: Which R6 operators are LGBT?
A: The R6 operators who are LGBT are defined in Ubisoft’s official lore and can change as new details drop. Check Ubisoft’s operator profiles or the Rainbow Six Siege wiki for the most current, confirmed list.