
The best gun doesn’t win objective games, the fastest player does.
If you want to cap points, stop building for 40‑meter duels and strip anything that slows you down.
This mobility loadout for objective capture modes shows what to trade, the five numbers to tune, and concrete attachment and perk choices that get you to the point first and win the opening gunfight.
Read on to learn the simple swaps that turn time into kills, and when to back off if your lobby forces long sightlines.
Mobility Design Principles: What to Trade and Why

Mobility loadouts work by cutting every attachment, perk, and piece of gear that doesn’t make you move faster or shoot sooner. The goal? Get to the objective first, win that opening gunfight, and rotate out before the enemy can react.
You’re trading range and recoil control for speed and handling. A fully optimized mobility build gives up 20–40% of its effective range compared to a meta AR setup. You also lose stability, especially past 15–20 meters. That’s the deal.
Why make that trade? Because objective modes reward position more than accuracy. The player who hits the hardpoint 2 seconds earlier controls the angles. The player who rotates 5 seconds faster dodges spawn traps. Speed creates advantages that good aim can’t fix later.
Most players over-build for gunfights they’ll never take. They stack range barrels and precision optics for 40-meter duels, then lose because they showed up late or got caught sprinting. Mobility builds flip that. They assume you’ll fight at 5–15 meters, where sprint-to-fire and ADS speed matter way more than bullet velocity.
The core tradeoff stays the same: accept worse performance at range to dominate close and mid-range rotations. If your lobby forces long sightlines, you adapt by swapping one or two attachments. Not the entire philosophy.
Core Metrics to Optimize

Every mobility loadout lives or dies by five numbers: sprint speed, sprint-to-fire time, ADS time, aim-walk speed, and slide recovery.
Sprint speed decides how fast you cross open ground and rotate between objectives. Target an 8–20% improvement over base movement. In most Call of Duty titles, lightweight stocks and certain perk combos (Double Time, Lightweight) push you into that range. In Apex, legend abilities like Octane’s Stim deliver 30–40% bursts for 2–4 seconds.
Sprint-to-fire is the delay between releasing sprint and firing your first shot. Mobility builds aim for 200–350 milliseconds, roughly 15–40% faster than range-optimized setups. Laser attachments, lightweight stocks, and specific grip combinations all shave milliseconds here. The difference between 250 ms and 400 ms is often a lost trade at an objective door.
ADS time measures how quickly you raise your sights. Sub-200 ms is the gold standard for SMG mobility builds. Lightweight ARs should hit 220–280 ms. Anything slower and you’re fighting with one hand tied. Pre-aiming becomes mandatory instead of optional.
Aim-walk speed is how fast you move while aiming down sights. A 10–25% boost here lets you strafe during gunfights and reposition without dropping aim. Short barrels, no-stock configurations, and mobility-focused rear grips all contribute.
Slide recovery decides how quickly you can shoot after sliding. Faster recovery means you can slide into doorways, around corners, or through smoke and still win the first shot. Typical recovery windows range from 150–400 ms depending on attachments and perks. Prioritize builds that keep this under 250 ms.
None of these metrics exist in isolation. A build with 180 ms ADS but 450 ms sprint-to-fire will get you killed during rotations. A build with blazing sprint speed but 350 ms ADS loses every contested capture. Balance all five, then tune based on whether you’re running point, anchoring, or rotating.
Test these in a private match or firing range. Sprint 20 meters, slide around a corner, and measure how fast you can land accurate shots. If it feels sluggish, your build isn’t optimized yet.
Weapon Tier Lists for Mobility
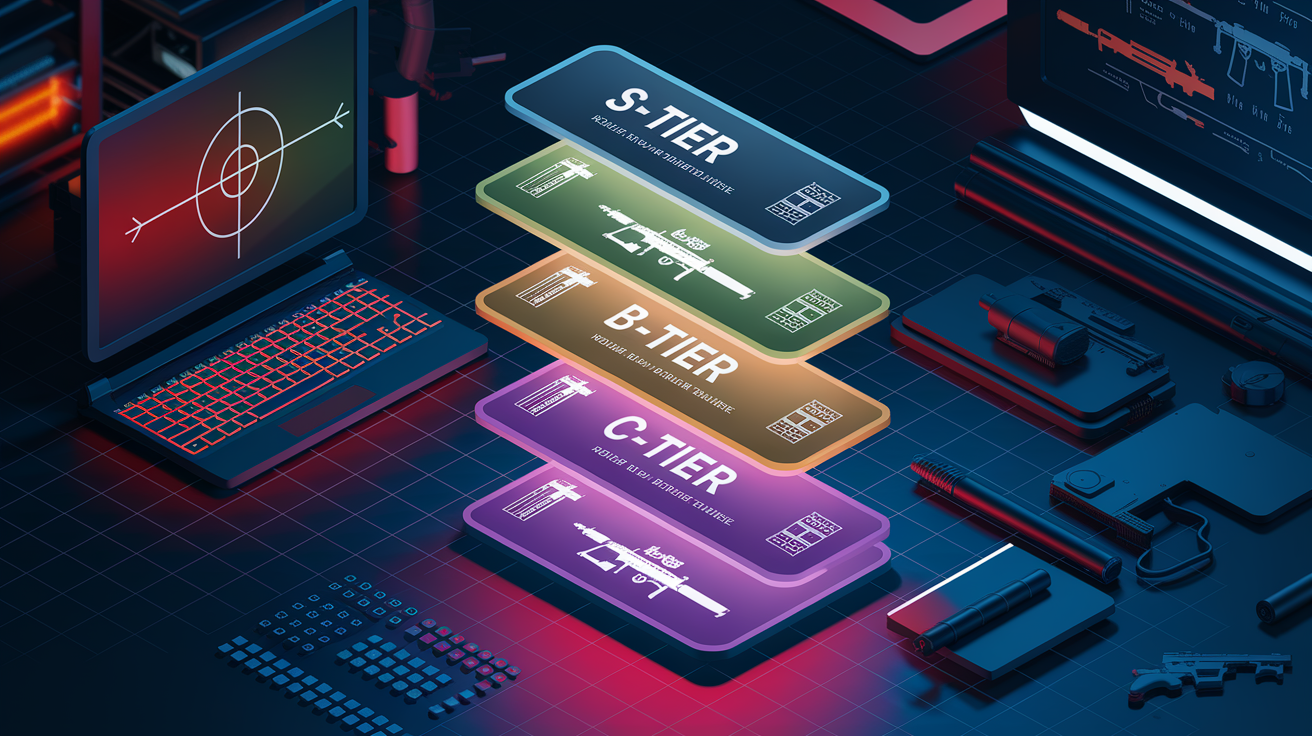
Not all guns are built for speed. Some weapon classes naturally support high-mobility play. Others fight it no matter how many attachments you bolt on.
S-Tier: Ultra-fast SMGs and PDWs. These are your R-99s, MP5s, Fennecs, Vaznevs, and similar ultra-high-RPM close-quarters weapons. They deliver the highest sprint speeds, fastest ADS times (often sub-180 ms), and best sprint-to-fire windows in the game. Range drops off hard past 15 meters, but objective modes rarely demand more. If you’re running point or flanking, pick from this tier first.
A-Tier: Lightweight ARs and hybrid carbines. Short-barrel ARs with mobility stocks hit a sweet spot. Enough range to contest 20–30 meter lanes, enough handling to keep rotations fast. Expect ADS times around 220–280 ms and sprint-to-fire near 280–350 ms. These work best for players who rotate between roles or need to hold a point solo while the team repositions.
B-Tier: Short-barrel shotguns and high-mobility sidearms. Pump shotguns and fast pistols are lethal at point control but risky during rotations. Use them as secondaries or in modes where you can guarantee close-range fights (think Control final points or tight Hardpoint hills). Mobility is excellent, lethality is situational.
C-Tier: Avoid these for primary mobility roles. Fully kitted LMGs, long-range ARs, sniper rifles, and marksman rifles. They anchor well. They rotate poorly. If your job is to move fast and cap objectives, leave these to your teammates.
Within each tier, pick based on your game’s current meta and patch state. For example, as of mid-2026 in Black Ops 6, the C9 has a 15.6% pick rate in mobility builds, the Merrick 556 sits at 10.8%, and the KSV at 8.3%. Those numbers tell you what’s working right now. They shift every major patch.
When a weapon moves between tiers due to nerfs or buffs, your loadout changes. Don’t marry a gun. Marry the mobility metrics it delivers.
Attachment Recipes That Boost Mobility

Attachments are where you turn a base weapon into a speed machine. Every slot matters. Every choice trades one performance axis for another.
Stocks and chassis. Lightweight stocks or no-stock configurations are non-negotiable. These improve sprint speed by 6–18% and cut sprint-to-fire time by similar margins. Examples: Infiltrator Stock, Combat Stock, CQB Stock, skeletal stock variants. In Black Ops 6, Infiltrator Stock appears in 9 of the top 10 mobility builds. That’s not coincidence. It’s the single biggest lever you can pull for handling speed.
Barrels. Short barrels and carbine barrels reduce weapon weight, improve aim-walk speed, and shave ADS penalties. You lose 10–30% effective range, but you gain 10–20% faster handling across the board. Long Barrel appears in some BO6 mobility builds (4 of 10), but only when paired with other aggressive speed attachments to offset the weight. Use short barrels by default. Add length only if your role demands it.
Grips and lasers. Lasers are the secret weapon of mobility builds. A 5mW laser or equivalent boosts hip-fire accuracy and aim-walk speed without adding weight. In BO6, the Strelok Laser appears in all 10 top mobility loadouts because it specifically trades ADS time for sprint-to-fire time, and the mechanic works when you aim and shoot simultaneously. Rear grips and foregrips (like Ranger Foregrip, present in 9 of 10 BO6 builds) stabilize recoil and improve handling without heavy ADS penalties. Stack these carefully: one laser, one grip, sometimes a second grip if your platform allows.
Magazines. Fast mags or extended mags keep you in the fight during multi-kill objective pushes. Reload speed improvements of 20–40% mean you don’t get caught empty during rotations. In BO6, every top mobility build uses Extended Mag I, II, or III (10 of 10 builds). That consistency reflects a simple truth: you can’t cap a point if you’re reloading in a corner.
Optics and other slots. Skip heavy optics. Use iron sights, reflex sights, or lightweight 1x optics like Kepler Microflex (present in 7 of 10 BO6 builds). Heavy scopes add ADS penalties and weight. Suppressors are situational. Use them only if stealth is mandatory and you can offset the handling cost elsewhere.
Avoid attachment bloat. Some builds try to do everything. They add range, recoil, and mobility. That never works. Pick your role, optimize for it, and accept the tradeoffs. A true mobility build has 5–7 attachments all pointing the same direction: faster.
Here’s a concrete example from BO6’s current meta (Merrick 556 mobility build, 10.8% pick rate):
| Slot | Attachment | Purpose |
|---|---|---|
| Optic | Kepler Microflex | Lightweight sight, minimal ADS penalty |
| Barrel | Reinforced Barrel | Balance range with handling |
| Underbarrel | Ranger Foregrip | Horizontal recoil control |
| Magazine | Extended Mag I | Sustain in multi-kill scenarios |
| Stock | Combat Stock | Sprint-to-fire and ADS boost |
| Laser | Strelok Laser | Sprint-to-fire optimization via simultaneous aim+shoot |
| Fire Mods | Fire Mods | Rate-of-fire or handling tune |
| Rear Grip | Recoil Springs | ADS and mobility compensation |
That’s 8 attachments, all serving mobility or sustained fire. No wasted slots.
Test one attachment change at a time. Swap the barrel, run five matches, measure how it feels. Swap the stock, repeat. Don’t guess. Measure.
Perk and Field Equipment Selections Focused on Speed and Sustain
Perks and equipment are force multipliers. The right combination turns a fast gun into a dominant objective machine.
Perk slot priorities for Call of Duty-style games:
Perk 1 should almost always boost movement or sprint duration. Double Time (or Lightweight in older titles) doubles tactical sprint duration and increases sprint speed by 10–20%. That improvement extends your effective rotation range by 20–40%, letting you cross large maps or chain multiple objectives without slowing. If Double Time isn’t available, pick the closest sprint or movement speed perk your game offers.
Perk 2 is situational. Ghost keeps you off enemy radars during rotations, critical in sweaty lobbies where opponents pre-aim common routes. Quick Fix (health regeneration on kills or objective captures) sustains aggressive plays and lets you chain engagements without retreating. Choose based on whether stealth or sustain matters more in your current match.
Perk 3 usually handles weapon swaps or utility. Amped (faster weapon swap) is the default pick for players who run a primary-secondary combo and need instant transitions. Tracker helps when you’re flanking or hunting rotators. In objective modes, fast swaps often matter more than intel.
Apex Legends perk and legend selection:
Legends with built-in mobility are non-negotiable if you’re running point. Octane’s Stim delivers 30–40% sprint speed boosts for 2–4 seconds, and his Launch Pad cuts rotation time by 40% when placed correctly. Pathfinder’s grapple and ziplines give vertical and horizontal speed that no gun can match. Wraith’s phase lets you reposition instantly or escape bad trades. Use it to enter or exit contested zones in under 1 second.
Your loadout in Apex should prioritize light, fast weapons (R-99, Alternator, Volt) with extended mags and 1x or 2x optics. Carry healing efficiently: 2 shield cells, 1 med kit, and save inventory space for grenades. Arc Stars and Thermite Grenades zone enemies off objectives and buy you 3–6 seconds of cap time.
Equipment for all modes:
Tactical slot: Smoke or Stun. Smoke gives you 5–8 seconds of line-of-sight denial, perfect for capping under pressure or rotating across open lanes. Stun or Flash clears tight objective rooms in 1–2 seconds. Use them right before entry to guarantee the first kill.
Lethal slot: Throwing Knife (in games that offer it) for instant close-range kills, or Frag/Semtex for area denial. Carry one lethal, use it within the first 15–30 seconds of each objective push. Don’t hoard grenades. Use them to create space.
Field upgrades: Trophy System (blocks enemy equipment, protects cap points), Deployable Cover (instant hard cover for contested holds), or Tactical Insertion (respawn control in some modes). Deploy field upgrades as soon as you secure an objective. Don’t wait for the perfect moment.
Keep your loadout light. Every extra piece of equipment adds weight or inventory clutter. One tactical, one lethal, one field upgrade. That’s it.
Movement Techniques and Precise Inputs

Mobility loadouts only work if you know how to move. The techniques below are the difference between fast on paper and fast in practice.
Slide-to-shoot: Sprint into a slide for 0.3–0.6 seconds to carry speed through doorways or around corners, then ADS and fire immediately. The slide preserves momentum and lowers your hitbox. Practice sliding into common objective doors and landing your first shot within 200–300 ms of exit. If you’re slower than that, your slide timing or ADS input is off.
Slide-cancel and bunny-hop cancel (where available): Input sequence: sprint, slide, then cancel the slide by jumping or crouching within 100–250 ms. This resets your slide cooldown and preserves sprint momentum, letting you chain slides faster than the game normally allows. Not all titles support this mechanic post-patch, but when it works, it cuts rotation time by 10–20%. Test it in private matches. Some games removed slide-cancel in recent updates.
Sprint-to-fire optimization: Always strafe while sprinting. Never run in straight lines. When you’re within 5–10 meters of an engagement, tap ADS only when your sprint-to-fire window is live (that 200–350 ms window your attachments created). If you ADS too early, you’re still in the penalty window and you’ll lose the trade. Practice the timing: sprint, release sprint, count “one-Mississippi,” then ADS and shoot. Adjust the count based on your build’s exact S2F time.
Mantle and jump-peek: Use mantle (vaulting over low cover) to clear obstacles without stopping. Pre-aim before you mantle so you’re ready to shoot the instant you clear the top. Jump-peeking (hopping to see over cover without full exposure) works on certain objective points. Use it to gather intel in under 0.5 seconds, then decide whether to push or rotate.
Bunny-hop strafe: Jump while strafing to increase lateral unpredictability by 10–25% over flat sprinting. Use this in short bursts (2–4 hops) when crossing open areas or dodging sniper lanes. Don’t overuse it. You lose some forward speed and become predictable if you hop everywhere.
The Strelok Laser mechanic in BO6 is a special case. It trades ADS time for sprint-to-fire time, but only if you aim and shoot at the same moment. The input is: release sprint, press ADS and fire together (not sequentially). If you ADS first, then shoot, you don’t get the benefit. Practice this in the firing range until the simultaneous input becomes muscle memory.
Every movement technique requires repetition. Spend 10–15 minutes per map in a private match practicing slide entries, sprint-to-fire timings, and route execution. Record your rotation times between adjacent objectives (target: under 12 seconds on medium maps). If you’re slower, your movement inputs need work, not your loadout.
Objective Rotation Timing and Capture Mechanics
Rotations win objective modes. The team that rotates smarter, faster, and earlier controls spawns, captures points, and forces bad trades.
Capture timing benchmarks: Solo capture time on most objective modes ranges from 6–10 seconds to fully capture alone. Two players cut that time roughly in half, landing around 3–5 seconds. Three players cap even faster, but stacking more than two on a point is usually inefficient unless the point is heavily contested. Use these numbers to plan: if you need to hold an objective for 6–8 seconds, rotate with a 3–5 second buffer so you arrive before the enemy.
Rotation windows between objectives: On small to medium maps, rotating between adjacent objectives takes 8–20 seconds using dedicated mobility routes. On large or open maps, expect 20–45 seconds. Always allocate 1–2 seconds to pre-aim the objective entry, 0.5–1 second for throwing equipment or positioning, and reserve a 2–4 second window to re-evaluate or exit if the fight goes bad.
Group capture vs. solo capture strategy: Send two players to cap a cold point (uncontested), one to hold and one to rotate immediately after cap. Send one player to probe a hot point (contested), then call for backup if the trade looks winnable. Never send your entire team to one objective unless it’s the final win condition. Split pressure forces the enemy to choose which point to defend.
Spawn timing and respawn windows: Typical respawn delays range from 7–12 seconds depending on mode and title. If an enemy just died, you have that window to cap before they can contest again. Conversely, if your teammate just died, don’t over-commit to a 1v3 retake. Wait 5–8 seconds for the respawn and push together.
When to rotate early vs. late: Rotate early (before the current objective fully caps) if you have a player advantage and the next point is undefended. Rotate late (after full cap and a few seconds of hold) if the enemy is contesting and you risk losing the current point. The default rule: begin rotation 1.0–1.5 seconds after the point becomes secure if you have momentum. If you’re losing the point, rotate as a pair every 6–10 seconds to avoid isolated trades and spawn traps.
Shortest-path navigation and lane priority: Learn three fastest routes between each pair of objectives on every map. Practice these routes until you can execute them under pressure in under 10–14 seconds per rotation. Use side lanes and soft cover instead of main streets. Main lanes are pre-aimed and you’ll get picked off mid-sprint. Priority rule: choose the shortest path that offers at least one or two cover opportunities. For three-objective maps (A, B, C), rotate smartly between hot, cold, and neutral to avoid spawn trains where the enemy knows exactly where you’ll appear next.
Here’s a rotation timing example for a typical 3-point Domination map:
| Route | Distance | Rotation Time (mobility build) | Rotation Time (standard build) |
|---|---|---|---|
| A to B (side lane) | ~40 meters | 9–11 seconds | 13–16 seconds |
| B to C (mid lane) | ~50 meters | 11–14 seconds | 16–20 seconds |
| A to C (flank route) | ~65 meters | 14–18 seconds | 20–26 seconds |
That 3–7 second advantage per rotation compounds over a match. Five rotations save 15–35 seconds of total map time, which translates to 1–2 extra captures or successful defenses.
Track your own rotation times. If you’re consistently slower than the benchmarks above, either your route is inefficient or your movement inputs need work. Fix the route first, then the inputs.
Sample Class Setups: Detailed Loadouts for Call of Duty-Style Games and Apex Legends

The following templates give you complete, tested class setups for three common objective roles. Use them as starting points, then tune based on your playstyle and current game patch.
Call of Duty Aggressive Flanker (SMG Run-and-Gun)
Primary: Fast SMG (MP5, Fennec, C9, or current high-RPM meta SMG)
Attachments:
- Short Barrel or Compact Barrel
- Lightweight Stock or Infiltrator Stock
- 5mW Laser or Strelok Laser equivalent
- Extended Mag I or Fast Mag
- Stippled Grip or Recoil Springs (rear grip for ADS/handling)
Secondary: High-mobility pistol or sidearm with fast swap, minimal attachments
Perks:
- Perk 1: Double Time or Lightweight
- Perk 2: Quick Fix or Ghost
- Perk 3: Amped
Equipment:
- Tactical: Stun Grenade
- Lethal: Throwing Knife or Frag Grenade
- Field Upgrade: Trophy System or Deployable Cover
Expected performance: ADS time under 200 ms, sprint-to-fire under 250 ms, sprint speed +15–30% over base. This build wins close-range trades at objective doors and rotates faster than any standard AR setup. Range falls off hard past 15 meters, so avoid long sightlines and stick to interior rotations and flanks.
Role: Entry fragger and point runner. Your job is to reach the objective first, secure the first kill, and either cap or call for support. Rotate every 10–15 seconds. Don’t anchor.
Call of Duty Fast Rotator / Objective Anchor Hybrid
Primary: Lightweight AR or hybrid carbine (current meta examples: Merrick 556, KRIG C, or similar fast ARs)
Attachments:
- Carbine Barrel or Reinforced Barrel (balance range and handling)
- Lightweight Stock or Combat Stock
- Laser (Strelok or 5mW equivalent)
- Extended Mag I or Quick Mag
- Ranger Foregrip or equivalent for recoil control
Secondary: Fast pistol or compact SMG for emergency trades
Perks:
- Perk 1: Double Time
- Perk 2: Ghost
- Perk 3: Amped or Quick Hands
Equipment:
- Tactical: Smoke Grenade
- Lethal: Frag Grenade
- Field Upgrade: Tactical Insertion or Munitions Box (if available)
Expected performance: ADS time 220–280 ms, sprint-to-fire 280–350 ms, effective range 20–30 meters. This build lets you hold a point solo while maintaining enough speed to rotate to the next objective in 10–20 seconds.
Role: Flexible player who anchors when needed and rotates when the team calls. You balance defense and movement, use smoke to deny sightlines during caps, and frag to clear contested points before committing.
Apex Legends Fast Rotation (Octane Mobility Build)
Legend: Octane (Stim + Launch Pad for rotation speed)
Primary Weapon: R-99 (SMG) with 1x Holo or Iron Sights, Extended Light Mag, and Stock (if available)
Secondary Weapon: EVA-8 or Peacekeeper (close-range shotgun for point holds)
Gear and Inventory:
- 2 stacks of Shield Cells
- 1 Med Kit
- 2–3 Arc Stars or Thermite Grenades for zoning
Ability usage:
- Use Stim to gain 30–40% sprint speed for 2–4 seconds during rotations; activate Stim just before crossing open ground or pushing a contested zone.
- Place Launch Pads on rotation routes between objectives to cut travel time by ~40%; position pads near cover exits so your team can chain pad jumps without exposure.
- Save one Stim charge for emergency escapes; don’t burn both charges early in a fight.
Expected performance: Base sprint speed boosted by 30–40% during Stim windows, rotation time between zones reduced by 30–50% with Launch Pad use. Effective engagement range 5–20 meters with R-99, under 10 meters with shotgun.
Role: Point runner and rotation initiator. You scout the next zone, call enemy positions, and create movement opportunities for your squad. Use Stim to arrive first, secure position, then support teammates as they rotate in behind you.
All three builds sacrifice range and precision for speed and first-shot advantage. If your opponents force long-range fights consistently, swap one attachment (add a barrel with range, trade the lightweight stock for a balanced stock) and accept a 5–12% mobility penalty for 30–60% better effective range. But start with full mobility. Only adjust when the lobby demands it.
Map Navigation Routes and Priority Lanes for Fast Rotations
Knowing where to run matters as much as how fast you run. Every objective map has high-speed lanes, death traps, and shortcuts that most players ignore.
Route selection rules: Always choose the shortest path that offers at least one piece of hard cover or a corner to break line-of-sight. Main lanes are pre-aimed by anchors and snipers. Use them only when you have numbers advantage or smoke cover. Side lanes and interior routes take 1–3 seconds longer but cut your exposure by 60–80%.
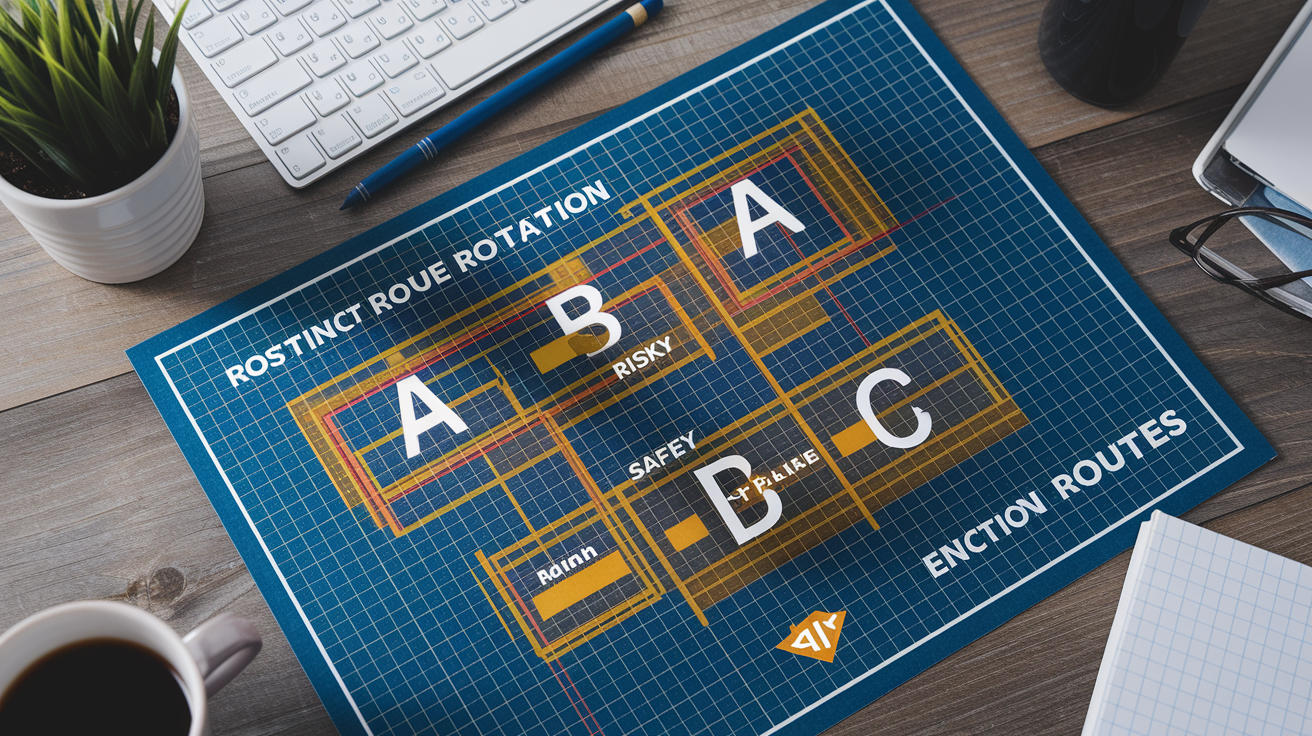
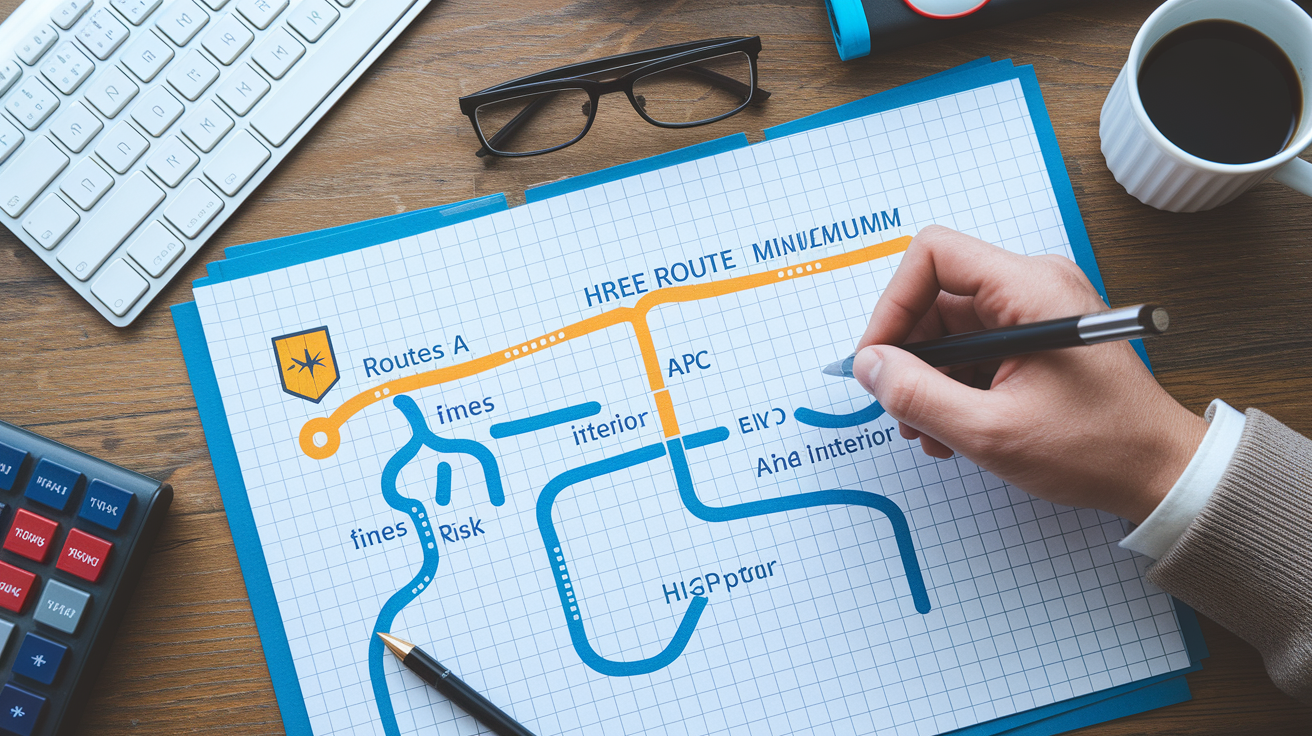
Three-route minimum per objective pair: For each pair of objectives (A-B, B-C, A-C), learn three distinct routes: one fast and risky (main lane, shortest time), one safe and slower (side route with multiple cover points), and one flank route (longest time but arrives from an unexpected angle). Rotate your route choice based on enemy positioning. If they’re watching the main lane, take the flank. If the flank is camped, use the safe side route.
Spawn-side awareness: Objective modes dynamically flip spawns based on map control. Learn the typical spawn zones for each objective. When you capture a point, the enemy usually spawns on the opposite side of the map. Use that knowledge to predict rotation pressure: if you just capped A, expect enemy pressure from C-side within 10–15 seconds. Pre-position or rotate before they arrive.
Vertical routes and mantles: Many maps offer second-story windows, balconies, or raised platforms that let you rotate above ground level. Vertical routes are often ignored and give you 1–2 seconds of surprise when you drop onto an objective. Practice the mantle timing so you land ready to shoot, not stuck in a vault animation.
Timing checkpoints: Establish timing checkpoints for yourself on key rotations. For example, “I should reach the B-flag door 9 seconds after leaving A” or “If I’m not at C within 14 seconds of the call, I took the wrong route.” Use these checkpoints to audit your movement. If you’re consistently late, your route or inputs need work.
High-traffic choke points to avoid or smoke: Most maps have 1–2 choke points between objectives where players funnel and trades happen. Examples: narrow hallways, single doorways, open courtyards with no cover. Identify these on every map. Either avoid them entirely by taking longer side routes, or smoke them and sprint through during the 5–8 second cover window.
Objective-specific shortcuts: Some objectives have jump-spots, wall-runs, or slide routes that shave 2–5 seconds off standard rotations. These are map-specific and require practice, but they’re worth the time investment. Check YouTube or community resources for your specific game and map, then practice each shortcut in private matches until it’s consistent.
Here’s a sample navigation priority for a generic three-point Domination map:
| Objective Pair | Route Type | Time | Risk | When to Use |
|---|---|---|---|---|
| A to B | Main lane | 8–10 s | High | When team controls mid or has spawn advantage |
| A to B | Side interior | 11–13 s | Low | Default safe rotation under pressure |
| A to B | Flank exterior | 13–16 s | Medium | When enemies are watching main/side, need surprise angle |
| B to C | Main lane | 9–11 s | High | Aggressive push with numbers |
| B to C | Rooftop/vertical | 12–15 s | Low | When ground lanes are contested, arrive from above |
Memorize your three routes per pair. In-game, you’ll choose based on live intel (where teammates report enemies, where you just took fire, where the kill feed shows action). Fast decision-making on route choice wins more rounds than raw gun skill.
Practice each route 5–10 times in private matches. Time yourself. Identify where you slow down (bad jump, wrong turn, hesitation at a corner). Fix those micro-mistakes and your overall rotation speed will drop by 2–5 seconds per route.
Situational Adjustments: When to Add Range or Survivability Without Losing Mobility

Mobility builds dominate when fights happen at 5–15 meters and rotations matter more than range. But some lobbies break that assumption, and you need to adapt without gutting your speed advantage.
When opponents hold long sightlines consistently: If you’re getting picked off at 25–40 meters on multiple rotations, add one range-extending attachment. Swap your short barrel for a mid-length or reinforced barrel. Accept a 5–12% penalty to sprint-to-fire and ADS time in exchange for 30–60% better damage range and recoil control. Keep everything else mobility-focused. The goal is to survive the long approach so you can still win the close fight.
When the enemy stacks area denial (molotovs, thermites, mines): If you’re losing time waiting for flames to clear or triggering traps during rotations, add Tactical Mask or Engineer (or equivalents) to your perk setup. Trade Quick Fix or a secondary perk for the ability to push through denial zones faster. Alternatively, carry two smokes instead of one stun so you can block multiple sightlines and force safer rotations.
When you need to hold a point solo for extended time: Mobility builds struggle in 1v3 anchoring situations because they lack sustained range and suppression. If your role shifts mid-match to “hold B alone while the team rotates,” swap to your secondary or switch one attachment to a stability or range option. Add a foregrip if you don’t have one, or trade your lightweight stock for a balanced stock that improves recoil at the cost of 8–15% movement speed. Hold until your team arrives, then rotate back to your aggressive setup.
When your team lacks a dedicated anchor: In 6v6 modes, you need at least one player running a range or suppression build to lock down key lanes. If no one on your team is filling that role, one mobility player should flex. Keep most of your mobility attachments but add an optic (2x or 3x) and a range barrel. You’ll lose 10–20% of your rotation speed but gain the ability to challenge 30–50 meter lanes and stop enemy rotations before they reach your objectives.
When the lobby skill level demands better gunfight consistency: Mobility builds thrive against average players who react slowly and don’t pre-aim. Against highly skilled opponents who pre-aim every corner and land headshots consistently, raw speed sometimes isn’t enough. Add a stability attachment (vertical foregrip, recoil-reducing stock) to improve your accuracy in the 10–20 meter window where most trades happen. You’ll still rotate faster than standard builds, just not by as wide a margin.
Never sacrifice more than two attachments or one full perk slot. If you swap three or more attachments to add range, you’ve abandoned mobility and you’re running a standard meta build. The whole point is to stay fast enough to create position
Final Words
Right in the action: this guide showed why mobility wins fights over points, how to pick speed items, and when to trade speed for survivability. We also flagged the common mistakes that throw contests.
Priorities were clear: speed first, then res and positioning. Step-by-step: equip movement tools, time dashes for cap fights, rotate early instead of chasing kills, and reset when overwhelmed.
Simple rule: if you need map control, use a mobility loadout for objective capture modes to rotate faster and pressure smarter. You’re set to outmaneuver teams.
FAQ
Q: What is the best mobility weapon in warzone?
A: The best mobility weapon in Warzone is usually an SMG like the MP5 or MAC-10, because they offer top sprint-to-fire, fast strafing, and quick ADS for close-range fights.
Q: What is a loadout in Call of Duty?
A: A loadout in Call of Duty is the custom set of weapons, perks, equipment, and field upgrades players pick before matches to control playstyle and strategy during fights.