
Think the first boss is a luck check? It’s not, it’s a timing test you can learn.
In two to five minutes you can beat it.
Read telegraphs, dodge the mace, and punish the recovery windows.
This guide lays out exact attack patterns and the wind-ups to watch.
You get when to jump or roll and the punish windows to hit for big damage.
You’ll learn safe heal timings, where to stand, and the single trick that turns a stagger into a burst phase.
No hype, just clear, tested steps you can use on your next run.
Step-by-Step First Boss Breakdown With Exact Attack Patterns

You’re looking at two to five minutes depending on how aggressive you play. Every major attack has a wind-up you can see coming. The mace rises before the slam. The body leans back before a charge. You’ve got a full second between telegraph and impact, which is enough time to roll or jump if you’re paying attention.
The loop is straightforward. Watch the wind-up, dodge, move in while the boss recovers, hit it two to four times, back off. If your health drops to thirty or forty percent, get to the far side of the arena and heal during something predictable like the overhead slam. Don’t chase when the boss repositions. Chasing puts you right in the path of the next swing.
Phase transitions happen when you break the armor or stagger the thing inside. You’ll hear a loud crack and see it slump. That’s your window. Rush in and dump everything you’ve got before it stands back up.
- Preparation — rest at the nearest bench, equip your first damage upgrade if you bought it, ready your ranged spell or freeze.
- Phase one timing — jump when the mace hits the ground to avoid the shockwave. Don’t stand where it’s going to land.
- Punish windows — after every slam or wide swing, get directly under or beside the boss and land two to four hits.
- Transition cue — listen for the crack, watch for the stagger, close distance immediately.
- Phase two changes — attacks speed up a bit, the creature inside becomes your target. Stay to the side and keep your movement tight.
- Finishing method — quick hits or spell burst on the exposed core, heal only during long recoveries, repeat until it’s done.
Essential Pre-Fight Prep for the First Boss

Rest at the checkpoint before you go in. It refills everything at no cost. If you’ve got two hundred fifty currency, buy the first weapon upgrade. It’ll shave thirty to forty seconds off the fight. Equip any damage or ability recharge accessories you found, and make sure you’ve got at least one heal in your quick slot.
Save your heals for when the boss is far away or stuck in a slow attack. Healing during a fast combo gets you hit and wastes the item. If you picked up any health expansions earlier, equip them now. One extra hit can mean the difference between clearing and restarting.
- Recommended weapon — first upgrade tier (250 currency), about twenty percent more damage per hit.
- Recommended armor — any early set with at least one defensive bonus. Raw numbers matter less than wearing something.
- Consumables — two to three instant heals. Use them at thirty to forty percent health, never below twenty.
- Ability priority — freeze or immobilize before this fight. It gives you a free three second damage window.
- Checkpoint usage — always rest right before the fight. Don’t go in with half your resources missing.
First Boss Mechanics: Cues, Recognition Training, and Spatial Awareness
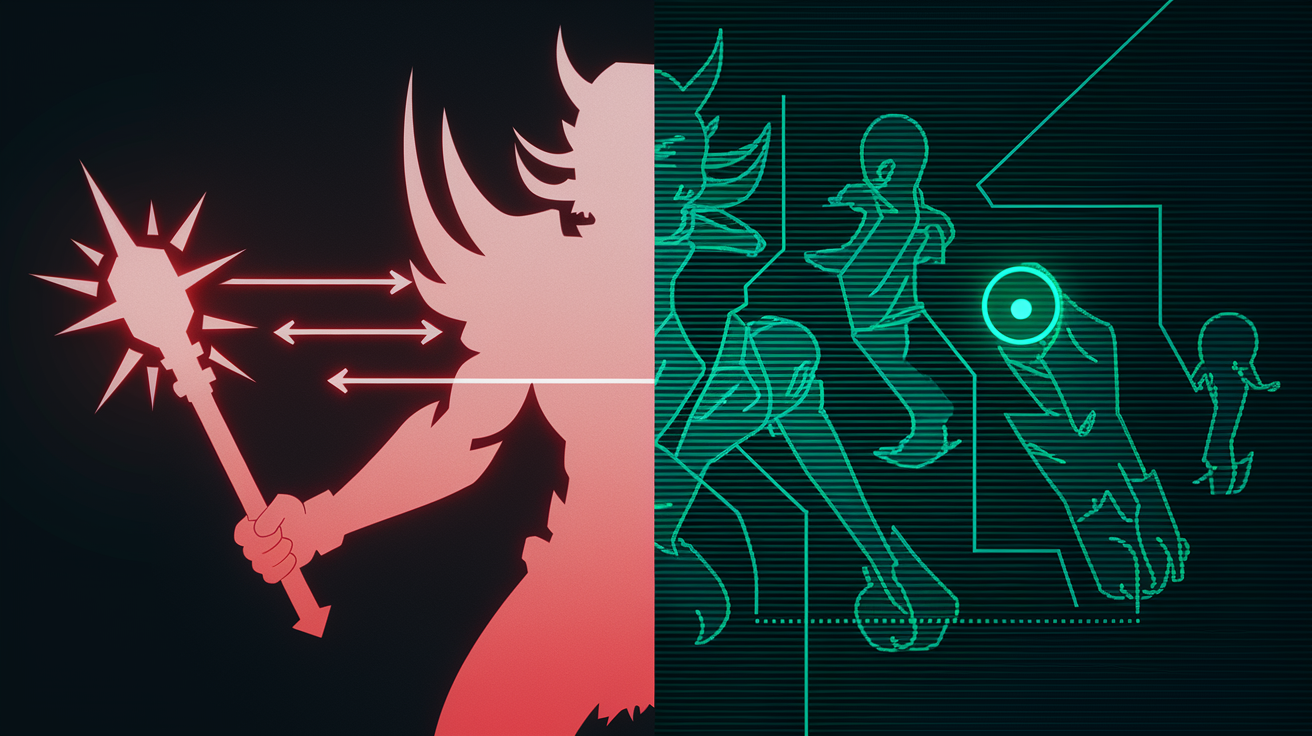
Visual telegraphs show up one full second before damage connects. The mace goes vertical for overhead slams, horizontal for sweeps, backward for charges. Watch the weapon, not the body. The weapon moves first. If the mace is at shoulder height and angled right, a sweep’s coming. Jump or roll left.
Audio cues match every major attack. Ground slams make a scraping sound before impact. Charges have a low growl or mechanical wind-up. If you hear that and the boss isn’t on screen, move your camera. Charges close distance fast and you can’t dodge what you can’t see.
Spacing is simple. Stay within two character lengths during safe windows to get damage in, but don’t commit to the center when the boss finishes recovering. Lateral positioning (left or right shoulder) gives you the most escape routes and lets you punish without walking into follow-ups.
- Keep a shallow orbit instead of backing straight away. Straight retreat narrows your dodge options.
- Jump shockwaves when the weapon connects, not during the wind-up.
- Use pauses between combos to move toward the nearest safe flank.
- If the boss raises its guard or shifts weight, stop attacking and get ready to dodge within half a second.
Optimized Build, Abilities, and Transformation Choices Before the First Boss
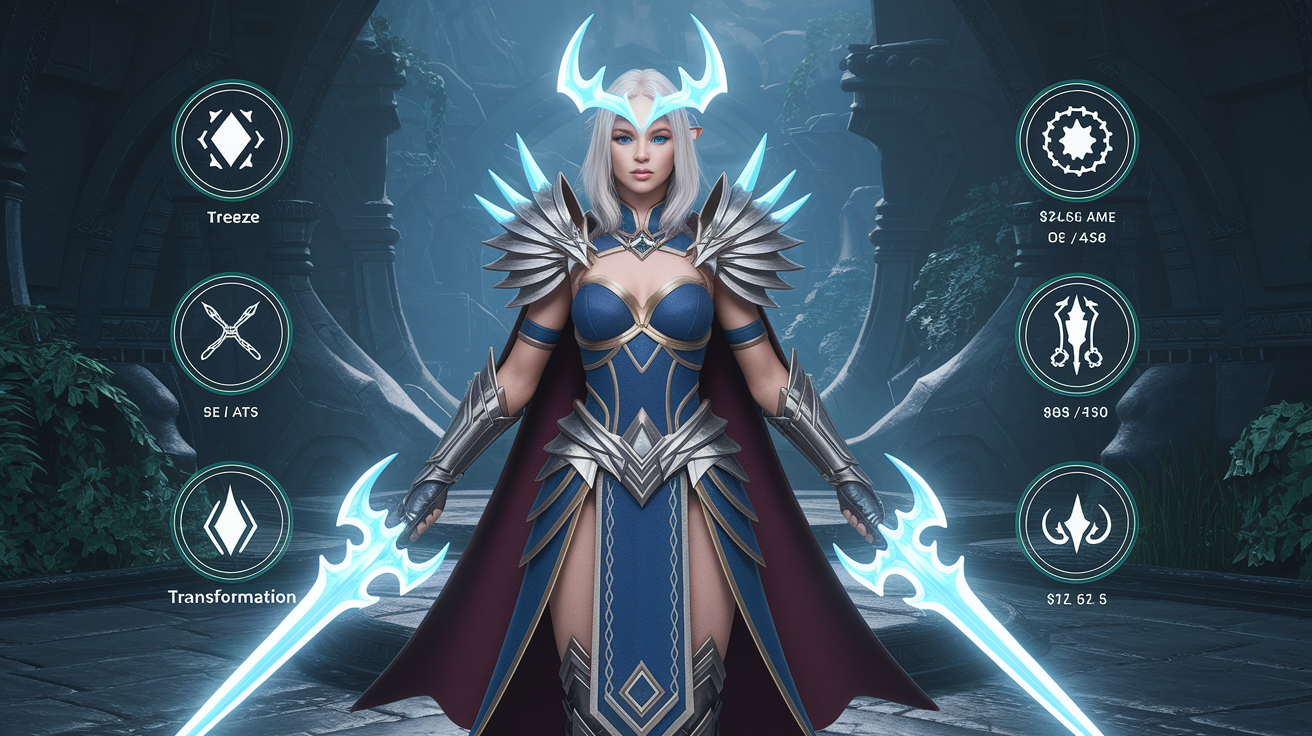
Best setup: freeze ability, first weapon upgrade, at least one ability recharge accessory. Freeze guarantees a punish window. Use it right after dodging a big attack to lock the boss down, then hit it three to five times with heavy strikes. If you’ve got an early transformation or spirit summon, equip it. These let you dump burst damage during transitions when the boss is staggered.
Elemental or status damage isn’t required, but if you found a fire or bleed weapon earlier, swap to it. The first boss doesn’t resist anything, so bonus damage helps. Go for abilities that let you deal damage without long animations. Quick spells and fast melee hits beat slow, high-damage moves that leave you exposed.
Best Ability Sequence Before Engaging
Start every punish window with freeze, follow immediately with two charged heavy attacks, then pop your transformation or spirit to extend the window by three seconds. Freeze, heavy hits, transformation burst. If all hits connect, that’s roughly forty percent of a full health bar. Use it twice: once during the armor break stagger, once during the final phase when the core’s exposed. Save your second freeze charge for emergencies if you get cornered.
Arena Layout, Environmental Advantages, and Movement Routes
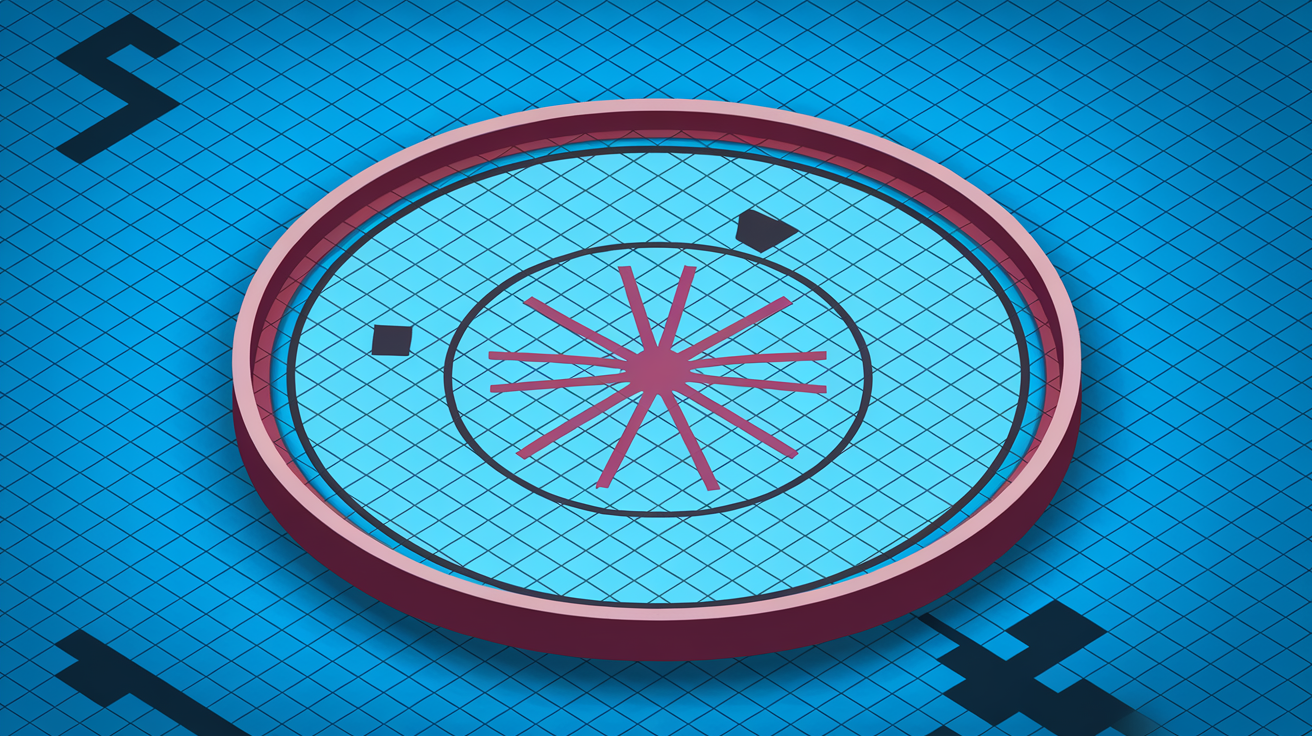
The floor is flat. No elevation. But shockwave attacks create invisible safe zones at the far edges. Stand near the perimeter when a slam happens and the shockwave won’t reach you. That gives you a free window to close in while the boss recovers. Camera angle matters more here than during exploration. Keep it zoomed out enough to see the full weapon arc, and adjust manually if the boss moves off screen during charges.
No pits. No environmental traps. But the boss repositions toward center after every major attack. Use that. Stay near the edge and bait slams. The boss wastes time walking back to center, giving you moments to heal or recharge. Never chase into a corner. Corners cut your dodge directions and increase your chances of eating a follow-up.
Common First Boss Mistakes and How to Fix Them
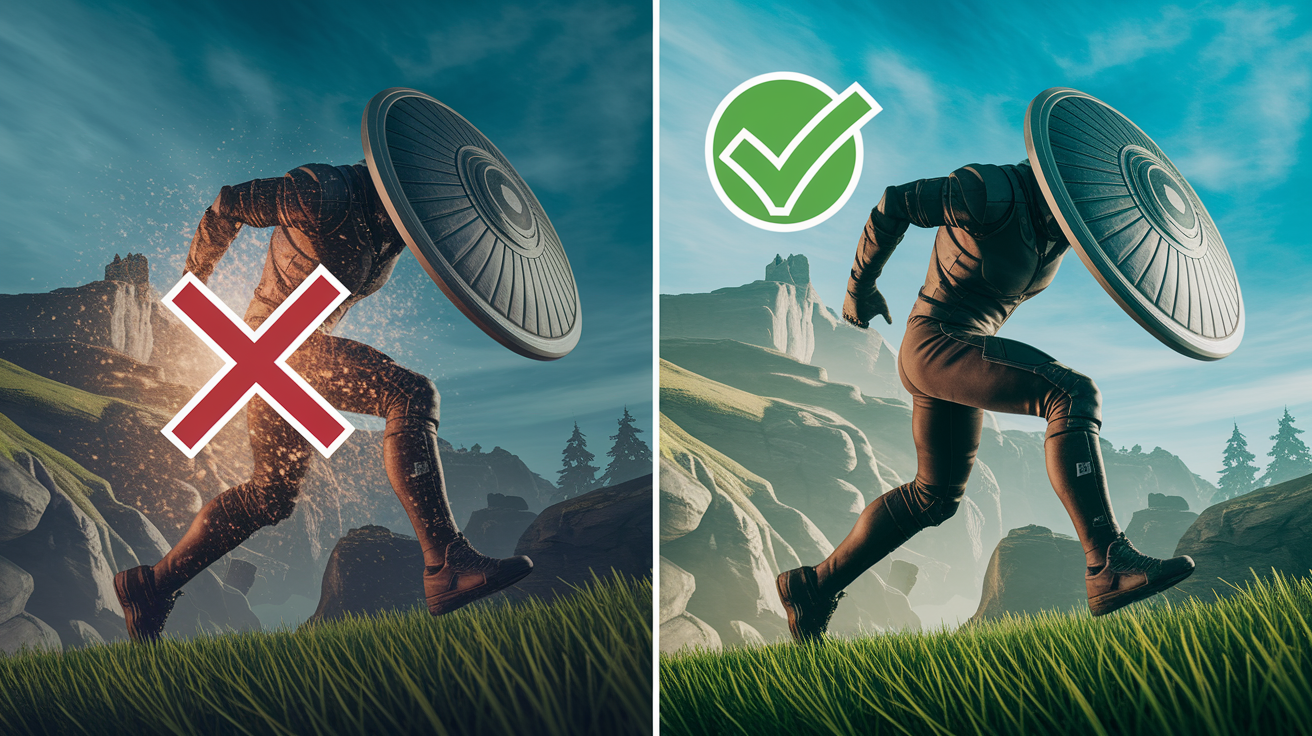
Top mistake: trying to block or tank shockwaves instead of jumping. Shockwaves ignore most early defenses and deal full damage through blocks. Always jump when the mace hits the ground. Second mistake: healing too early or in unsafe spots. If the boss is within two character lengths and not locked into a slow attack, don’t heal. Retreat first, then heal during the next predictable move.
| Mistake | Fix |
|---|---|
| Blocking shockwaves instead of jumping | Jump as the weapon contacts the ground. Shockwaves ignore blocks and deal full damage |
| Healing when the boss is close or mid-combo | Retreat to the far side and heal only during slow, telegraphed attacks like overhead slams |
| Chasing the boss after it repositions | Wait for the boss to commit to an attack before closing distance. Chasing puts you in line for follow-up sweeps |
Fastest Clear Path: Time-Saving Route to the First Boss Room

From the starting checkpoint, go forward through the initial area until you hit the first enemy cluster. Clear only what’s blocking the direct path. Ignore side rooms and optional fights. The first save point shows up about two minutes in. Rest there to refill, then keep going straight. The second save point sits right outside the boss arena. That’s your final prep stop.
Total travel time from start to boss door is three to four minutes if you skip detours. Grab any healing items you pass, especially the small stash near the second save point. These respawn when you rest, so pick them up every attempt. Don’t chase side objectives or backtrack for missed pickups. Fastest clear means reaching the boss with full resources, not hunting down collectibles.
- Start at the initial checkpoint and move forward through the main corridor.
- Clear only enemies blocking the direct path. Skip side chambers.
- Rest at the first save point two minutes in.
- Continue straight to the second save point outside the boss arena and rest again.
Optional Paths: Co-Op, NPC Help, and Alternate Strategies for the First Boss

If you unlocked spirit summons before this boss, equip one that can draw aggro or deal sustained damage. Summons let you heal safely and create openings when the boss targets your ally instead of you. Trade-off is slightly higher boss health, but the safety usually outweighs the cost. Activate the summon right after the opening cutscene, then let it grab aggro before you commit to damage.
Ranged builds using spells or projectiles can stay mid-range and avoid most melee attacks entirely. The first boss has no ranged counters in phase one, so you can circle and fire during every recovery. Melee builds hit harder per strike but need tighter dodge timing. Pick based on your comfort with close quarters reactions. If you’ve got a transformation, save it for phase two when the boss speeds up. The damage burst will end the fight before the tempo gets out of hand.
Quick-Reference Summary: The Exact Steps to Beat the First Boss

Rest at the checkpoint outside the arena, equip freeze and your first weapon upgrade, then go in. Watch for mace telegraphs and jump when the weapon hits the ground to dodge shockwaves. After every slam or sweep, close in and land two to four quick hits, then back off before the next attack starts. Use freeze during the armor break stagger and follow with charged heavy attacks.
- Rest at the final checkpoint and equip freeze plus weapon upgrade.
- Enter the arena and wait for the first telegraph.
- Jump as the mace hits the ground to dodge shockwaves.
- Punish recovery windows with two to four quick hits.
- Heal at thirty to forty percent health during slow, predictable attacks.
- Use freeze and transformation during the armor break stagger.
- Focus remaining damage on the exposed core in phase two until it’s done.
Final Words
in the action, this guide lays out the fight: exact attack patterns, telegraphs to watch, and the dodge, punish, retreat, heal loop that wins the match. It highlights punish windows after shockwaves and lunges and when to stagger for big damage.
You also get prep checklists, an optimized ability sequence, arena movement tips, common mistakes and fixes, a fastest route, and co-op alternatives.
Follow the numbered steps and decision rules to execute [game] how to beat the first boss step-by-step. You’ll finish the fight cleaner and feeling ready for the next one.
FAQ
Q: How to fight the first boss in Silksong?
A: To fight the first boss in Silksong, learn its telegraphs, jump shockwaves, punish after lunges, retreat to heal at 30–40% HP, and use a bench-saved loadout with 1–2 healing consumables.
Q: How to beat the first main boss in Nightreign?
A: To beat the first main boss in Nightreign, bait wind-ups, dodge lateral charges, punish recovery windows, break stagger/armor for big damage, and heal or reset when under 40% health.
Q: How to spare the first boss?
A: To spare the first boss, avoid lethal hits, meet the game’s mercy trigger (dialogue, item, or status condition), then select the spare/mercy option when the interaction prompt appears.
Q: How to beat the first boss in The First Berserker?
A: To beat the first boss in The First Berserker, read shockwave and lunge cues, jump or roll shockwaves, punish during recovery, use immobilize or heavy follow-ups, and heal at the 30–40% window.